Tu carrito está vacío
Envío gratis a partir de $150 (No incluye productos de gran tamaño)
Envío gratis a partir de $150 (No incluye productos de gran tamaño)
Bandas de lijado
Discos de lijado

How To Acid Etch A Knife Blade: The Simple Method
por David Kranker 7 lectura mínima

Quick Summary
Acid etching is a simple way to create stunning, personalized designs on a knife blade using a basic acid solution and tools like stencils and abrasives. Proper preparation is key: clean the blade thoroughly, sand it to remove imperfections, and apply a stencil to define your design. Once prepped, submerge the blade in an acid solution, monitoring it closely to achieve the desired etch depth without overdoing it. After etching, neutralize the acid with a baking soda bath and clean the blade to remove any residue, revealing sharp contrasts between etched and unetched areas. Use fine abrasives to refine the surface, highlight the design, and achieve a polished finish, then protect the blade with a sealant to prevent rust. With careful attention to detail and the right materials, you can create a professional-looking, customized blade at home.
Acid etching is an easy way to turn a plain knife blade into something eye-catching and personal. By using a simple acid solution, you can create detailed patterns or bold designs that add character and make your blade stand out. This method doesn’t just look great; it can also improve the blade’s texture, helping to reduce glare or enhance grip in certain areas.
What’s great about acid etching is that it’s simple to do at home. With basic supplies like acid, tape, or stencils, you can achieve professional-looking results without needing specialized tools or a workshop. In this guide, the team at Red Label Abrasives will walk you through the entire process, from getting the blade ready to polishing the finished design, so you can customize your knife with confidence.
Tools and Materials Needed
Below is a list of the items you’ll need for your etching projects:
- Knife blade (preferably stainless steel or carbon steel)
- Acid (e.g., ferric chloride or vinegar with salt for a milder approach)
- Protective gear (gloves, safety goggles, and apron)
- Etching stencil or resist material (vinyl, tape, or nail polish)
- Cotton swabs or sponge
- Plastic container for the acid solution
- Neutralizing solution (baking soda and water)
- Cleaning supplies (alcohol, sandpaper, or steel wool)
- Sandpaper (400-800 grit)
- Sanding sponges or steel wool
Preparing the Blade
Proper preparation is key to achieving a clean and precise etch. Start by thoroughly cleaning the blade to remove any dirt, oil, or fingerprints, as even small residues can affect how the acid interacts with the metal. Use rubbing alcohol or a degreaser for this step, and make sure the blade is completely dry before moving on.
Next, use sanding sheets or steel wool to remove any rust, scratches, or surface imperfections. Begin with a coarse grit to address major blemishes, then progress to finer grits (600-800) to create a smooth and uniform surface. A well-sanded blade allows the acid to adhere evenly, ensuring consistent results across the etched design.
Once the blade is prepped, it’s time to apply the stencil or resist material. This could be vinyl, tape, nail polish, or a pre-made stencil, depending on your design. Carefully place the resist material over the areas you want to remain unetched, ensuring it’s securely attached to prevent acid from seeping underneath. Double-check the edges and details of your design before moving on to the etching process.
Pro Tip: The abrasive material you choose for preparing a knife blade depends on the blade’s condition and the level of smoothness required for etching. Aluminum oxide is one of the most common materials used for metalwork, although silicon carbide is also used for fine to ultra-fine sanding.
Setting Up the Etching Solution
Preparing the etching solution is straightforward but does require attention to safety and detail. For most knife blades, a common choice is ferric chloride, which is readily available and effective for etching steel. If you’re using ferric chloride, dilute it according to the manufacturer’s instructions—typically a 3:1 or 4:1 ratio of water to acid. For a gentler alternative, a mixture of vinegar and salt can also work, though it may take longer to achieve the desired effect. Always mix the solution in a plastic or glass container, as acid can corrode metal or damage unsuitable materials.
Before you begin etching your blade, test the solution on a scrap piece of similar material. This step helps you gauge how quickly the acid reacts with the metal and allows you to adjust the concentration if needed. Testing also gives you a chance to practice your technique, so that you get the best results on your blade.
Pro Tip: Safety is a top priority when handling acids: wear gloves, goggles, and an apron to protect your skin and eyes from splashes. Work in a well-ventilated area or outdoors to avoid inhaling fumes, as some acids release harmful vapors. It’s also important to have a neutralizing solution, such as a baking soda and water mixture, on hand to counteract any accidental spills.
Etching the Blade
Once your blade is prepped and the acid solution is ready, it’s time to start etching. You can either fully submerge the blade in the acid solution or apply the acid using a sponge for more controlled patterns: submerging is ideal for achieving an even etch across the entire blade, while the sponge method allows for more precision in specific areas. If you’re using a stencil, make sure it’s securely in place to protect the areas you don’t want etched.
Once you begin, monitor the progress closely. Every few minutes, remove the blade from the solution to inspect the design. You can also use a cotton swab or sponge dipped in the acid to touch up any areas that might need extra attention. Be mindful of the reaction time, as leaving the blade in the acid for too long can lead to over-etching, which might compromise the clarity or quality of the design.
The total time the blade spends in the acid will vary based on the type of metal and the strength of the solution. For ferric chloride, this is typically five to 20 minutes, while milder solutions like vinegar and salt may take longer. Continue checking periodically, and once the design reaches your desired depth, remove the blade from the acid and proceed to neutralize and clean it.
Neutralizing and Cleaning
Once the etching is complete, it’s important to stop the acid reaction immediately. Remove the blade from the acid solution and submerge it in a neutralizing bath made of baking soda and water. This step neutralizes any remaining acid on the blade, preventing it from continuing to etch or causing unwanted damage. Gently agitate the blade in the solution to ensure all areas come into contact with the neutralizer, paying close attention to edges and recessed parts of the design.
After neutralizing, clean the blade thoroughly to remove all acid residue and baking soda. Use a soft brush or sponge with water and a bit of dish soap to scrub the surface until it’s completely clean. Be sure to avoid scratching the newly etched surface, especially if you plan to polish it later. Once it’s cleaned, rinse the blade with fresh water and dry it completely with a soft cloth to prevent spotting or rust.
Next, peel off the stencil or resist material to reveal the etched design. Carefully remove tape, vinyl, or nail polish using your fingers or a fine tool, such as a toothpick. For stubborn areas, a solvent like rubbing alcohol can help lift the resist material without harming the etched surface. As the design is revealed, you’ll see the contrast between the etched and unetched areas, showcasing your work.
Using Abrasives for Finishing
After cleaning and neutralizing the blade, abrasives can help refine the etched surface and bring out the design even more.
Begin by using fine steel wool or ultra-fine sandpaper (1000-1500 grit) to remove any remaining resist material or stubborn acid residue that wasn’t lifted during cleaning. This step ensures the etched areas are clean and sharp, creating a crisp contrast with the unetched sections of the blade. Work gently to avoid scratching or damaging the etched surface.
Next, lightly sand the blade’s surface to highlight the etched design. By carefully sanding the unetched areas with ultra-fine grit sandpaper, you can create a polished look that makes the pattern stand out. Use consistent, even strokes to maintain a smooth finish and avoid uneven patches. If you want a mirror-like finish, you can use a polishing compound and a soft cloth or buffing wheel to give the blade a professional appearance.
Pro Tip:To protect your work, apply a thin layer of protective oil or sealant to the blade. A high-quality blade oil helps prevent rust and keeps the surface looking clean and polished. This final touch not only helps preserve the blade but also keeps your etching vibrant over time.
Common Mistakes to Avoid
Mistakes can happen during the etching process, and knowing what to watch out for can save you time and frustration.
Over-Etching the Steel
One common issue is over-etching or uneven results from leaving the blade in the acid solution for too long. This can lead to blurred or overly deep designs that lose their sharpness. To avoid this problem, check the blade frequently during etching and use a timer to stay on track. Remember: it’s better to etch in shorter intervals and recheck than to leave the blade submerged too long.
Not Cleaning the Blade
Another mistake is not cleaning the blade thoroughly before or after etching. Any dirt, oil, or fingerprints left on the blade can cause the acid to react unevenly, resulting in blotches or weak etching in certain areas. Similarly, failing to clean off acid residue after etching can harm the metal or dull the design. Always clean the blade during both the preparation and finishing stages.
Misusing Abrasives
Finally, using the wrong abrasives or skipping critical sanding steps can impact the final result. Coarse abrasives can leave scratches that are hard to remove, while skipping finer grits can lead to uneven etching. Be sure to use appropriate abrasives for each stage: this means starting with coarse grits to remove imperfections and finishing with ultra-fine grits to create a smooth, even surface.
Get Excellent Etching Results With Red Label Abrasives
Acid etching a knife blade is a simple yet rewarding way to create a striking design. With basic tools, careful preparation, and attention to detail, you can transform a plain blade into a customized piece that stands out. The process is accessible to anyone willing to take the time to prepare the surface properly, monitor the etching closely, and finish with precision.
Using high-quality abrasives plays a critical role in achieving professional results. From removing imperfections to polishing the final design for a refined appearance, the right abrasives make a huge difference in the success of your etching projects.
At Red Label Abrasives, we offer a wide selection of industrial-grade sanding belts, sanding discs, and sanding sheets that can help you achieve the best results at every stage of your project. Whether you’re sanding, cleaning, or polishing, our products provide the reliability and performance you need to bring your designs to life. For more information about our abrasives or to place an order, call 844-824-1956 or fill out our contact form today.Ver artículo completo

Cómo darle un acabado brillante a los muebles
por David Kranker 3 lectura mínima
Ver artículo completo ABOUT THE AUTHOR
David Kranker is a writer and creative maker who has been covering the abrasive and knife-making industries on the Red Label Abrasives Blog since 2020. David spends his time continually researching sanding and bladesmithing to provide readers with the latest and greatest information. In his free time, David utilizes abrasives for many different home and auto projects at his home in Delton, MI.
Belt Packs Made For Knife Makers
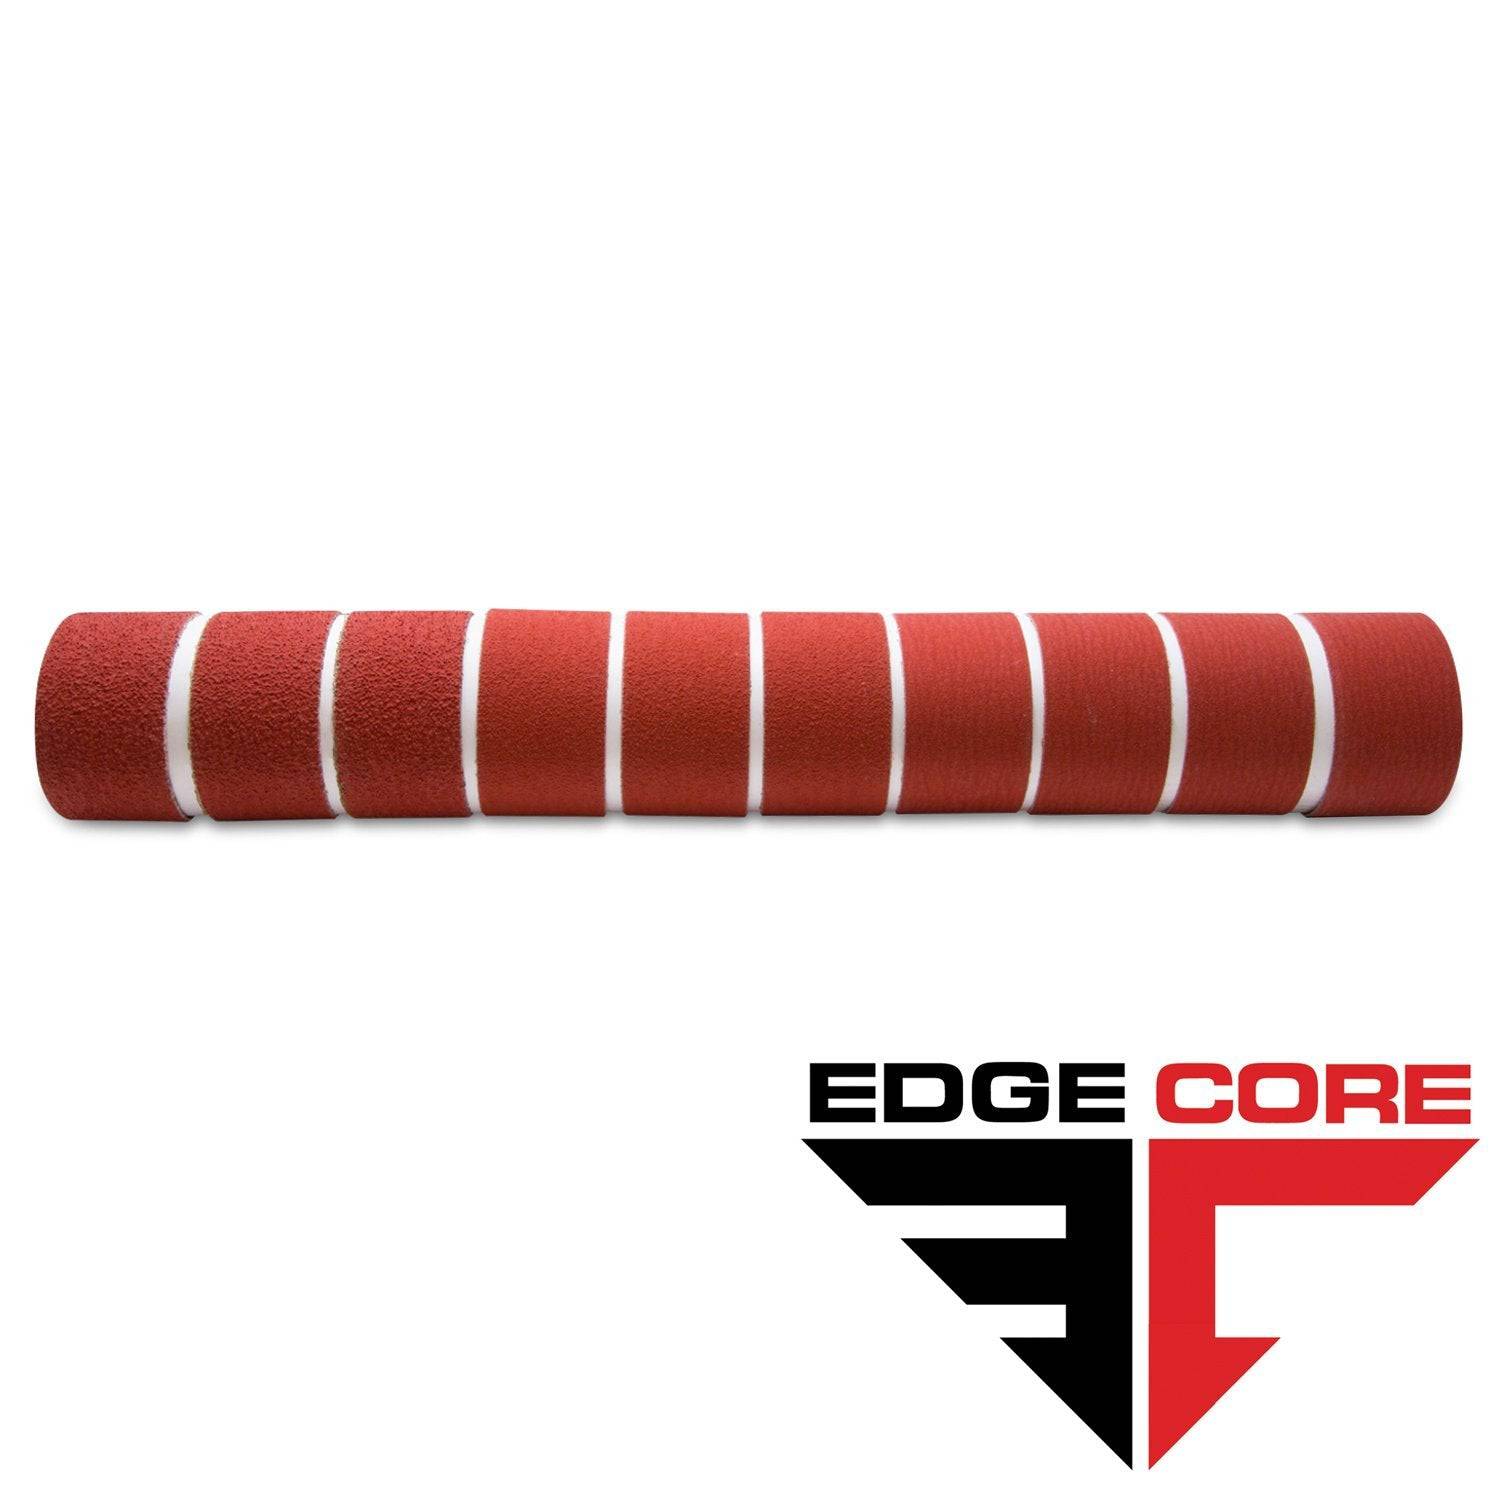
2 X 72 Inch Knife Makers Sanding Belts Assortment
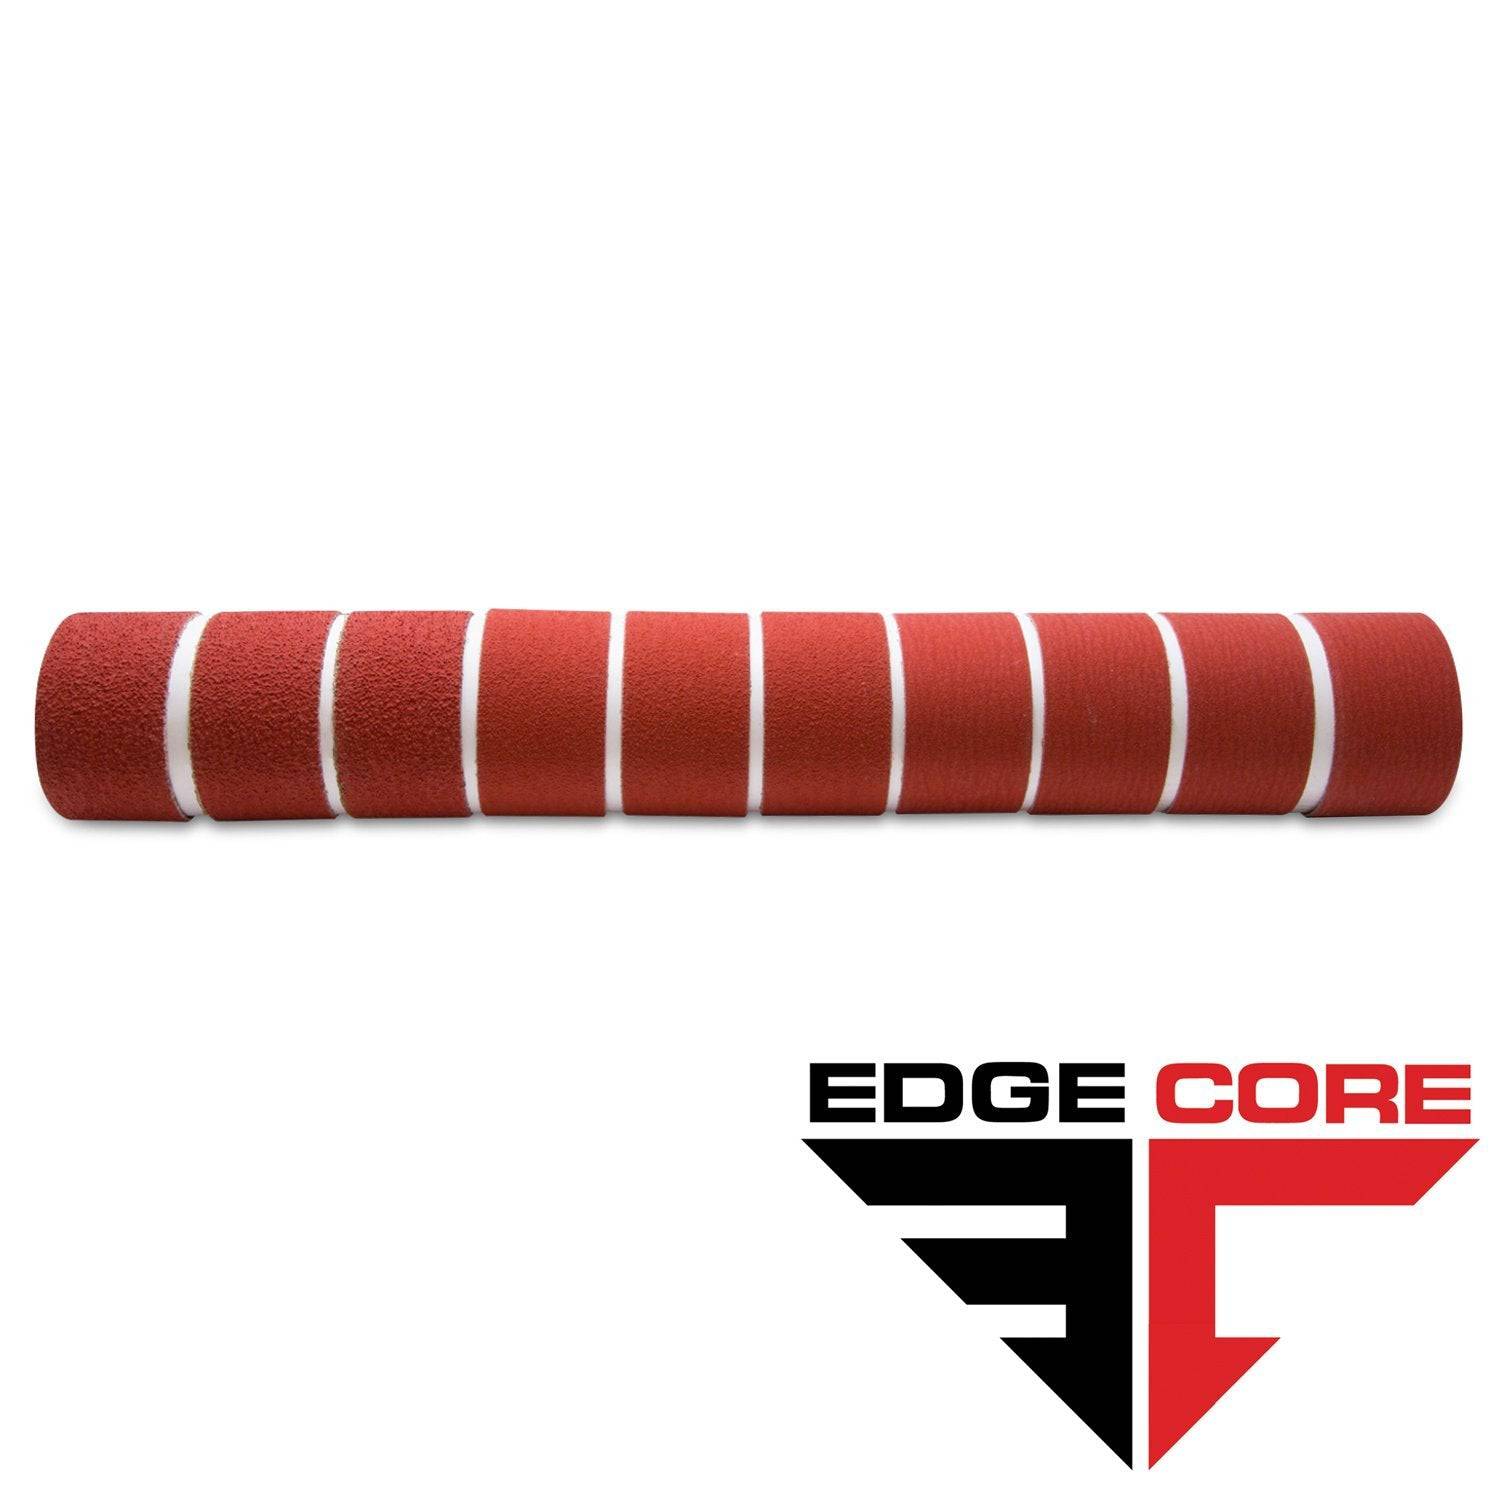
2 X 60 Inch Knife Makers Sanding Belts Assortment
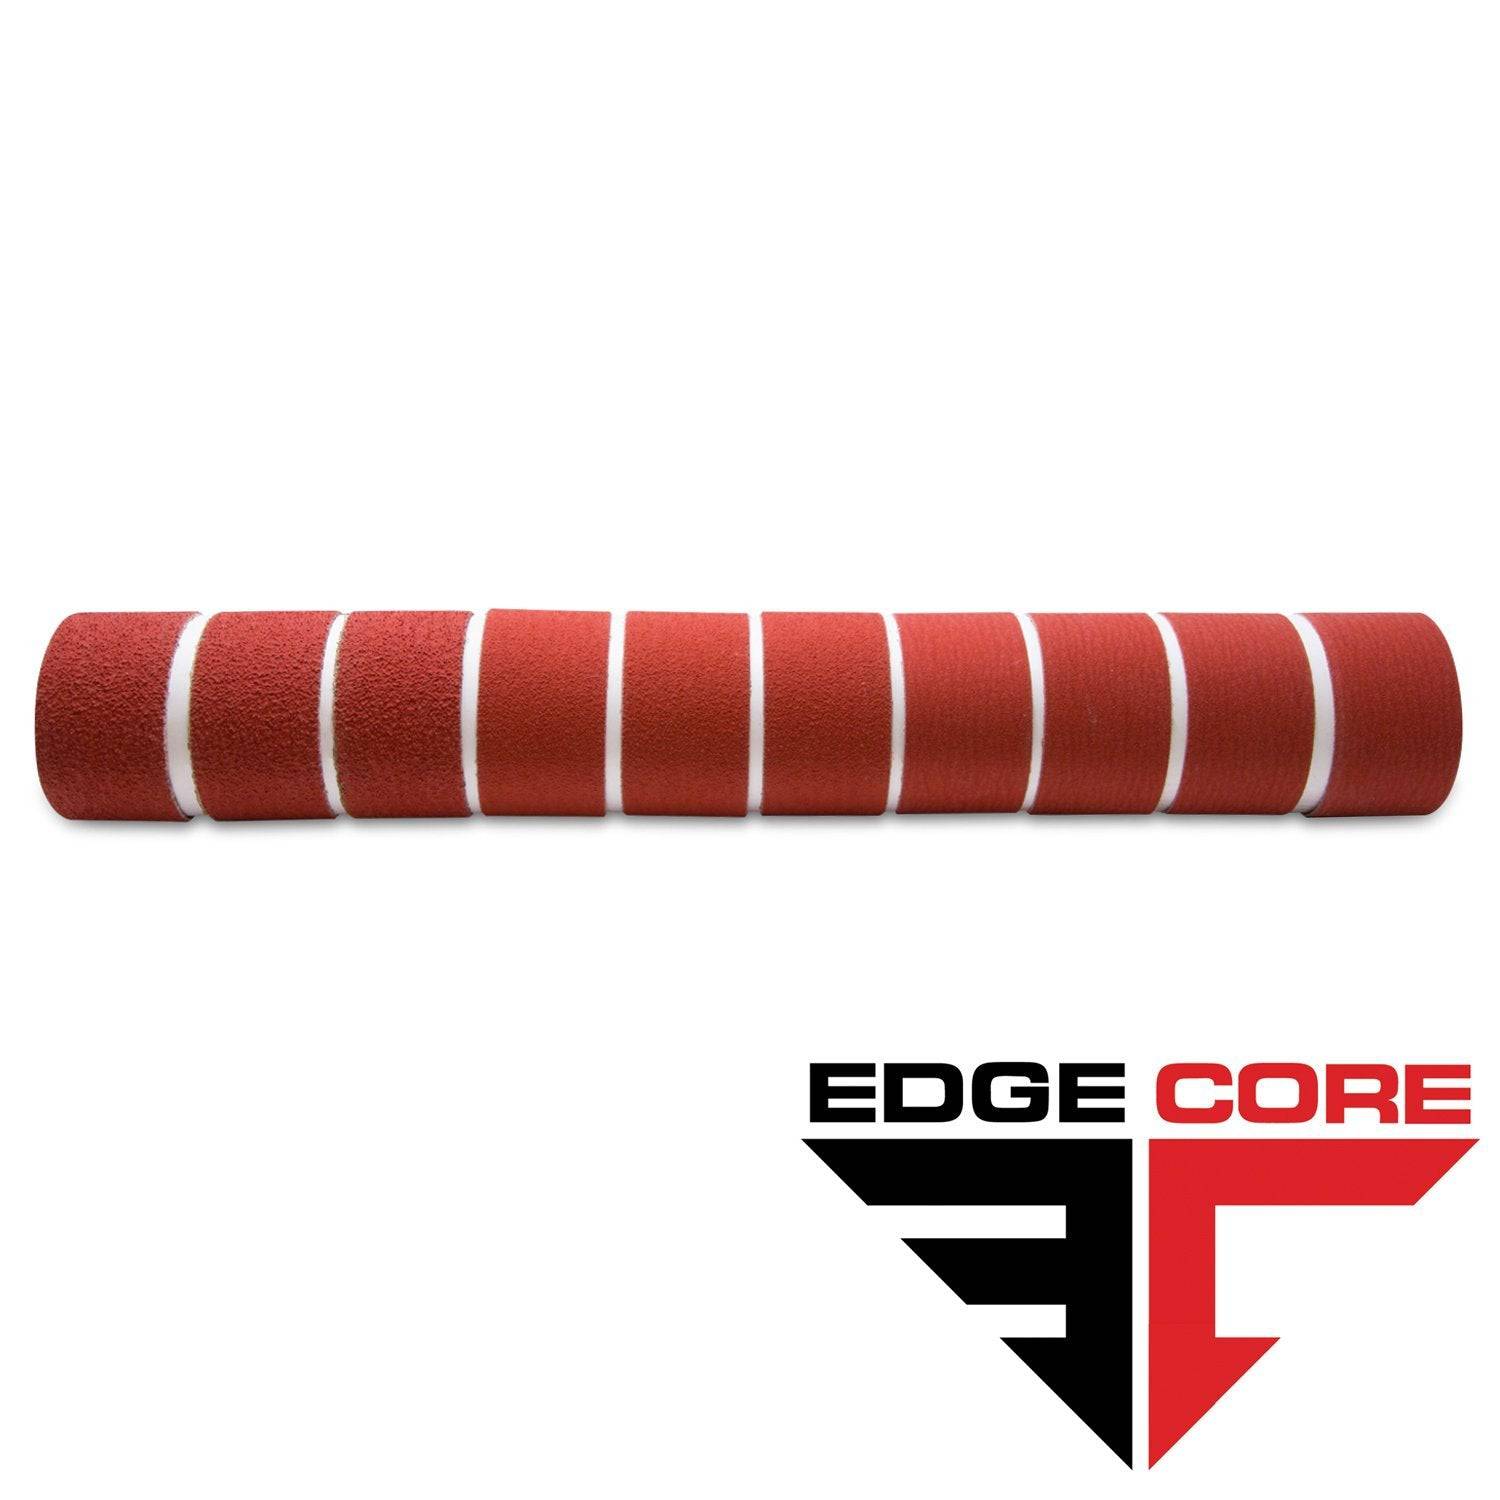
2 X 48 Inch Knife Makers Sanding Belts Assortment
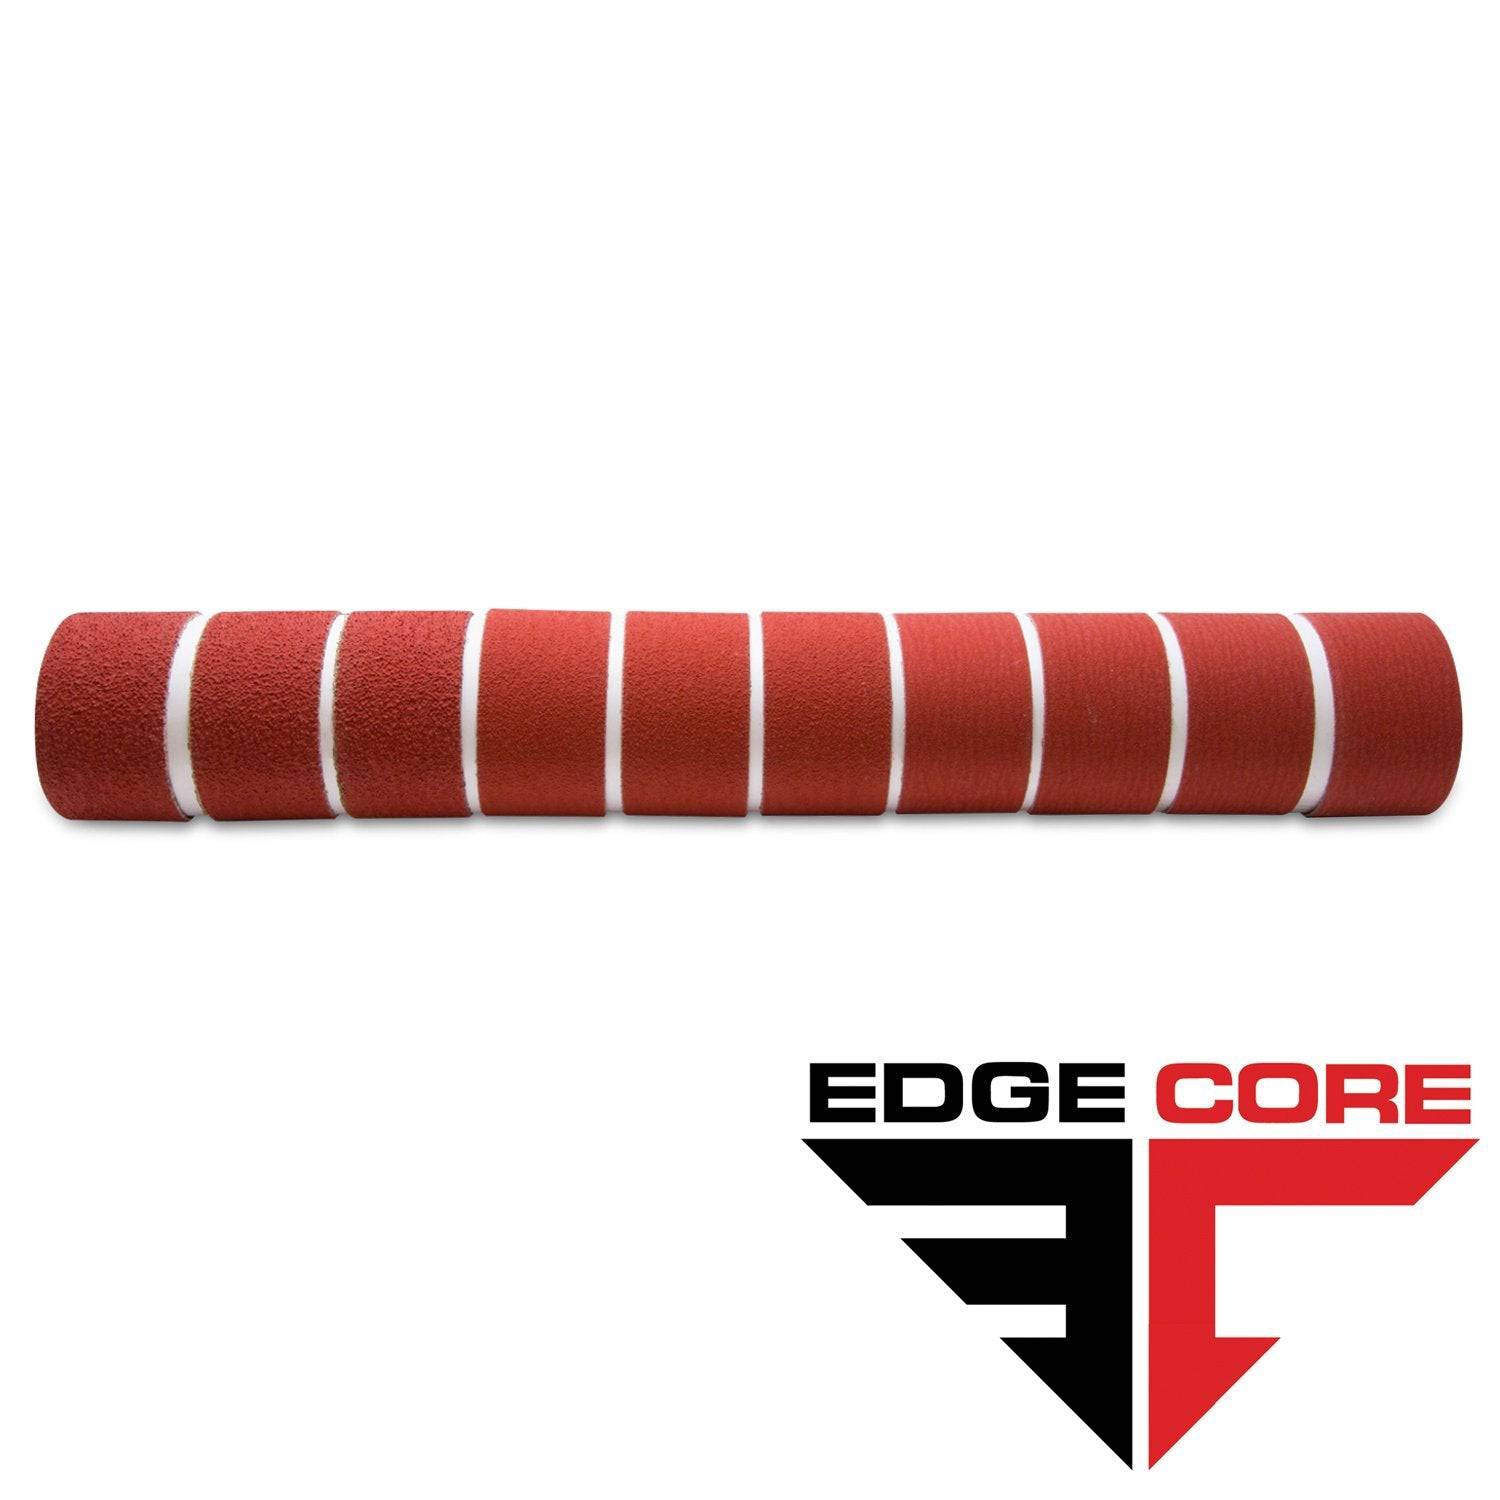
2 X 36 Inch Knife Makers Sanding Belt Assortment
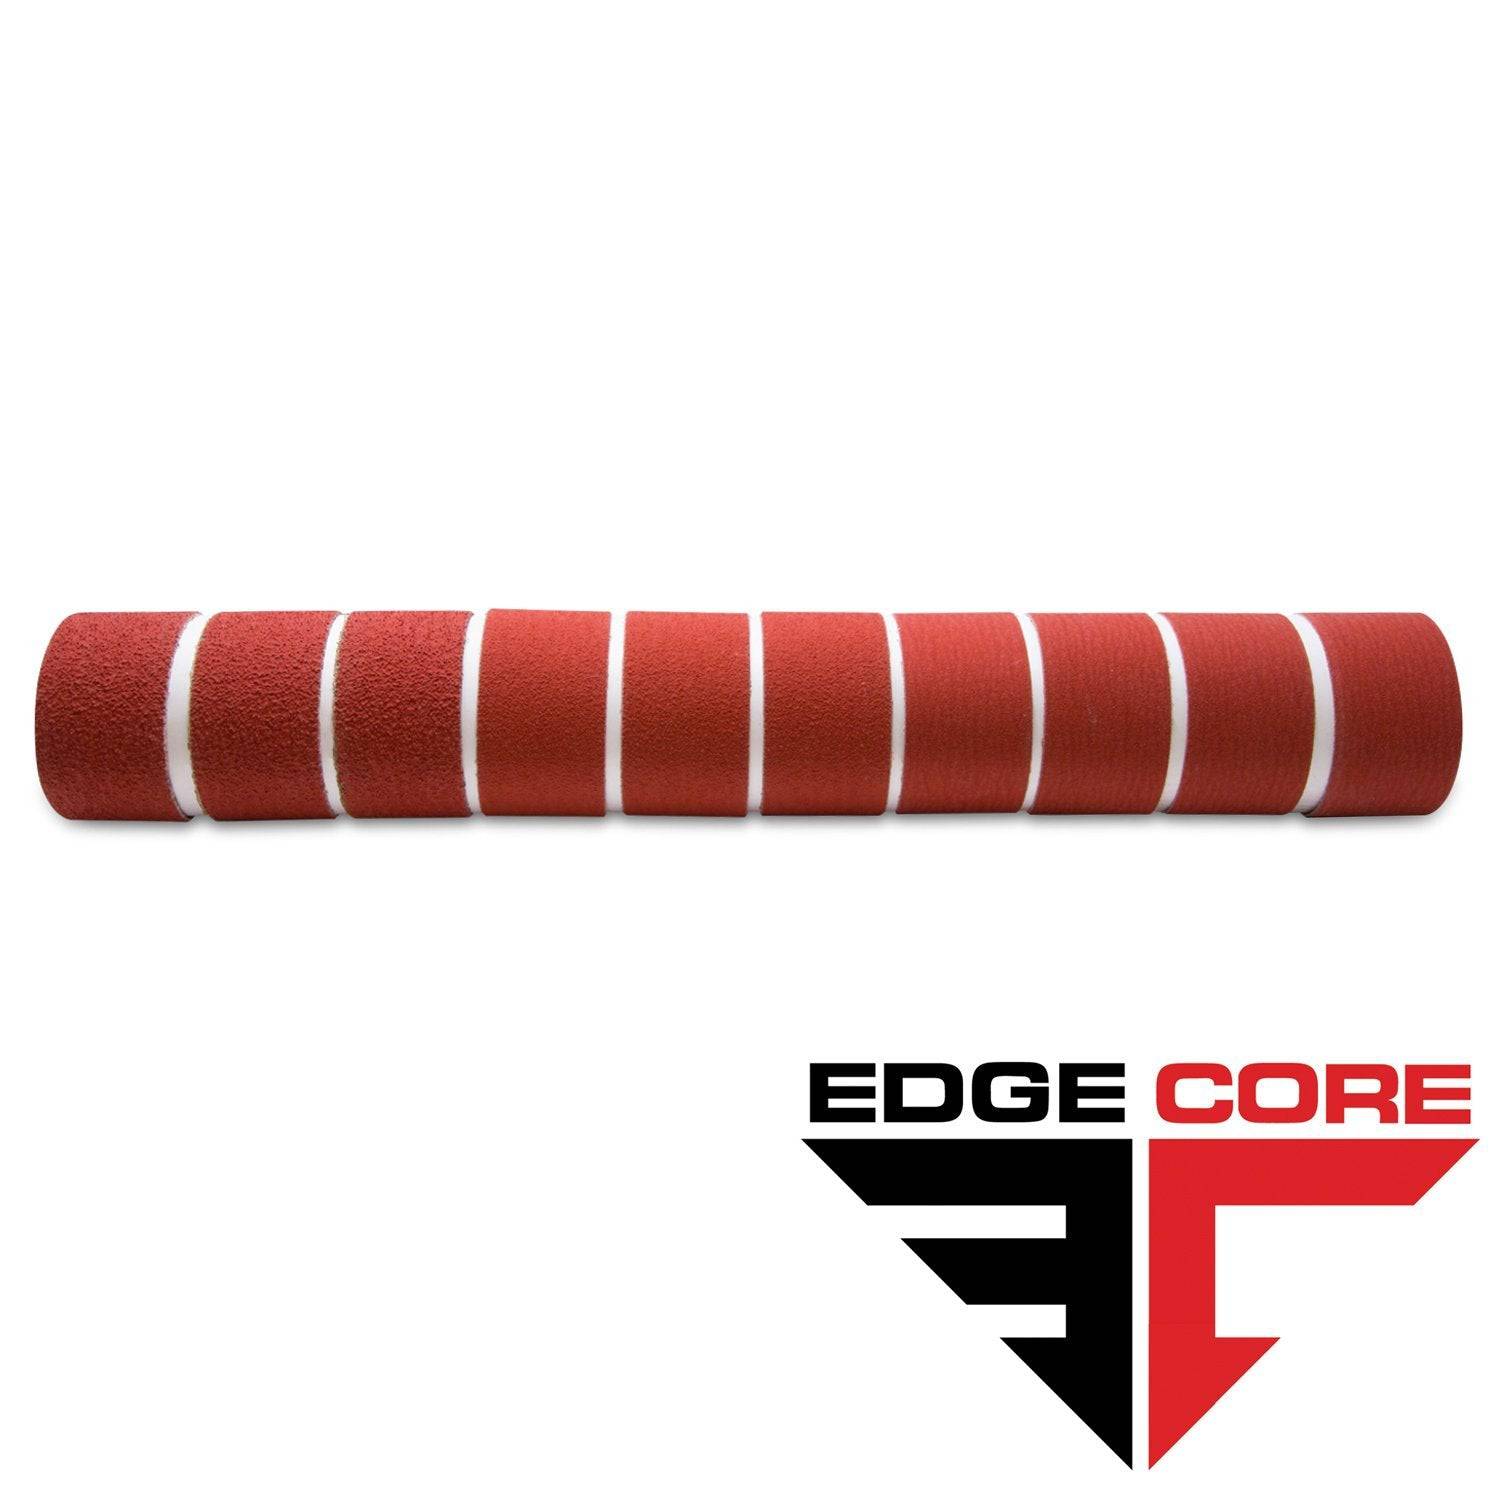
2 X 42 Inch Knife Makers Sanding Belts Assortment
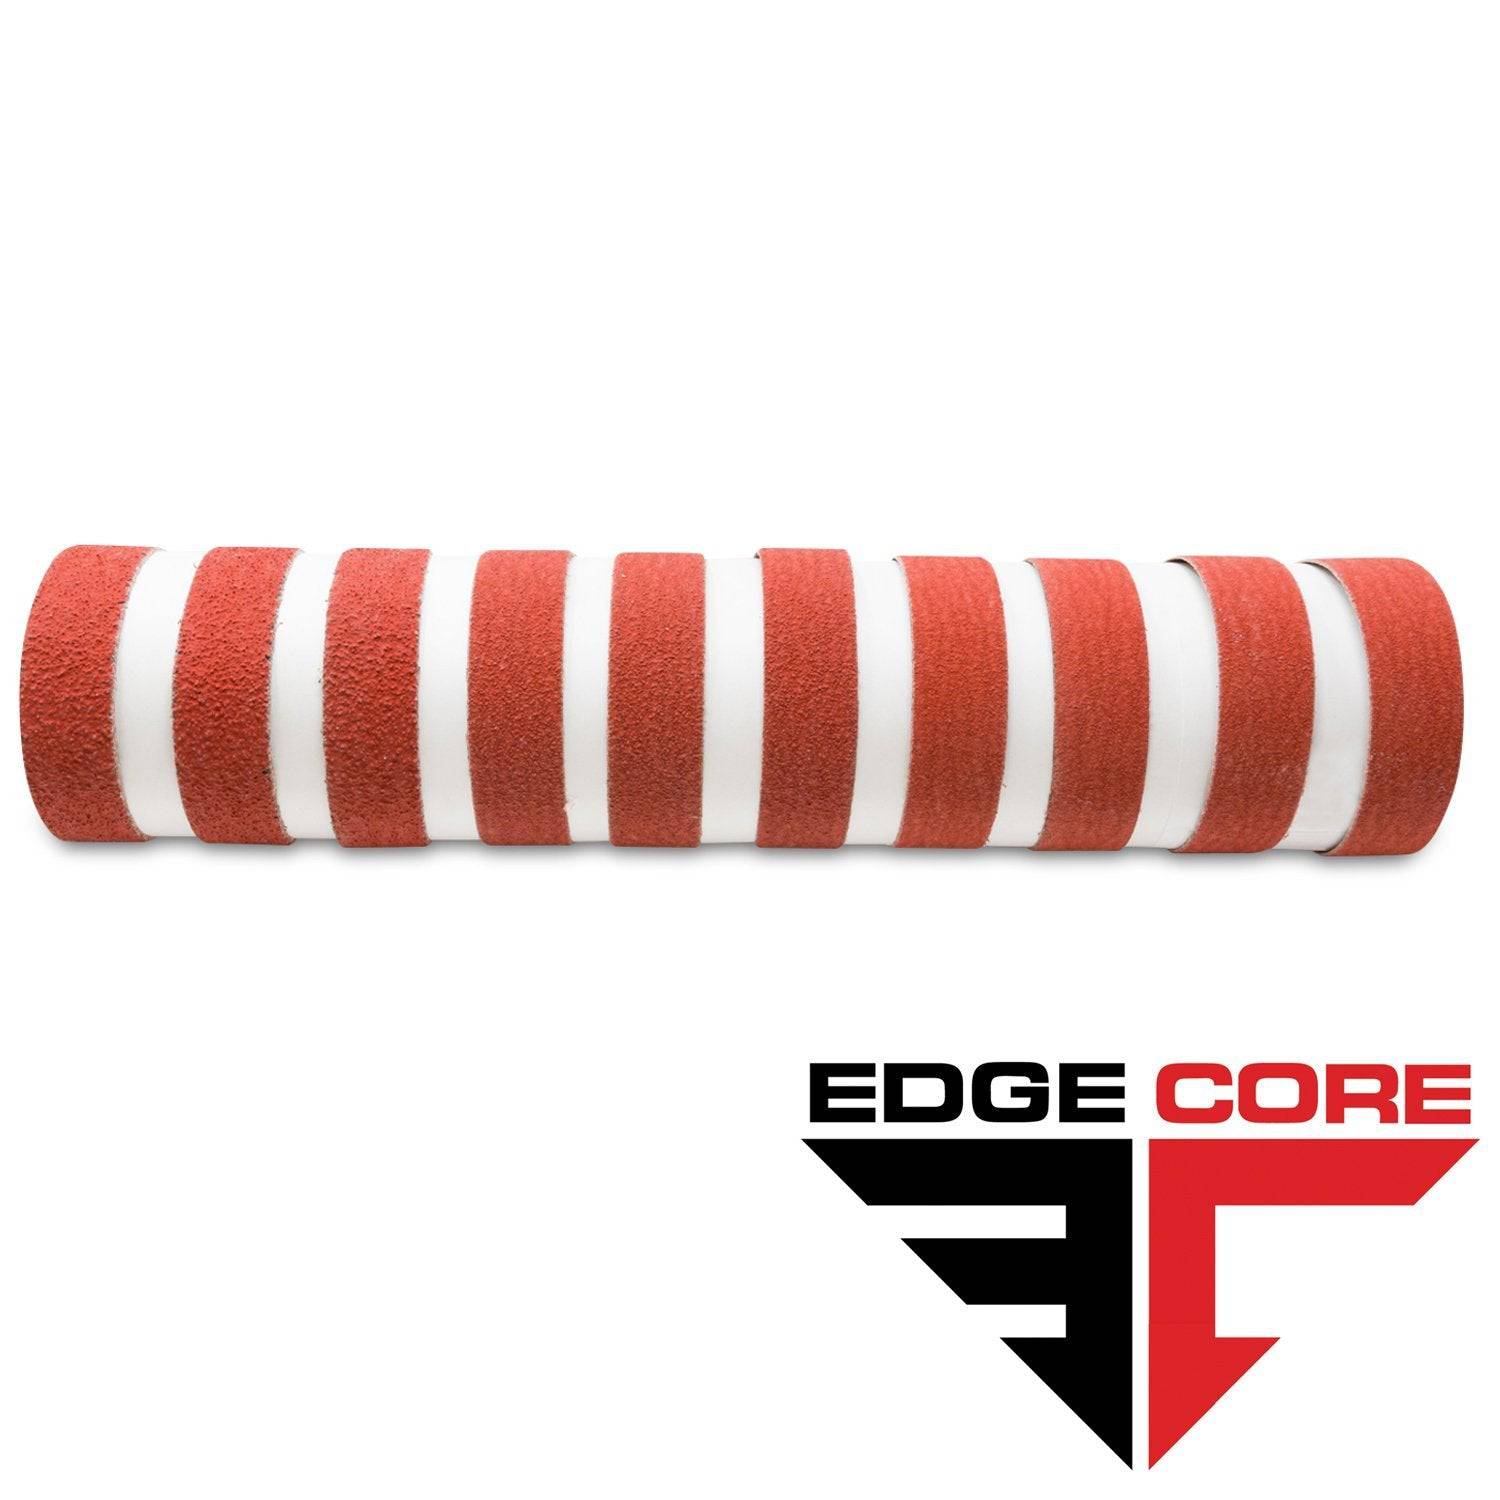
1 X 30 Inch Knife Makers Sanding Belts Assortment
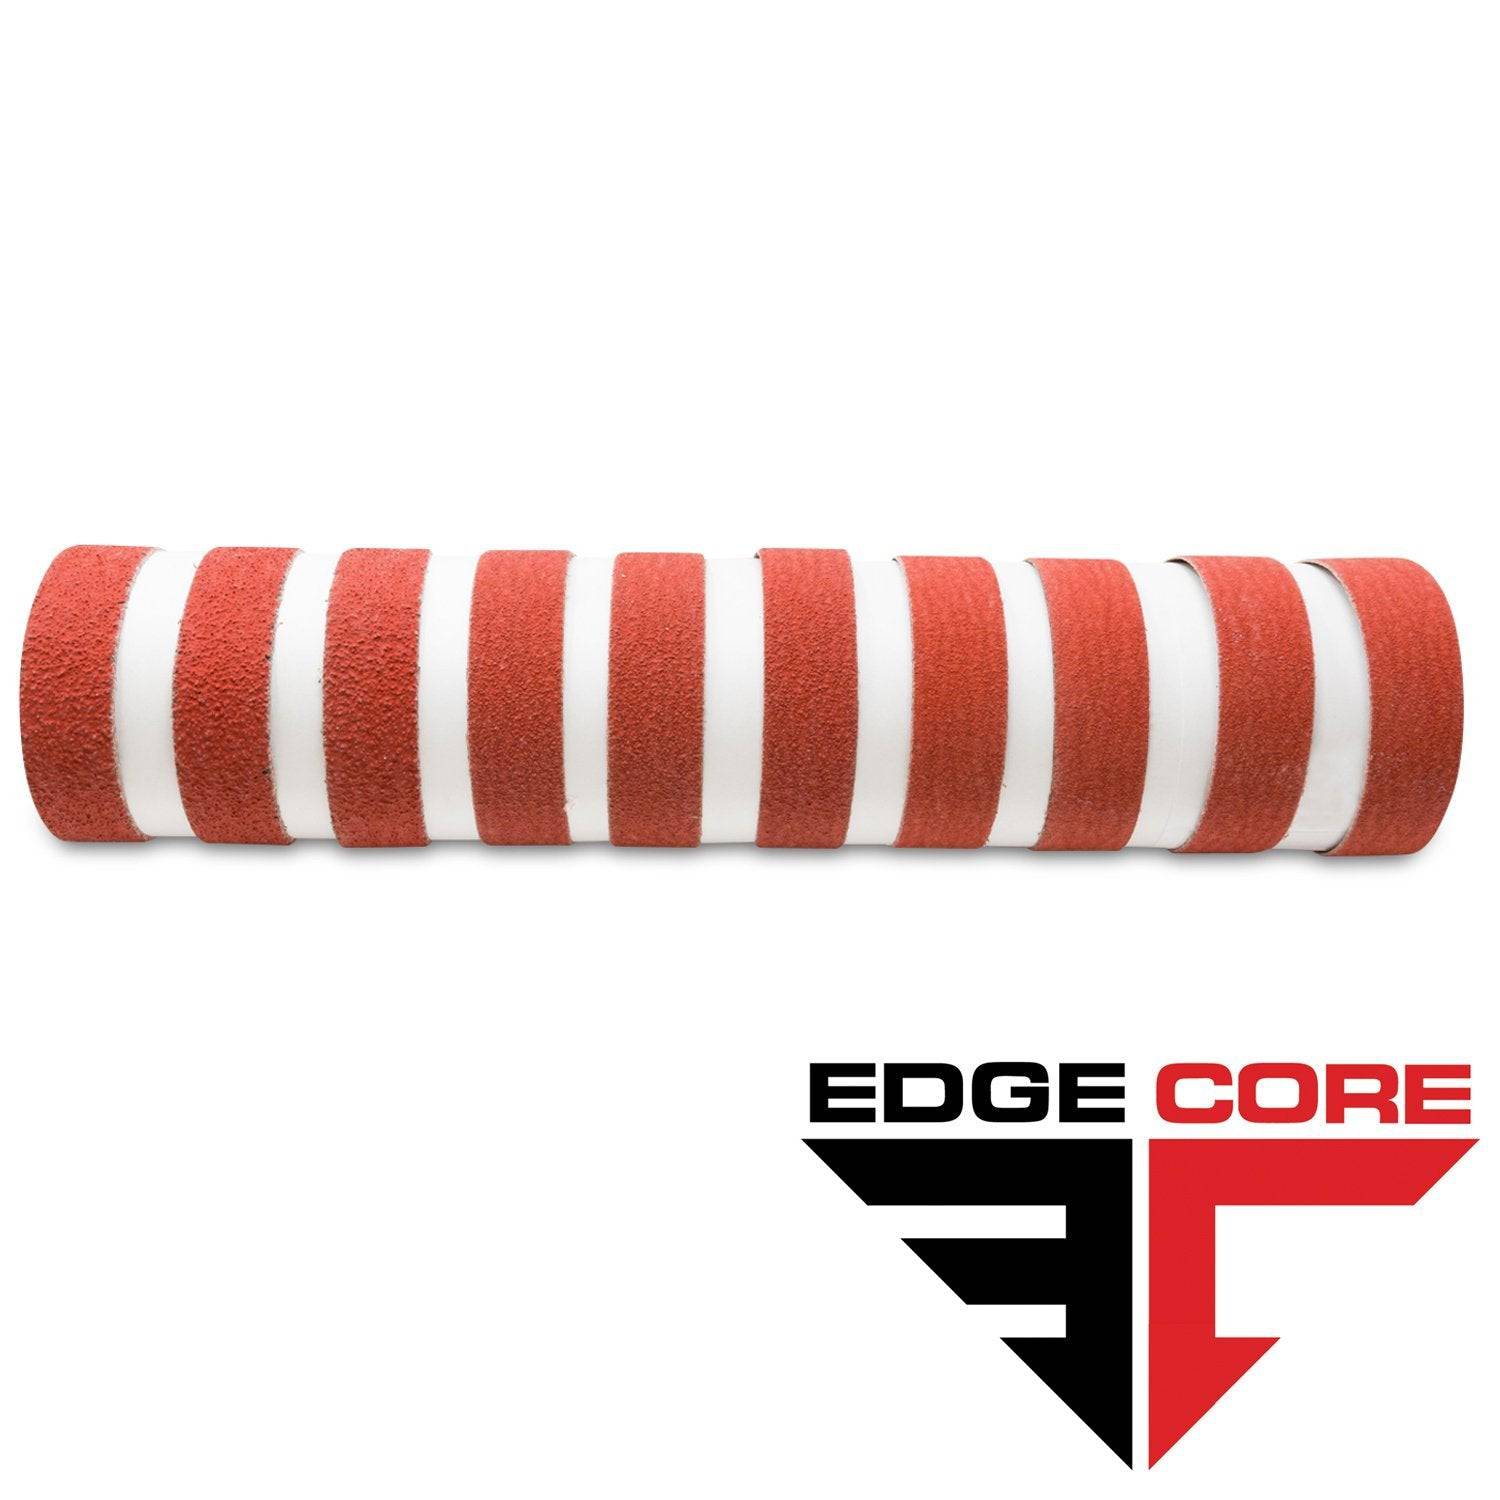
1 x 42 Inch Knife Makers Sanding Belt Assortment
Shop By Product Category


Why Choose Red Label?


