Tu carrito está vacío


Wood Sanding 101: How To Properly Sand Wood


Sanding is a fundamental woodworking step that can make or break the final look of your project. Whether you're working on a simple DIY project or a detailed piece of furniture, sanding is essential for achieving a smooth and polished finish. Proper sanding ensures that surfaces are even, edges are smooth, and the wood is ready to absorb stain or paint evenly.
In this blog, the team at Red Label Abrasives covers everything you need to know about sanding wood correctly. From choosing the right sandpaper and tools to understanding the sanding process and tips for getting the best results, this guide will provide you with practical information to help you sand wood like a pro.
The Basics of Wood Sanding
Wood sanding is the process of smoothing and preparing wood surfaces using abrasive materials. It can be done manually with sanding sheets or using power tools. Its main purpose is to create a smooth, even surface that is ready to be finished.
Sanding has several important benefits:
- Removes rough spots, splinters, and minor surface imperfections, making the wood smooth to the touch.
- Prepares the wood to better absorb stains, paints, and varnishes, resulting in a more uniform finish.
- Enhances the natural beauty of the wood by removing any old finishes or blemishes.
- Ensures that the new finish sticks properly to the wood surface, increasing its durability and longevity.
- Helps prevent peeling or chipping of the finish by creating a clean, smooth base.
Sanding can be done manually or with power tools, each suitable for different types of projects.
Manual Sanding
Manual sanding is a fundamental aspect of woodworking that involves the use of sandpaper, either directly by hand or attached to a sanding block. Sanding blocks provide a flat, even surface, ensuring that the pressure applied is consistent and reducing hand fatigue during extended use.
Manual sanding offers greater control over delicate areas and is perfect for smaller projects where precision is key. It's also beneficial when working on intricate details that power sanders might damage or miss.
Power Sanders
Power sanders significantly speed up the sanding process and are ideal for larger surfaces and more demanding tasks. There are various types of power sanders, each suited for specific applications.
- Orbital Sanders: Orbital sandersmove in a circular pattern and are highly versatile, making them suitable for general sanding tasks. They are easy to control and can be used for both rough and fine sanding. However, it's important to use them correctly, as improper technique can result in swirl marks on the surface of the wood. These sanders are excellent for preparing surfaces for finishing and for intermediate sanding stages.
- Belt Sanders: Belt sanders are powerful tools that utilize a continuous loop of sandpaper. They are designed to remove large amounts of material quickly, making them perfect for large, flat surfaces and heavy-duty sanding jobs. While they are highly efficient, they can be difficult to control and are not suitable for fine sanding. Care must be taken to avoid gouging the wood or creating uneven surfaces.
- Detail Sanders: Detail sanders are small, handheld tools designed for precision work. They excel at reaching tight corners, edges, and intricate areas that larger sanders cannot. Detail sanders are ideal for delicate tasks and fine-finishing work. Although they are slower compared to other power sanders and not suitable for large surfaces, their ability to maneuver in tight spaces makes them indispensable for certain projects.
Each type of power sander has its strengths and is best suited for different stages and aspects of sanding. Orbital sanders offer versatility and ease of use, belt sanders provide power and speed for large tasks, and detail sanders offer precision for fine work. Understanding the capabilities and appropriate uses of each tool will help you choose the right one for your project.
Choosing the Right Sandpaper
Sandpaper comes in various grits and materials, each suited for different tasks and stages of sanding.
Abrasive Grit (Coarse to Fine)
Sandpaper grit refers to the size of the abrasive particles on the sandpaper. The grit number indicates the coarseness of the sandpaper, with lower numbers being coarser and higher numbers being finer. Here’s a quick breakdown:
|
Grit |
Use |
|
Coarse Grit (40-60) |
Used for heavy material removal, such as stripping paint or smoothing rough surfaces. It’s ideal for the initial stages of sanding. |
|
Medium Grit (80-120) |
Suitable for general sanding tasks. It’s great for smoothing surfaces after using coarse grit and for removing minor imperfections. |
|
Fine Grit (150-220) |
Used for final sanding before finishing. It helps create a smooth surface ready for staining or painting. |
|
Extra Fine Grit (240 and above) |
Ideal for sanding between coats of finish or for delicate surfaces that require a very smooth finish. |
Pro Tip:For sanding between coats of stain or paint, use extra fine grit (240 and above) to smooth the surface without removing too much of the finish.
Abrasive Grain
Coated sanding products are made with coatings of small abrasive grains. Different types of abrasive grainsare designed for various materials and sanding tasks. There are two main types of abrasive grains that are best suited for sanding wood:
- Aluminum Oxide: The most common type of sandpaper, aluminum oxide is suitable for wood, metal, and plastic. It’s durable and long-lasting, making it a good choice for most woodworking projects. We manufacture aluminum oxide abrasives with two different coating types: open-coat and closed-coat. Open-coat is ideal for softwoods while closed-coat is the better option for hardwoods.
- Zirconia: Zirconia is a harder and more durable grain than aluminum oxide. Zirconia sanding products cut faster and last longer than aluminum oxide products. Zirconia can be overkill for softwoods, but it works great for sanding hardwoods.
Preparing the Wood
Before you begin sanding, it's important to carefully inspect the wood for any imperfections. Look for rough spots, scratches, dents, or any areas that need special attention. If you find any major defects, such as deep gouges or cracks, consider repairing them before sanding to ensure a smooth and even surface. Mark these areas with a pencil so you can focus on them while sanding.
Once you have inspected the wood, the next step is to clean and prepare the surface. Remove any dust, dirt, or debris from the wood using a vacuum or a soft brush. This will prevent particles from getting caught under the sandpaper, which can cause scratches. For surfaces with old paint or finishes, use a scraper or a chemical stripper to remove these layers before sanding. Ensuring a clean surface is crucial for achieving a smooth finish and preventing damage to your sandpaper.
Importance of Sanding with the Grain
When sanding wood, always sand with the grain rather than against it. Sanding with the grain means moving your sandpaper or sander in the direction of the wood fibers. This helps to avoid scratches and produces a smoother finish. On the other hand, sanding against the grain can create unsightly marks and damage the wood surface, making it difficult to achieve a professional look. Pay close attention to the direction of the grain and follow it carefully while sanding.
The Sanding Process for Wood
Sanding wood is a step-by-step process that transforms a rough piece of wood into a smooth, polished surface ready for finishing. Whether you're sanding by hand or using power tools, following the correct procedures will help you achieve the best results.
Steps for Hand Sanding
Hand sanding is often the preferred method for small projects or detailed work. Here are the steps to follow:
- Begin with coarse-grit sandpaper (40-60) to remove rough spots, old finishes, or significant imperfections. Sand evenly across the surface, applying steady pressure. This initial sanding will smooth out the wood and prepare it for finer grits.
- Once the coarse sanding is complete, switch to medium-grit sandpaper (80-120). This grit will further smooth the surface and remove any scratches left by the coarse grit. Sand the entire surface again, ensuring even coverage.
- For the final sanding, use fine-grit sandpaper (150-220 and up). This step is crucial for achieving a smooth finish that is ready for staining or painting. Sand lightly and evenly, paying attention to any remaining imperfections.
Steps for Using Power Sanders
Power sanders can save time and effort, especially on larger projects. Follow these steps for best results when power sanding:
- Select the appropriate sander based on your project needs. Orbital sanders are versatile and suitable for general sanding tasks, while belt sanders are powerful and ideal for heavy-duty sanding on large surfaces. Detail sanders are perfect for precision work and tight areas.
- When using a power sander, always move the sander in the direction of the wood grain to avoid scratches. Start with a coarse grit for initial sanding, then progress to medium and fine grits as needed. Apply even pressure and keep the sander moving to prevent gouging the wood. Avoid lingering in one spot to ensure a uniform finish.
Safety is paramount when working with power tools. Always wear protective gear, such as safety glasses and a dust mask, to protect against dust and debris. Ensure the sander is in good working condition and follow the manufacturer's instructions. Keep the work area clean and well-ventilated, and unplug the sander when changing sandpaper or making adjustments.
Tips for Best Results When Sanding Wood
To achieve the best results, it's important to follow some practical tips and techniques. Here are a few key practices to keep in mind during the sanding process.
Maintain Consistent Pressure
Applying consistent pressure while sanding is essential for an even finish. Whether you're sanding by hand or using a power sander, avoid pressing too hard in any one spot, as this can create uneven surfaces and gouges. Instead, use steady, moderate pressure and let the sandpaper do the work. When using a power sander, keep the tool moving steadily across the wood to prevent creating dips or scratches.
Check Progress Regularly
Regularly checking your progress helps ensure that you are sanding evenly and effectively. Stop frequently to feel the surface with your hand and look for any rough spots, scratches, or uneven areas that need more attention. Use a bright light to inspect the wood, as this can reveal imperfections that might be missed otherwise. Making small adjustments as you go can prevent bigger problems later.
Avoid Common Mistakes
Avoiding common sanding mistakes can save you time and improve the final result. Here are a few pitfalls to watch out for:
- Uneven Sanding: Make sure to sand the entire surface uniformly. Focusing too much on one area can create an uneven surface. Sand in long, even strokes, following the grain of the wood to maintain consistency.
- Over-Sanding Edges: Edges and corners can be easily over-sanded, leading to rounded or uneven edges. Use lighter pressure on these areas and take extra care to avoid over-sanding.
- Skipping Grits: Progress through the sandpaper grits in order, from coarse to fine. Skipping grits can leave scratches and prevent you from achieving a smooth finish. Each grit should be used to remove the scratches from the previous grit.
By maintaining consistent pressure, checking your progress regularly, and avoiding common mistakes, you can achieve a smooth and professional finish on your woodworking projects. These tips will help you make the most of your sanding efforts and ensure that your wood surfaces are well-prepared for staining, painting, or any other finishing touches.
Sanding Between Finishing Coats
Sanding between coats of finish, such as varnish, polyurethane, or paint, helps to remove any dust particles, brush strokes, or bubbles that may have settled in the previous coat. It also ensures better adhesion of the subsequent coats, resulting in a more durable and even finish. This step smooths out any irregularities and prepares the surface for the next layer of finish, enhancing the overall quality and appearance of the final product.
When sanding between coats, it's important to follow a few best practices to achieve the best results:
- Wait for the Coat to Dry: Ensure that the previous coat is completely dry before sanding. Sanding too soon can damage the finish and create an uneven surface.
- Clean the Surface: Before sanding, clean the surface to remove any dust or debris. Use a tack cloth or a vacuum to ensure the surface is free of particles that could scratch the finish.
- Light Pressure: Sand with light pressure to avoid removing too much of the finish. The goal is to smooth out the surface, not to strip it.
For sanding between coats, always use fine-grit sandpaper or sanding pads. Grits ranging from 220 to 320 are ideal for this purpose. Fine-grit sandpaper gently smooths the surface without causing deep scratches or removing too much of the finish. Sanding pads are also a great option as they conform to the surface, making it easier to sand evenly, especially on curved or detailed areas.
Common Sanding Problems and Solutions
Even with careful sanding, you might encounter some common problems that can affect the quality of your woodworking project. Knowing how to address these issues will help you achieve a smooth and professional finish.
Swirl Marks
Swirl marks are common when using power sanders, especially orbital sanders. They are caused by abrasive particles on the sandpaper creating circular patterns on the wood surface. To minimize swirl marks, always sand with the grain and use fine-grit sandpaper for the final sanding stages. Keep the sander moving and avoid pressing too hard on one spot. If swirl marks do appear, lightly sand the area with fine-grit sandpaper (220 or higher) by hand, moving with the grain.
Scratches
Scratches can occur if coarse sandpaper is used for too long or if grit particles get caught under the sandpaper. To fix them, progress through the grits systematically, starting with coarse and moving to finer grits. Ensure the surface is clean before switching grits to prevent particles from scratching the wood. If scratches persist, re-sand the area with the appropriate grit until smooth.
Uneven Surfaces
Uneven surfaces can result from inconsistent pressure or lingering too long in one area. To achieve a level surface, apply even pressure while sanding and keep the sandpaper or sander moving at all times. If the surface is already uneven, re-sand the entire area with a flat sanding block to level it out. Check your progress frequently to ensure evenness.
Get Superior Wood Sanding Results With Red Label Abrasives
Sanding is a critical step in any woodworking project, and mastering the process can significantly improve the quality of your work. By understanding the basics of sanding, choosing the right sandpaper, preparing the wood properly, and following best practices, you can achieve a smooth, professional finish. Remember to address common sanding problems promptly to ensure the best results.
If you have any questions or need high-quality abrasives for your woodworking projects, don't hesitate to contact Red Label Abrasives. Our wide range of industrial-grade sanding products, which includes sanding sheets, sanding belts, and sanding discs, is designed to meet the needs of both amateur and professional woodworkers. To learn more or place an order, please contact us by calling 844-824-1956 or filling out our contact form today.


Our Most Popular Abrasives For Woodworkers
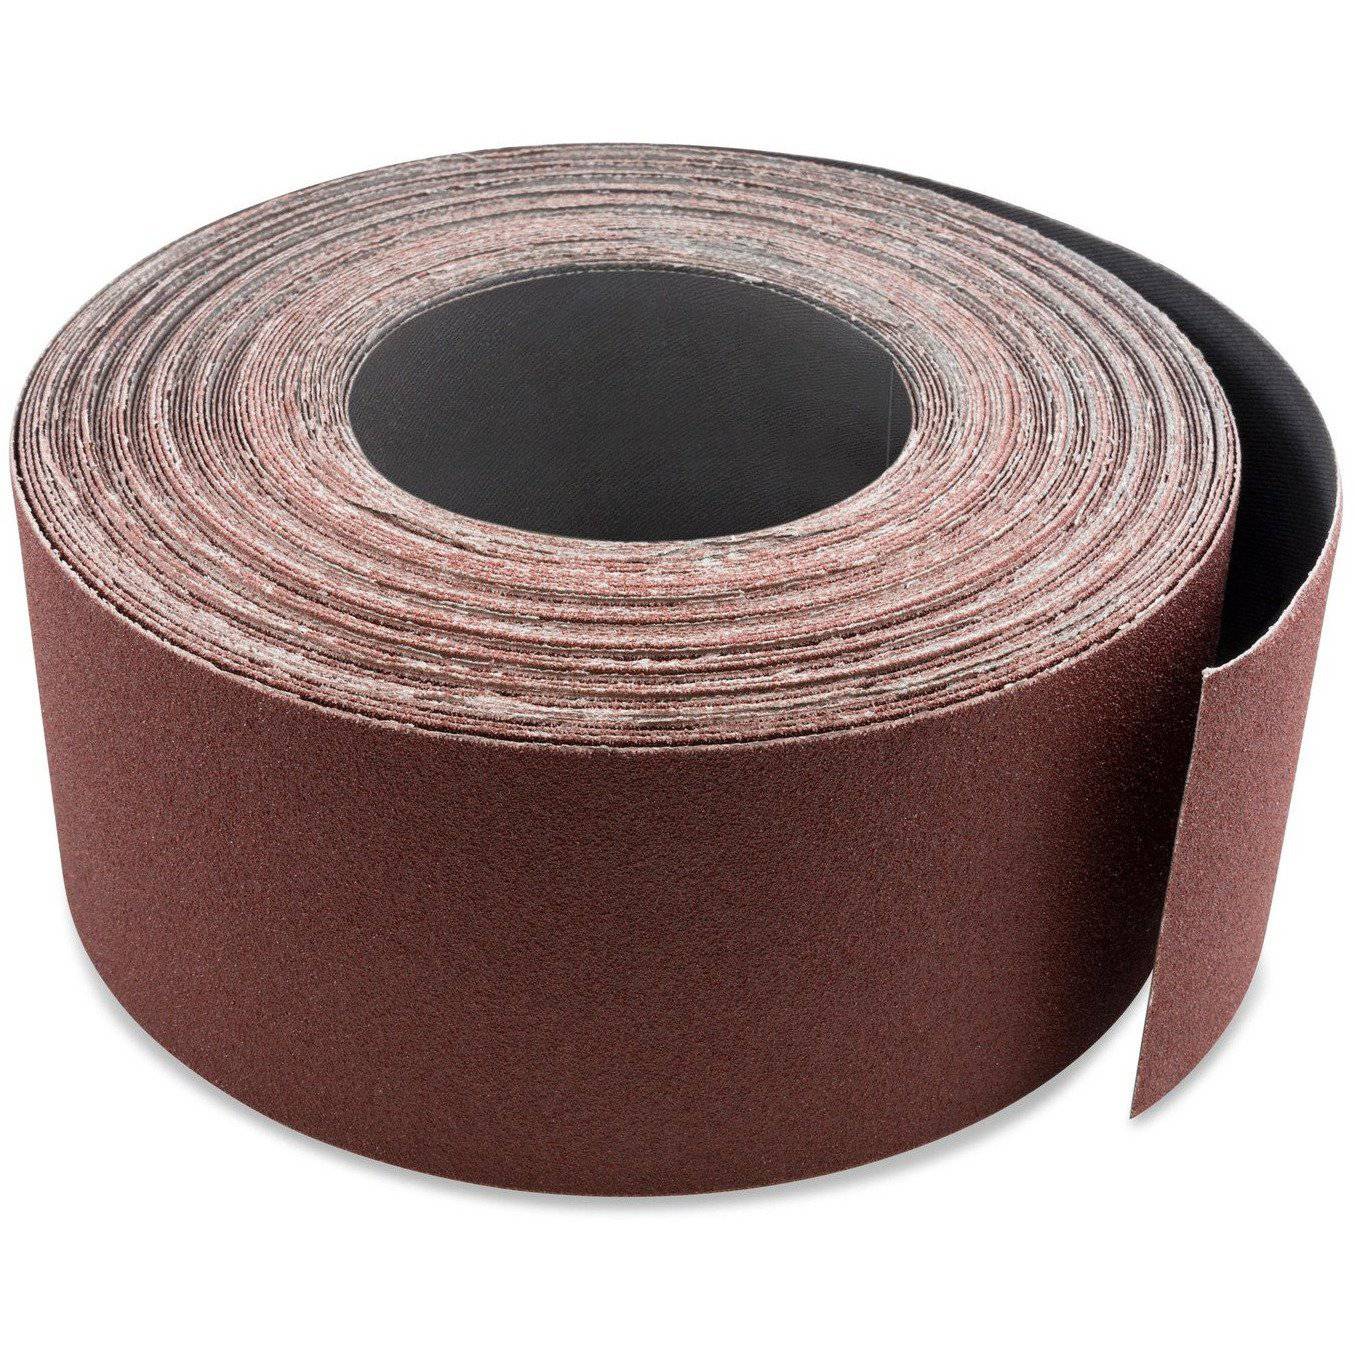
3 inch X 70 FT Woodworking Aluminum Oxide Cloth Drum Sander Strip Roll
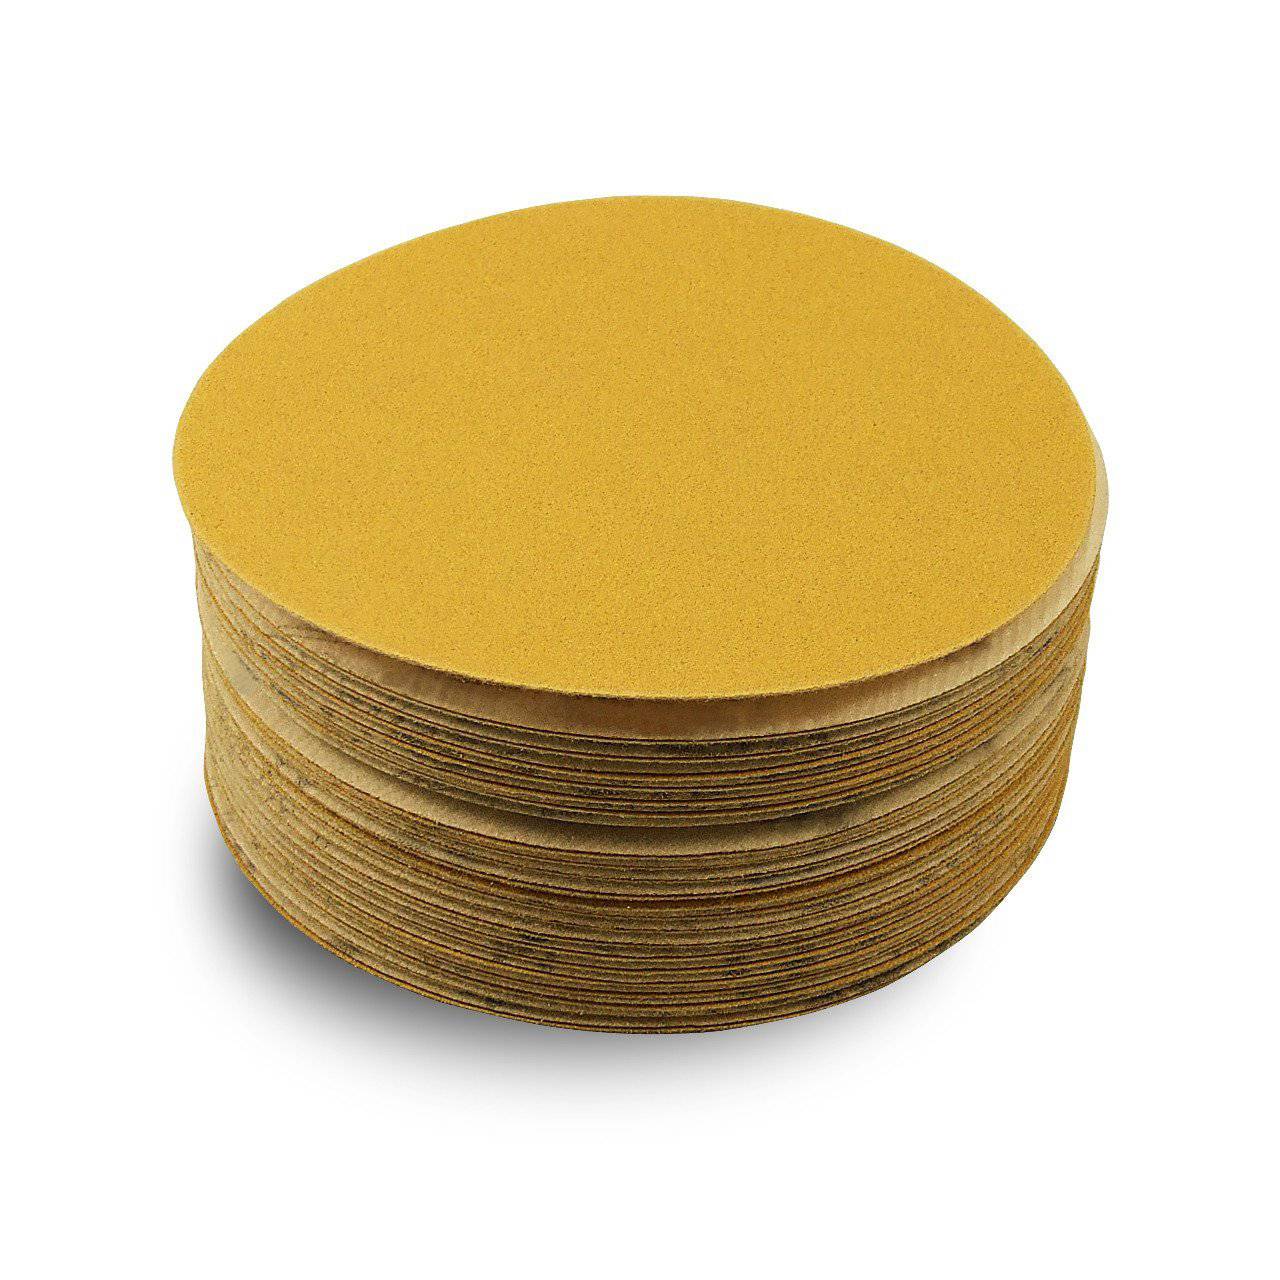
5 Inch Hook and Loop Gold Sanding Discs, 50 Pack

2 X 72 Inch Multipurpose Sanding Belts, 6 Pack
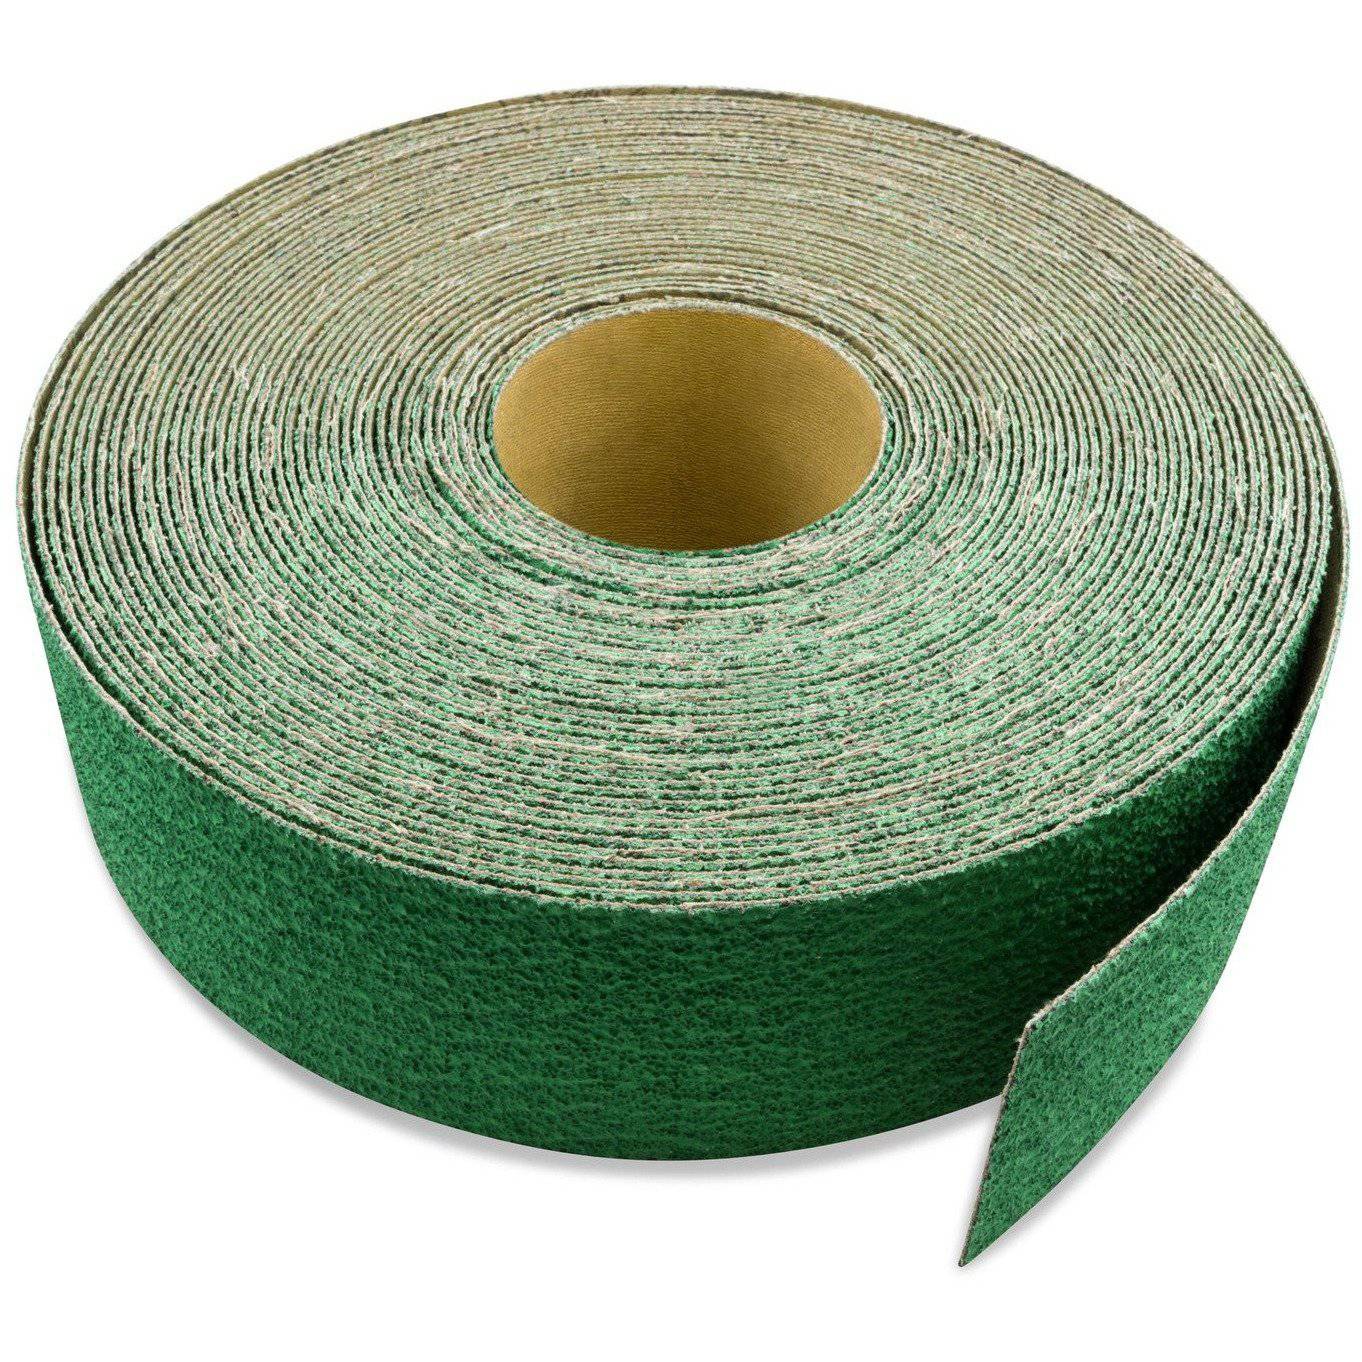
3 inch X 70 FT Premium Zirconia Woodworking Drum Sander Roll

6 X 48 Inch Aluminum Oxide Wood & Non-Ferrous Sanding Belts, 2 Pack
Shop By Product Category


Why Choose Red Label?

