Your Cart is Empty
Free Shipping over $150 (Excludes Oversized Products)
Free Shipping over $150 (Excludes Oversized Products)
Sanding Belts
Sanding Discs

Bladesmithing 101: A Complete Beginners Guide To Bladesmithing
by David Kranker 8 min read

Bladesmithing is the time-honored art of forging and shaping metal to make knives, swords, and other types of blades. Learning it takes some time and more than a little trial and error, but once mastered, bladesmithing inspires many hobbyists to do it full-time. Even if you don’t go that route, making knives can become a valued part of your leisure time.
At Red Label Abrasives, we sell pro-quality knife-making kits that can help you shape and finish your blades. Since we answer so many questions from aspiring bladesmiths, we’ve written a complete beginner’s guide to bladesmithing to help them (and hopefully you) get started.
The History of Bladesmithing
First, let’s start with some history.
A crucial part of human civilization, bladesmithing dates back thousands of years. It is believed to have originated in the Bronze Age, (around 3000 BC), when blades and tools were made out of copper and bronze. A shift toward iron as a material started in the Iron Age, which began around 1200 BC, but the golden age of bladesmithing truly began during the medieval period. Master bladesmiths in Europe and Asia created some of the most impressive swords and daggers in history, including the legendary katana and European longsword.
With the advent of the industrial revolution in the 18th and 19th centuries, bladesmithing became more mechanized and factories began generating mass-produced blades for various industries. Still, there were artisans who kept the craft going, and today bladesmithing is a popular hobby and profession, with a focus on traditional techniques and craftsmanship.
How to Get Started in Bladesmithing
Before you start making your own blades, it's essential to learn the basics of bladesmithing. You can do this by reading books, watching online tutorials, or taking a class. Once you have the necessary tools, begin with simple blade designs and work your way up to more complex shapes and techniques.
After you’ve made a few knives, it’s worth it to join a bladesmithing community to connect with other enthusiasts and get feedback on your work. You can join online forums or attend local blacksmithing events and workshops.
Remember: bladesmithing is a lifelong learning process, and there's always something new to discover. Keep reading, watching tutorials, and experimenting with new techniques to continue improving your skills.
Setting Up for a Bladesmithing Session
Like any other art, bladesmithing begins with strategic planning. What type of steel do you want to work with? Options include:
- High carbon steel
- Stainless steel
- Damascus steel
Research the properties of different steel types and choose the one that best suits your needs. We have an entire post on the best steels for knife making. Here are some considerations:
- Harder steels hold a sharp edge better, but they may be more difficult to forge and grind.
- Softer steels are easier to work with but may need to be sharpened more often.
- If the finished blade will be exposed to moisture or harsh conditions, choose a steel type that is corrosion-resistant, such as stainless steel.
Once you’ve decided what kind of steel you’d like to work with, proceed to the steps below.
Step #1: Set Up Your Workspace
Your bladesmithing workspace should be well-ventilated, well-lit, and away from flammable materials. An outdoor area, workshop, or garage can work well. You’ll need the following equipment:
- Forge: The forge heats the metal to a workable temperature. Some popular types include gas forges and coal forges.
- Anvil: The anvil is a heavy, flat surface where you shape the metal.
- Bladesmithing Tools: You will need a variety of tools for bladesmithing, including hammers, tongs, chisels, and grinders. We have a separate post on knifemaking tools you’ll need to craft knives. Set up a workbench or table to store and organize your tools.
Step #2: Put on Protective Gear
Bladesmithing can be a hazardous activity, so it's essential to wear protective gear to keep yourself safe. Here are some types of protective gear you may need:
- Eye and Face Protection:Sparks and flying debris can cause serious eye injuries, so it's crucial to wear eye protection such as safety glasses or goggles. Face shields can also be worn for additional protection.
- Respiratory Protection: Bladesmithing produces smoke, fumes, and dust, which can be harmful to your lungs. Wear a respirator mask that is designed for metalworking and filters out particulates and fumes.
- Heat Protection: A forge can reach extremely high temperatures, so it's important to wear heat-resistant gloves and an apron to protect your skin from burns.
- Safety Clothing: Wear long-sleeved, heavy-duty clothing made from natural fibers such as cotton or leather to protect your skin from sparks and flying debris.
Step #3: Heat Up the Metal
Before you begin, make sure your forge is clean and free of debris. Then add a layer of fuel, such as coal or propane, to the bottom of the forge and light it with a match or a torch. If using coal, add more fuel gradually to create a hot, even fire. If using propane, adjust the flame to the desired temperature. Once the fire is established, wait until the fuel has burned down to a layer of hot coals. The coals should be red or orange in color, indicating they are hot enough to heat the metal.
Use tongs to carefully place the metal into the hot coals, making sure it is fully submerged. If you're heating a long piece of metal, you may need to move it around in the forge to ensure even heating coverage.
As the metal heats up, it will change color. It will first turn a dull red color, then orange, and finally a bright yellow-white color. Different types of metals have different ideal forging temperatures, so consult a reference chart or guide to determine the appropriate temperature for the metal you're working with. Once the metal has reached the desired temperature, carefully remove it from the forge using tongs.
Step #4: Shape the Blade
Once the metal is heated, use a hammer to shape the metal into the desired blade shape. Use a variety of hammering techniques, such as:
- Drawing Out:In drawing out, the metal is drawn out of itself, making it longer and thinner. As the hammer face is slightly rounded and the horn of the anvil is rounded, drawing out on the horn will yield more movement than drawing out on the flat face of the anvil.
- Upsetting: Upsetting makes your metal thicker, shorter, and narrower by doing the opposite of drawing. Compared to many forging techniques, this requires a little more technical skill. Instead of heating the entire piece of metal in the forge, you can heat the part of the metal that you intend to shape.
- Bending: If you wish to bend or curve metal, heat it, hold it over the anvil horn and strike it with a hammer. Before bending your metal, you can heat sections of it rather than heating the whole piece. In addition, you can unbend metals by reheating them and reversing the process.
- Shrinking: When you shrink the metal, it is compressed between the flat head of your hammer and the flat surface of the anvil. The anvil and flat head of the hammer should have the same width as the object for this method to work.
Once the basic shape of the blade is formed, refine the shape using a smaller hammer or chisel. Pay close attention to the edges and tip of the blade to ensure they are symmetrical and well-defined.
Step #5: Heat Treat the Knife
Heat-treating a blade is a critical step in the bladesmithing process because it helps increase the blade's strength, hardness, and durability.
Before heat-treating, it's vital to anneal the blade. Annealing involves heating it to a specific temperature, then allowing it to cool slowly. This process helps reduce the blade's internal stresses and makes it easier to shape. To anneal, heat the steel to a dull red color, then let it cool in the forge or bury it in a container of insulating material, like vermiculite or ash.
After annealing, normalize the blade by heating it to a critical temperature (typically 1,500°F to 1,600°F) and then cooling it in still air. This process helps refine the blade's grain structure, making it more uniform and reducing the risk of cracking during heat treatment.
The next step is to harden the knife by heating it to a specific temperature (depending on the type of steel used) and then rapidly cooling it. This process, which is known as quenching, can be done using a variety of liquids, including oil, water, and brine. After this point, the blade is often too hard and brittle to be used, so it's tempered to reduce its hardness and increase its toughness.
Step #6: Temper the Blade
To temper the blade, heat it to a specific temperature (typically between 350°F to 600°F) and then allow it to cool slowly. The specific temperature and duration of the tempering process depend on the type of steel used and the desired properties of the blade.
Step #7: Finish the Blade
Finishing a knife blade with an abrasive helps create a smooth and polished surface on the blade. We have a full post on how to create a mirror finish on blades if you’re interested in producing a shiny, reflective surface.
If the blade has rough, uneven surfaces, start with a coarse grit abrasive to remove any large burrs or imperfections. Depending on the material, you may need to start with grit as low as 80 or 120. Once the rough surfaces are removed, move to a finer grit abrasive to smooth out the surface. Gradually increase the grit size until you achieve the desired level of smoothness. For example, you may start with 220 grit and move up to 400, 600, and 800 grit.
Once you've achieved a smooth surface, use a polishing compound to further refine the blade's finish. Polishing compounds come in different grit sizes, and they can be applied using a polishing belt or buffing wheel. For best results, work the compound into the surface of the blade in a circular motion. When you’re done, clean the metal thoroughly with a paper towel or soft cloth to remove any debris or polishing compound.
Step #8: Add a Handle to the Blade
Adding a handle to a knife blade is an essential step that affects both the functionality and the aesthetics of the knife. There are many materials that can be used to make a knife handle, including:
- Wood
- Bone
- Antler
- Synthetic materials like G10 or Micarta
We have compiled a list of the best knife handle materials that you can review. Once you've chosen your handle material, shape it to fit the knife tang, which is the part of the blade that extends into the handle. You can use a drill to make holes in the handle material that correspond to the tang's shape, then use a saw or a file to shape the handle material to fit the tang.
Once the handle material is shaped, you can attach it to the tang using epoxy, pins, or a combination of both. Epoxy is a strong adhesive that can be used to attach the handle material to the tang while pins can be used to reinforce the attachment and add a decorative element to the handle.
Once the handle material is attached to the tang, sand it to create a smooth and even surface. Depending on the material used, you can finish the handle with oil, wax, or varnish. This will help protect the handle material from moisture and wear, as well as add a polished look to the final product.
Red Label Abrasives: A Cut Above The Rest
Overall, bladesmithing has been a critical part of human history, from the earliest days of metalworking to the present day. The art and craft of bladesmithing continue to evolve and thrive, with a rich history and a promising future.
At Red Label Abrasives, we sell abrasive products that support both hobbyists and professional bladesmiths at all stages of the creation cycle. From sanding belts and paper to buffing wheels and polishing compounds, we have what you need to help ensure beautiful and timeless results. For more information or to place an order, please call 844-824-1956 or fill out our contact form today. ABOUT THE AUTHOR
David Kranker is a writer and creative maker who has been covering the abrasive and knife-making industries on the Red Label Abrasives Blog since 2020. David spends his time continually researching sanding and bladesmithing to provide readers with the latest and greatest information. In his free time, David utilizes abrasives for many different home and auto projects at his home in Delton, MI.
Belt Packs Made For Knife Makers
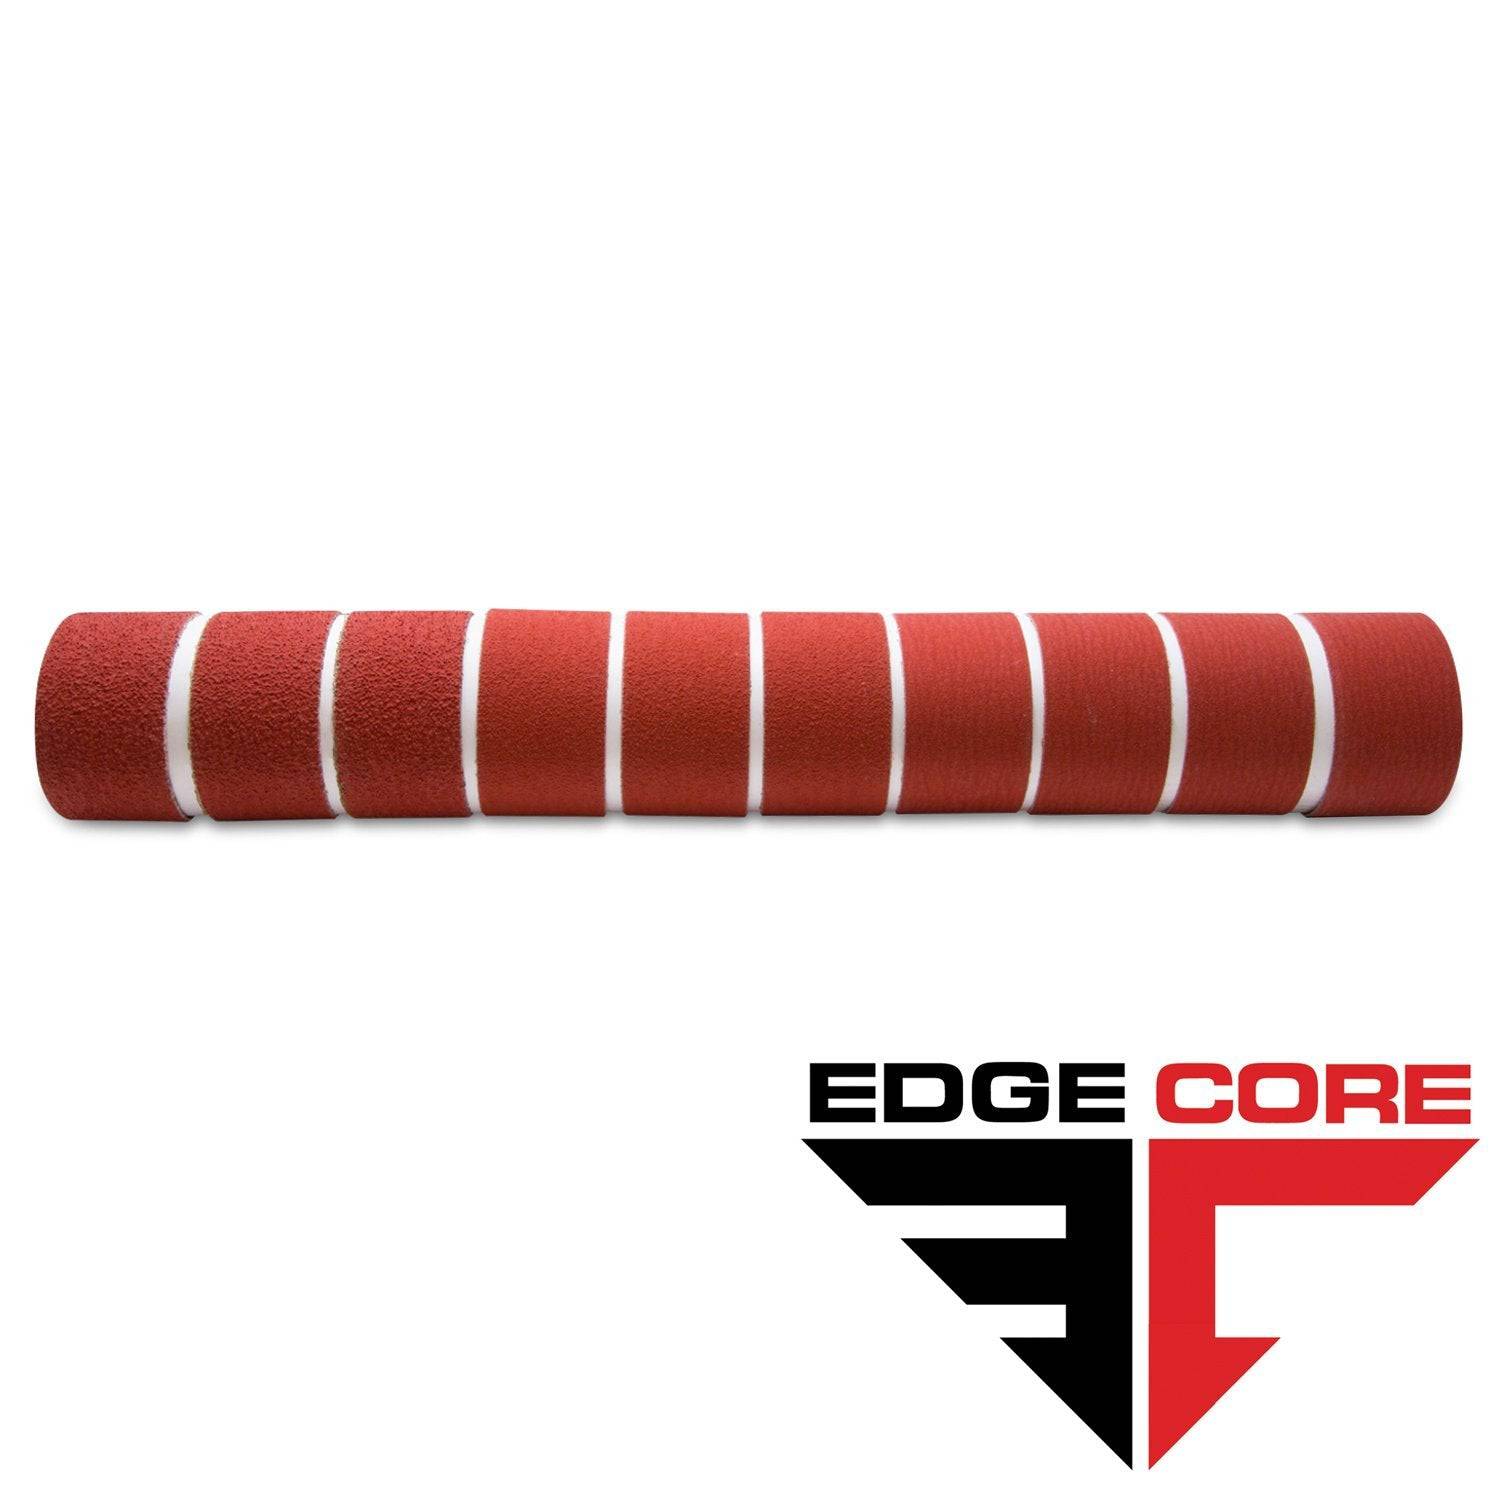
2 X 72 Inch Knife Makers Sanding Belts Assortment
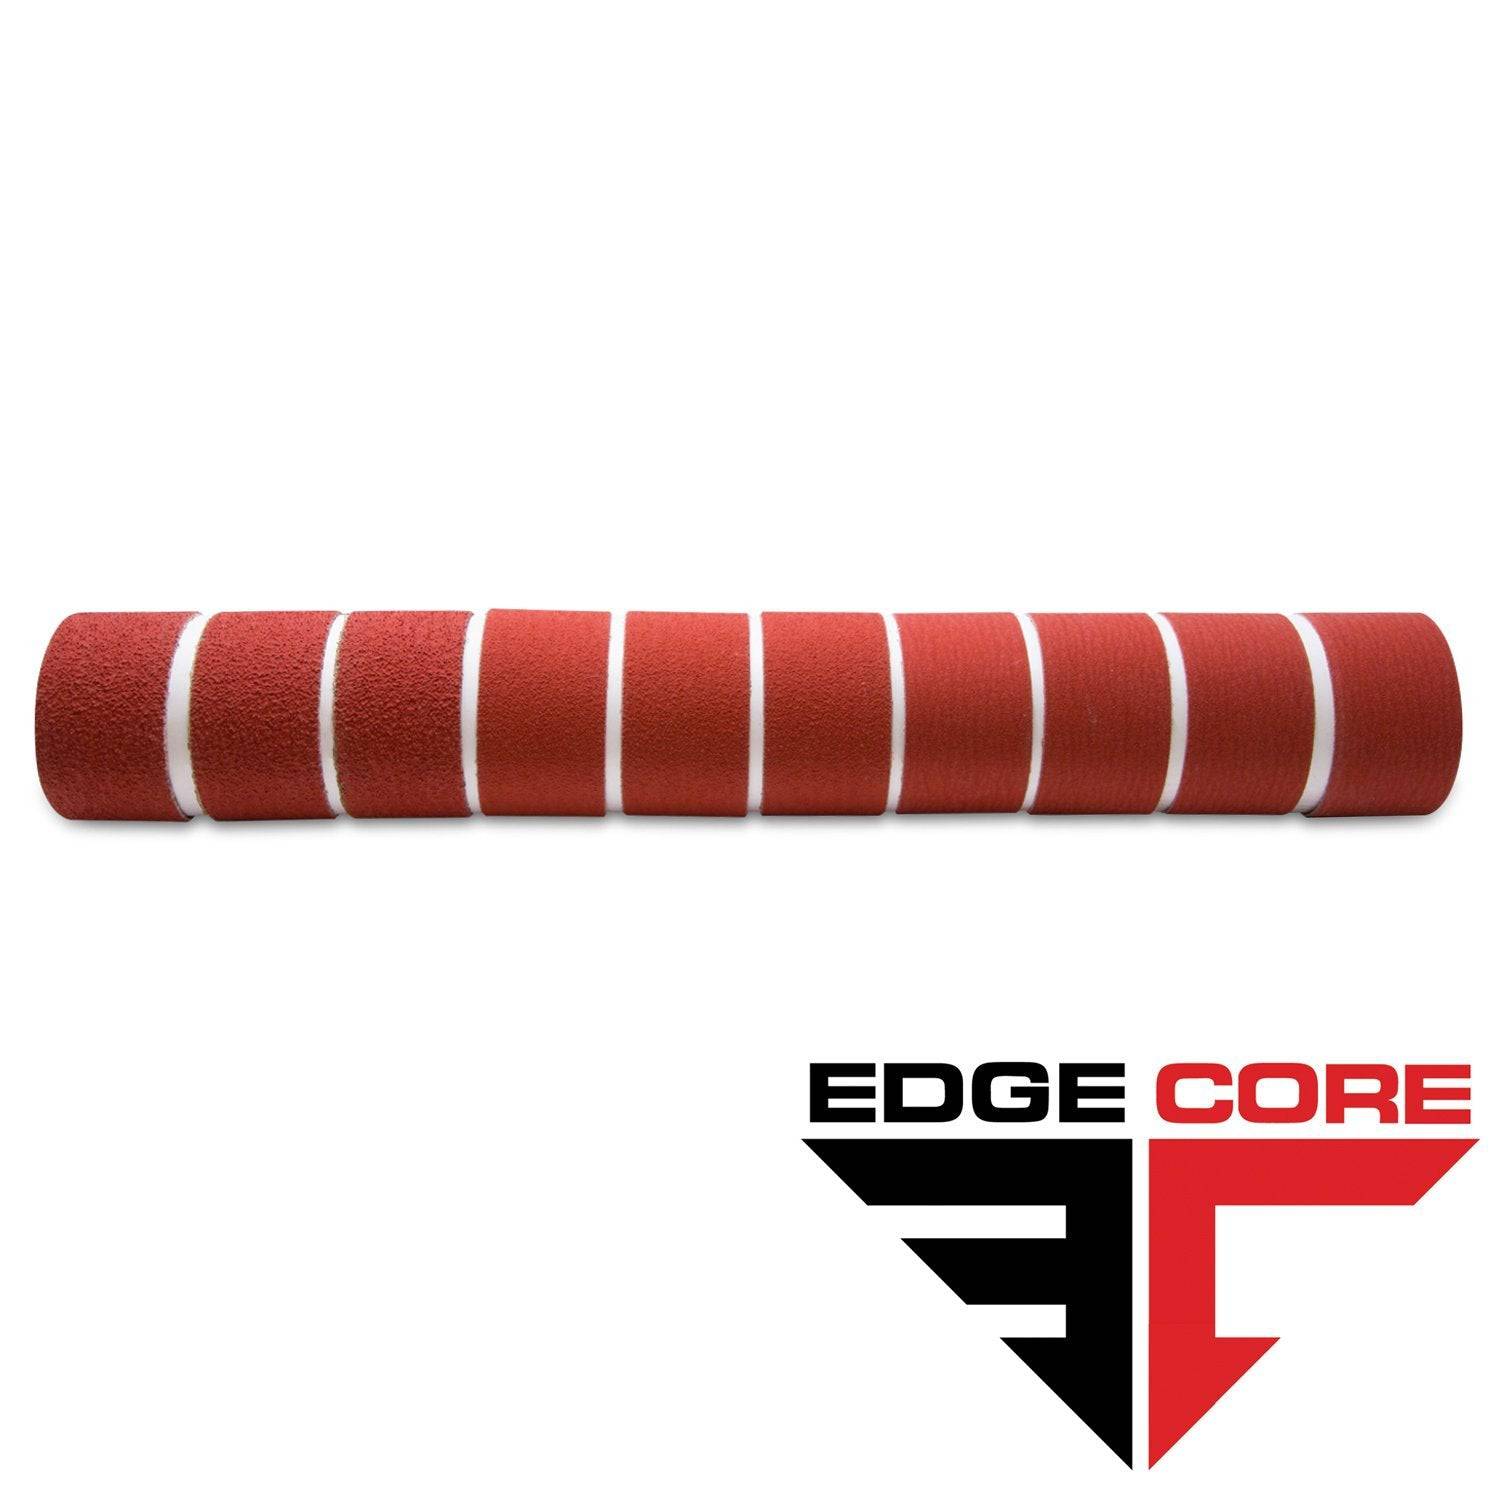
2 X 60 Inch Knife Makers Sanding Belts Assortment
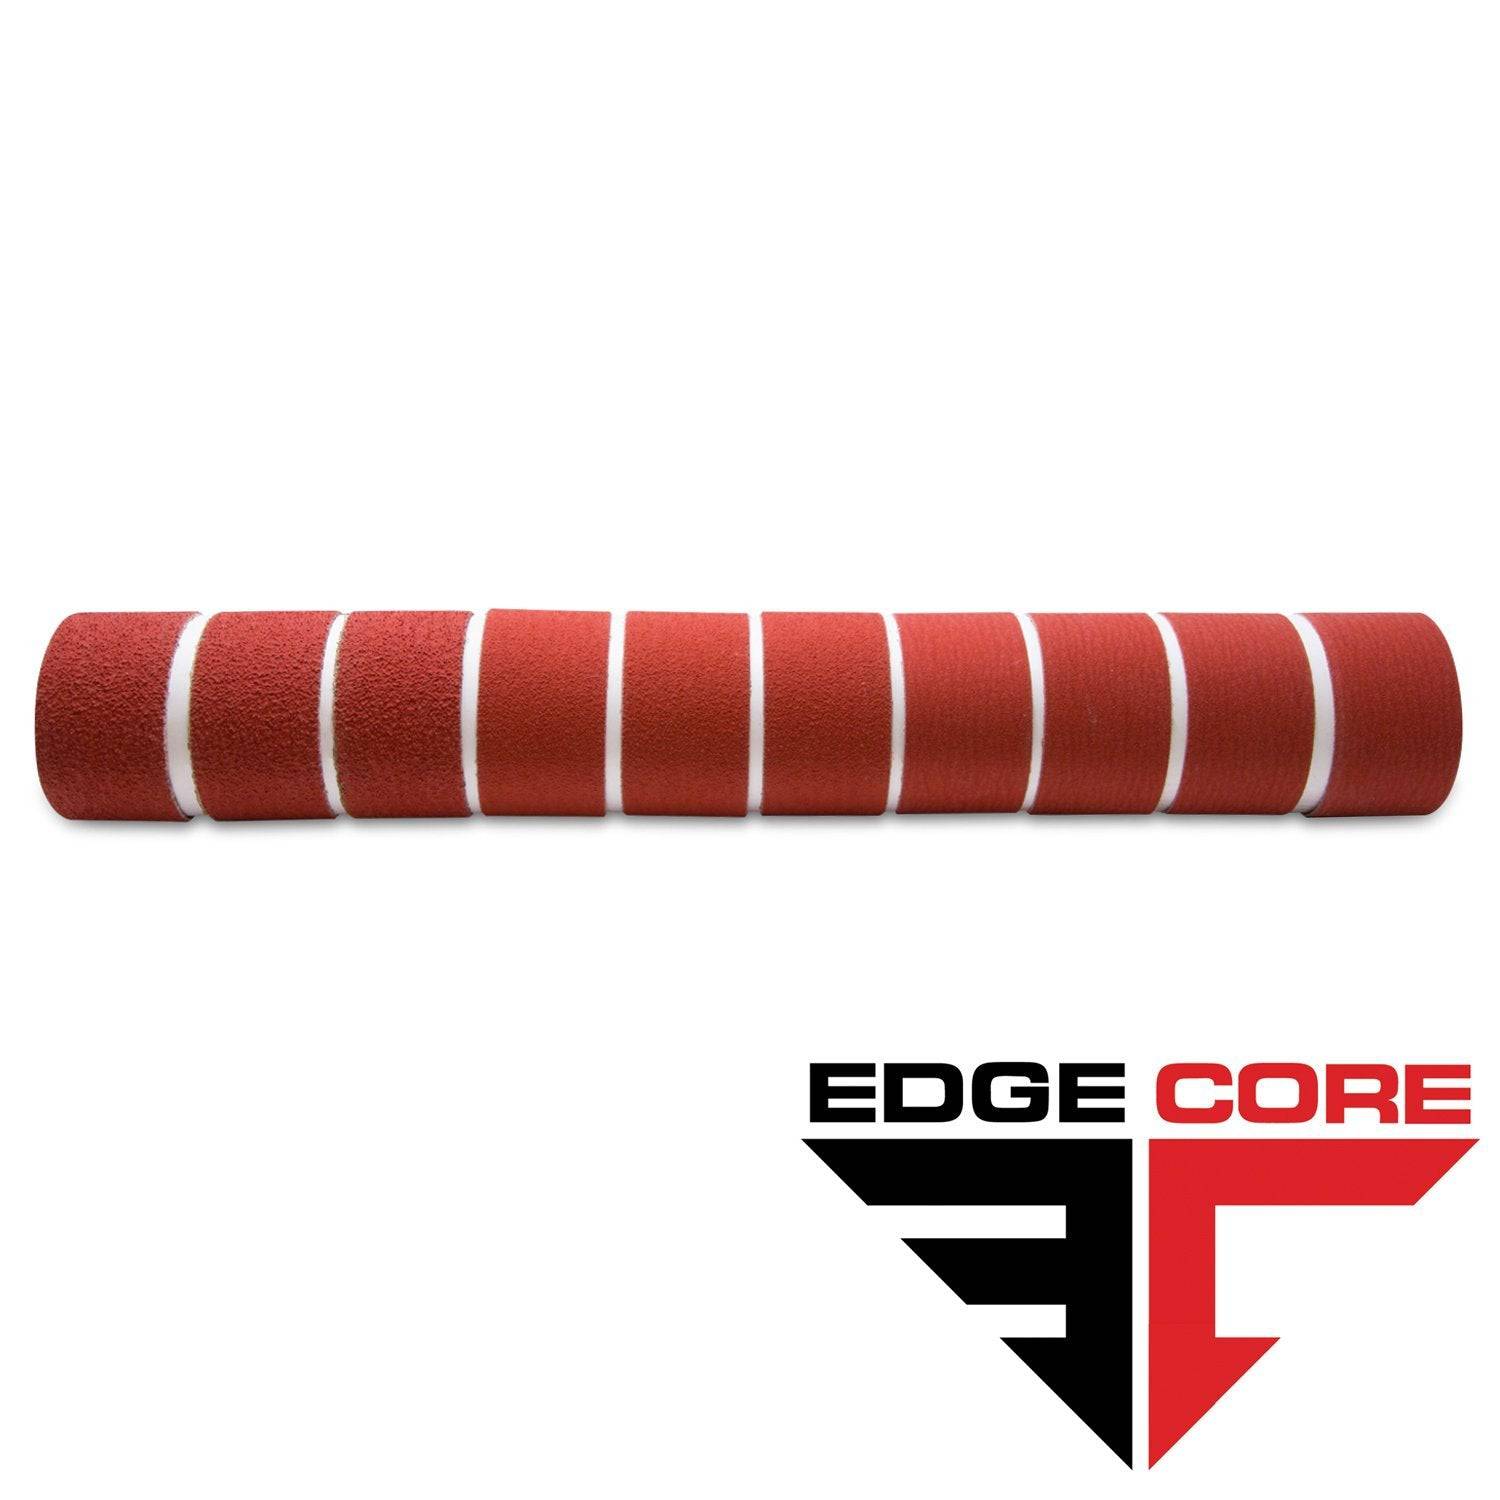
2 X 48 Inch Knife Makers Sanding Belts Assortment
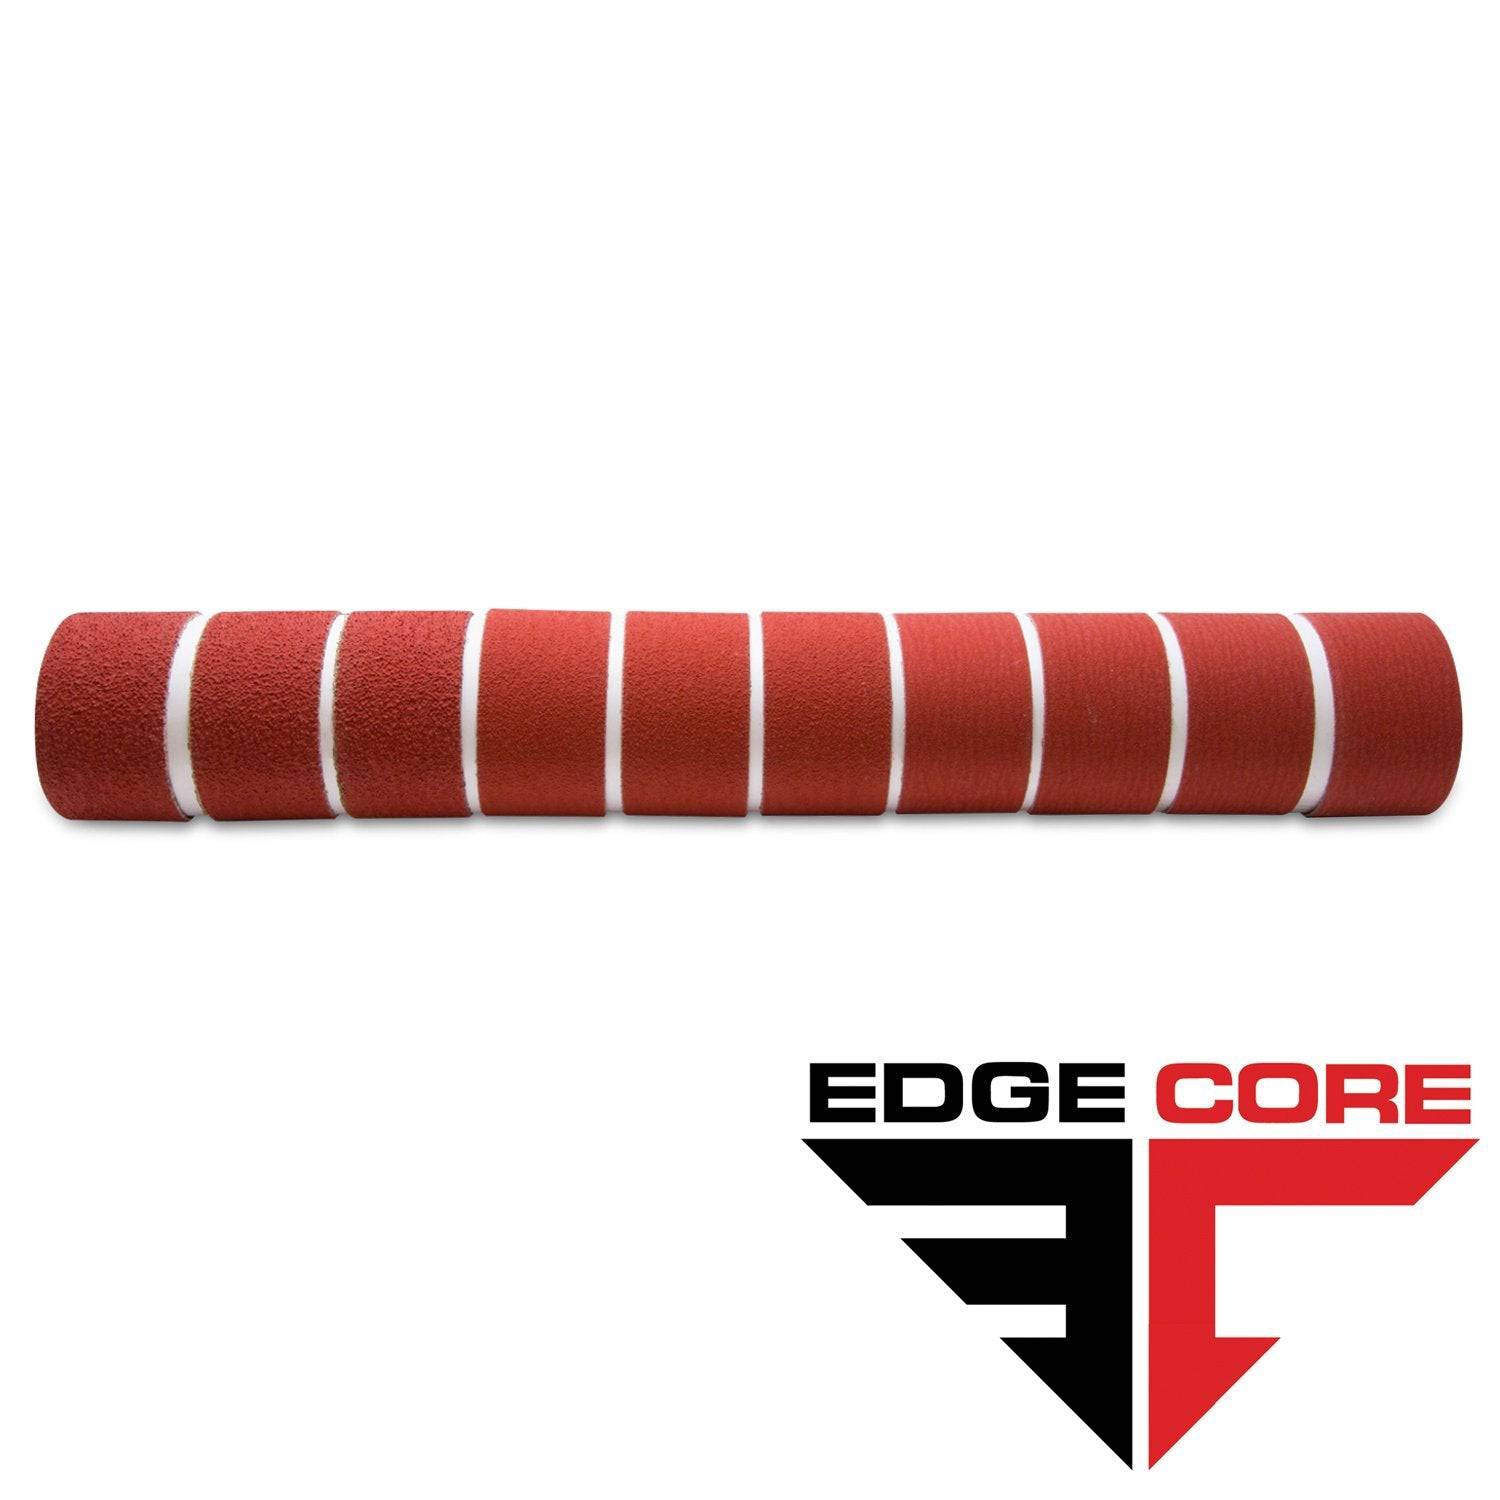
2 X 36 Inch Knife Makers Sanding Belt Assortment
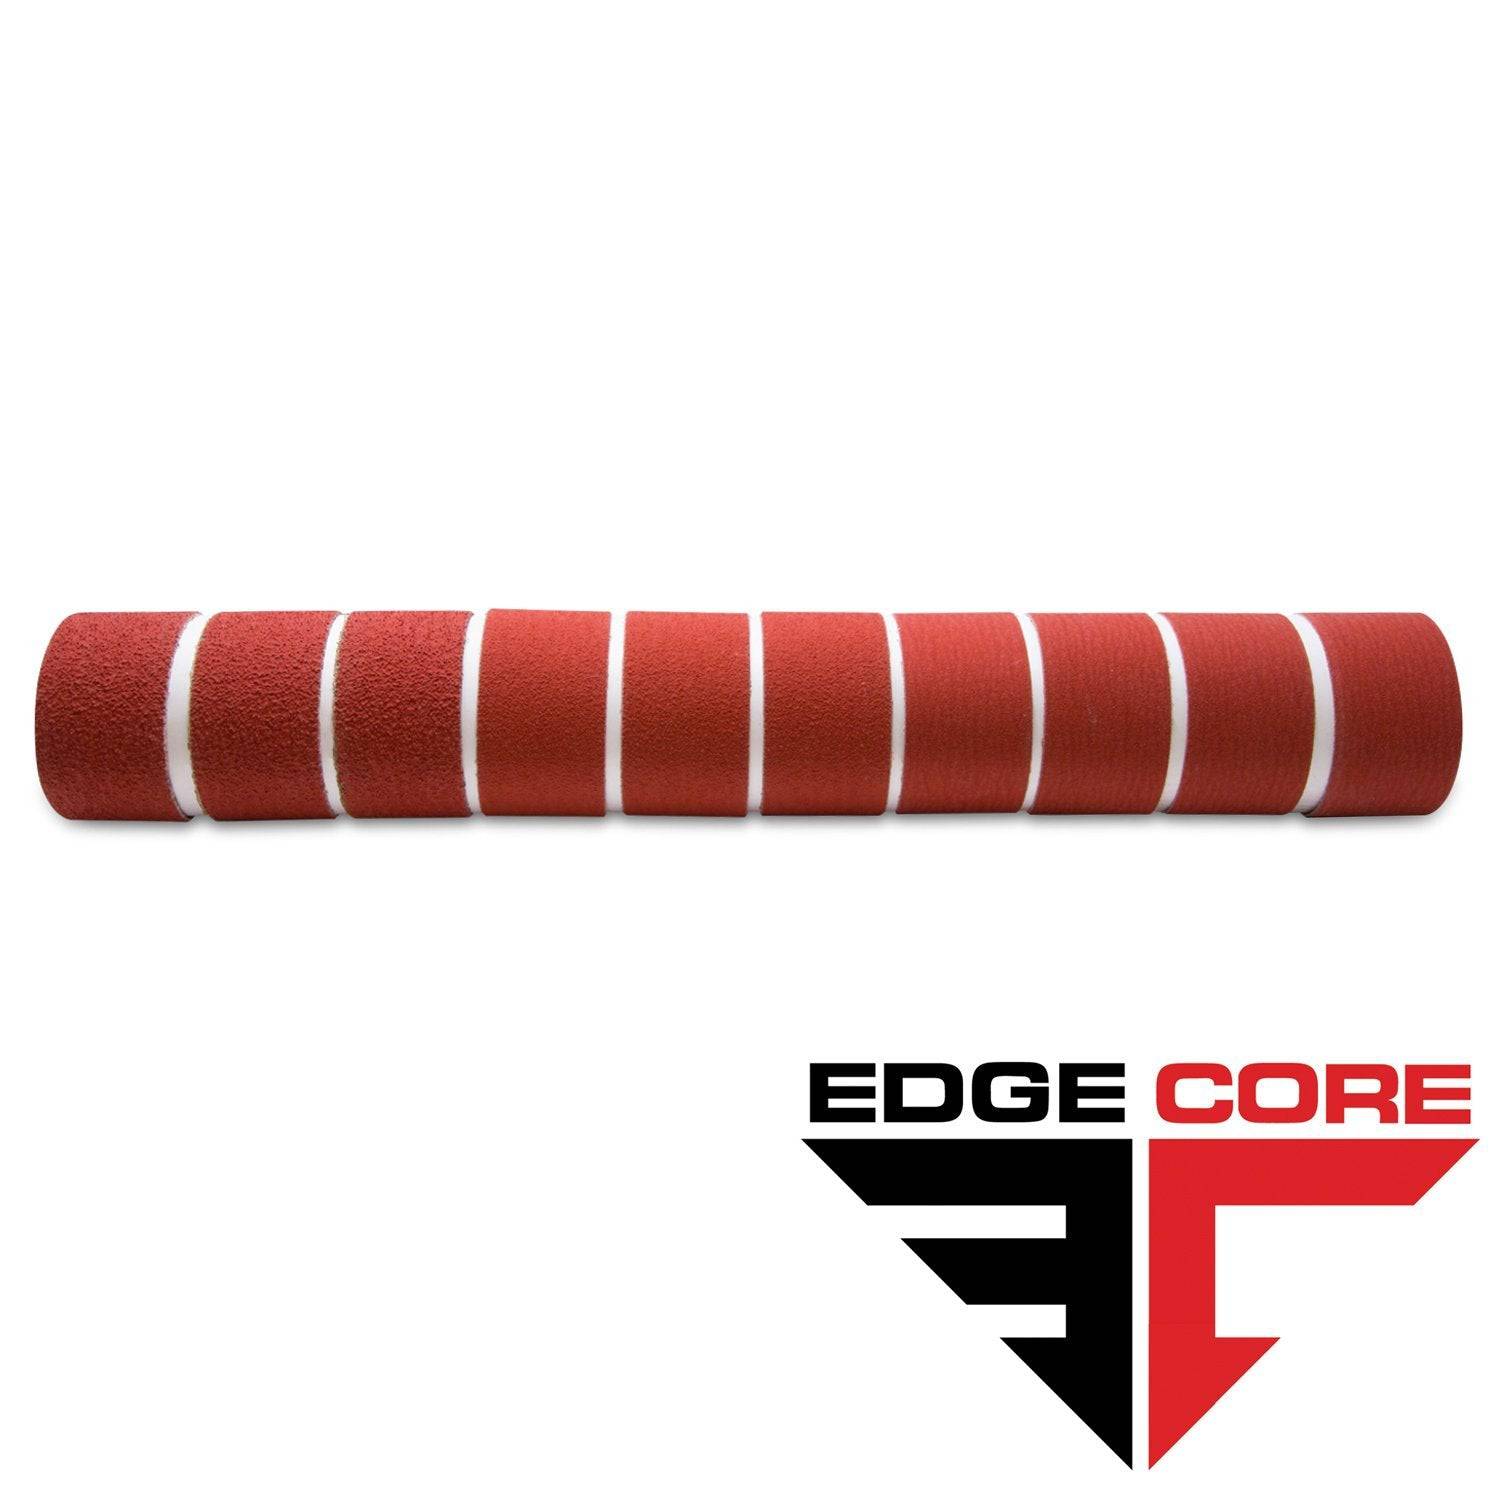
2 X 42 Inch Knife Makers Sanding Belts Assortment
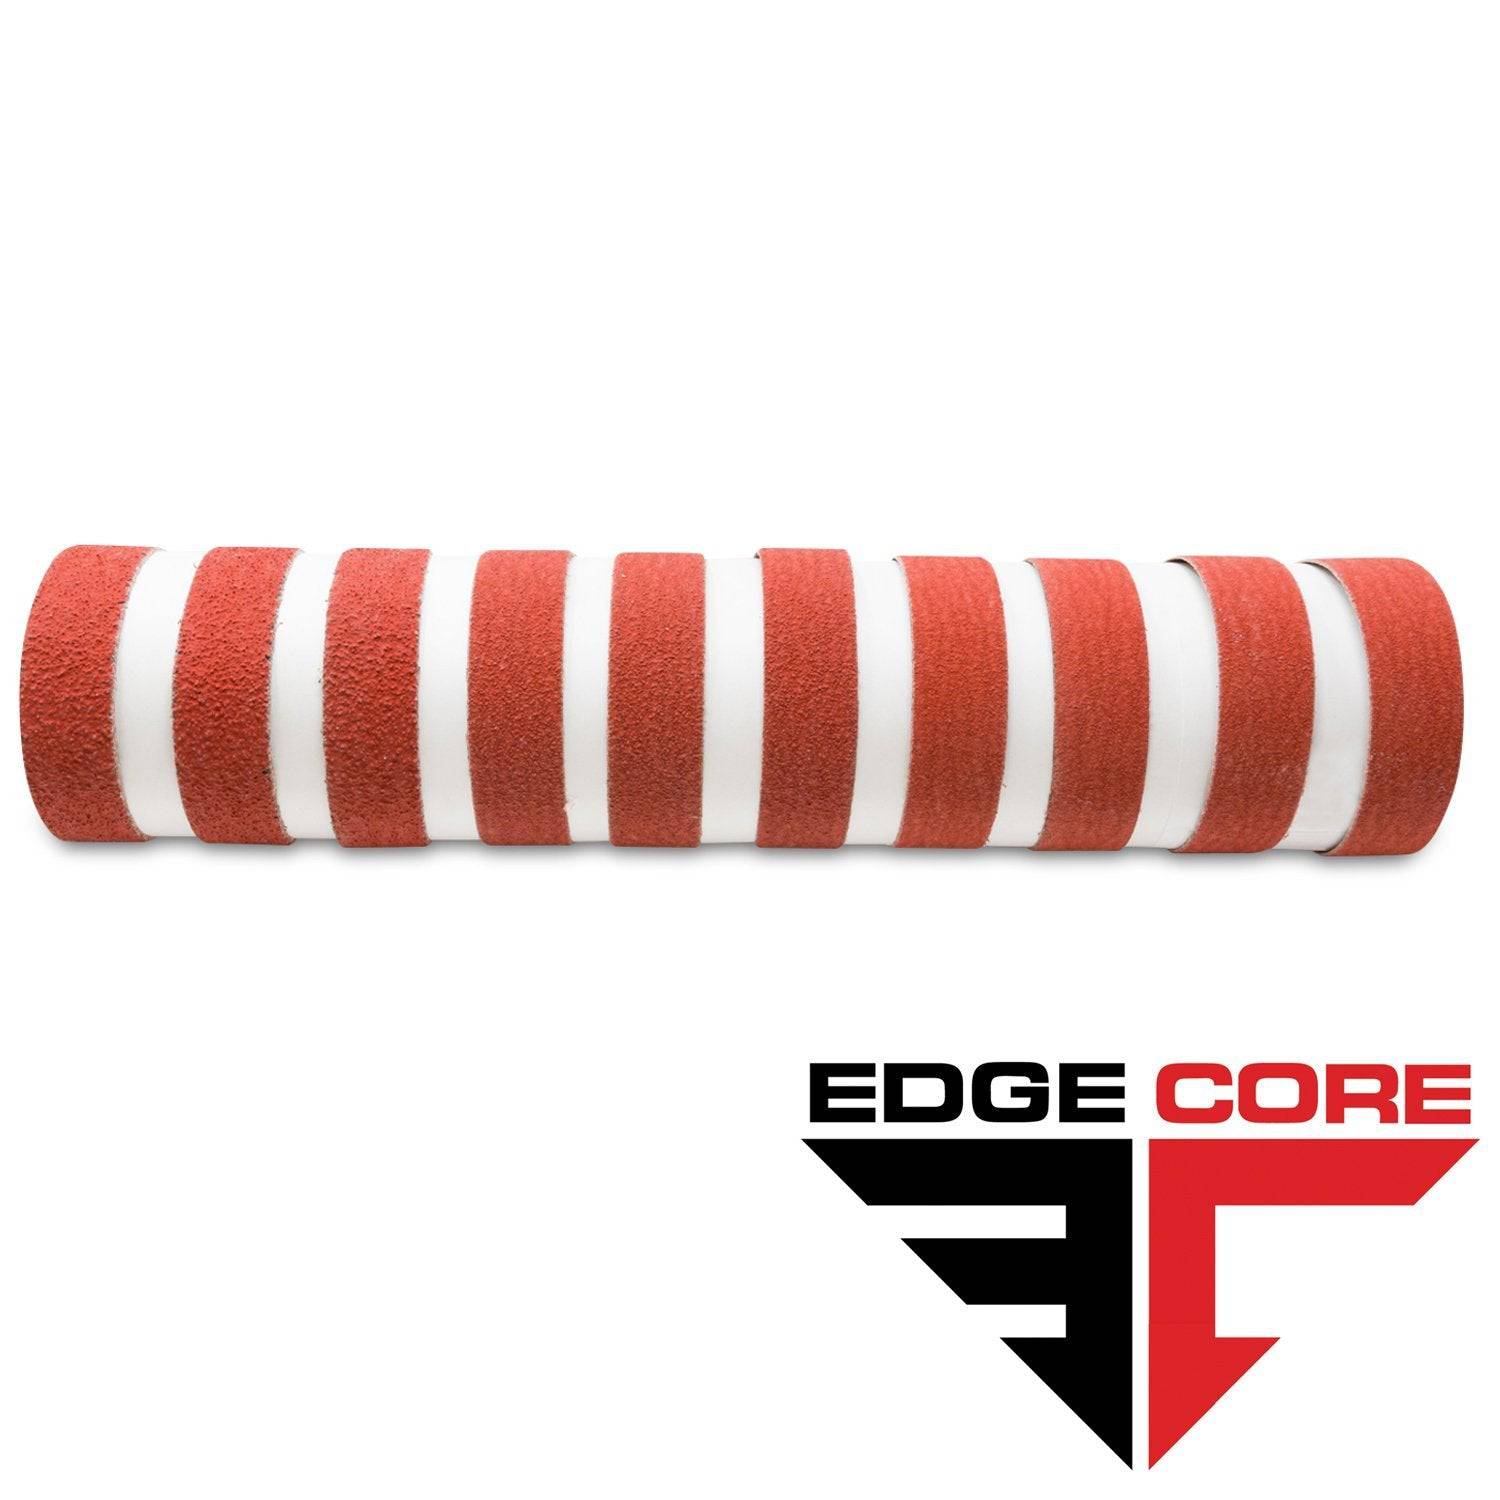
1 X 30 Inch Knife Makers Sanding Belts Assortment
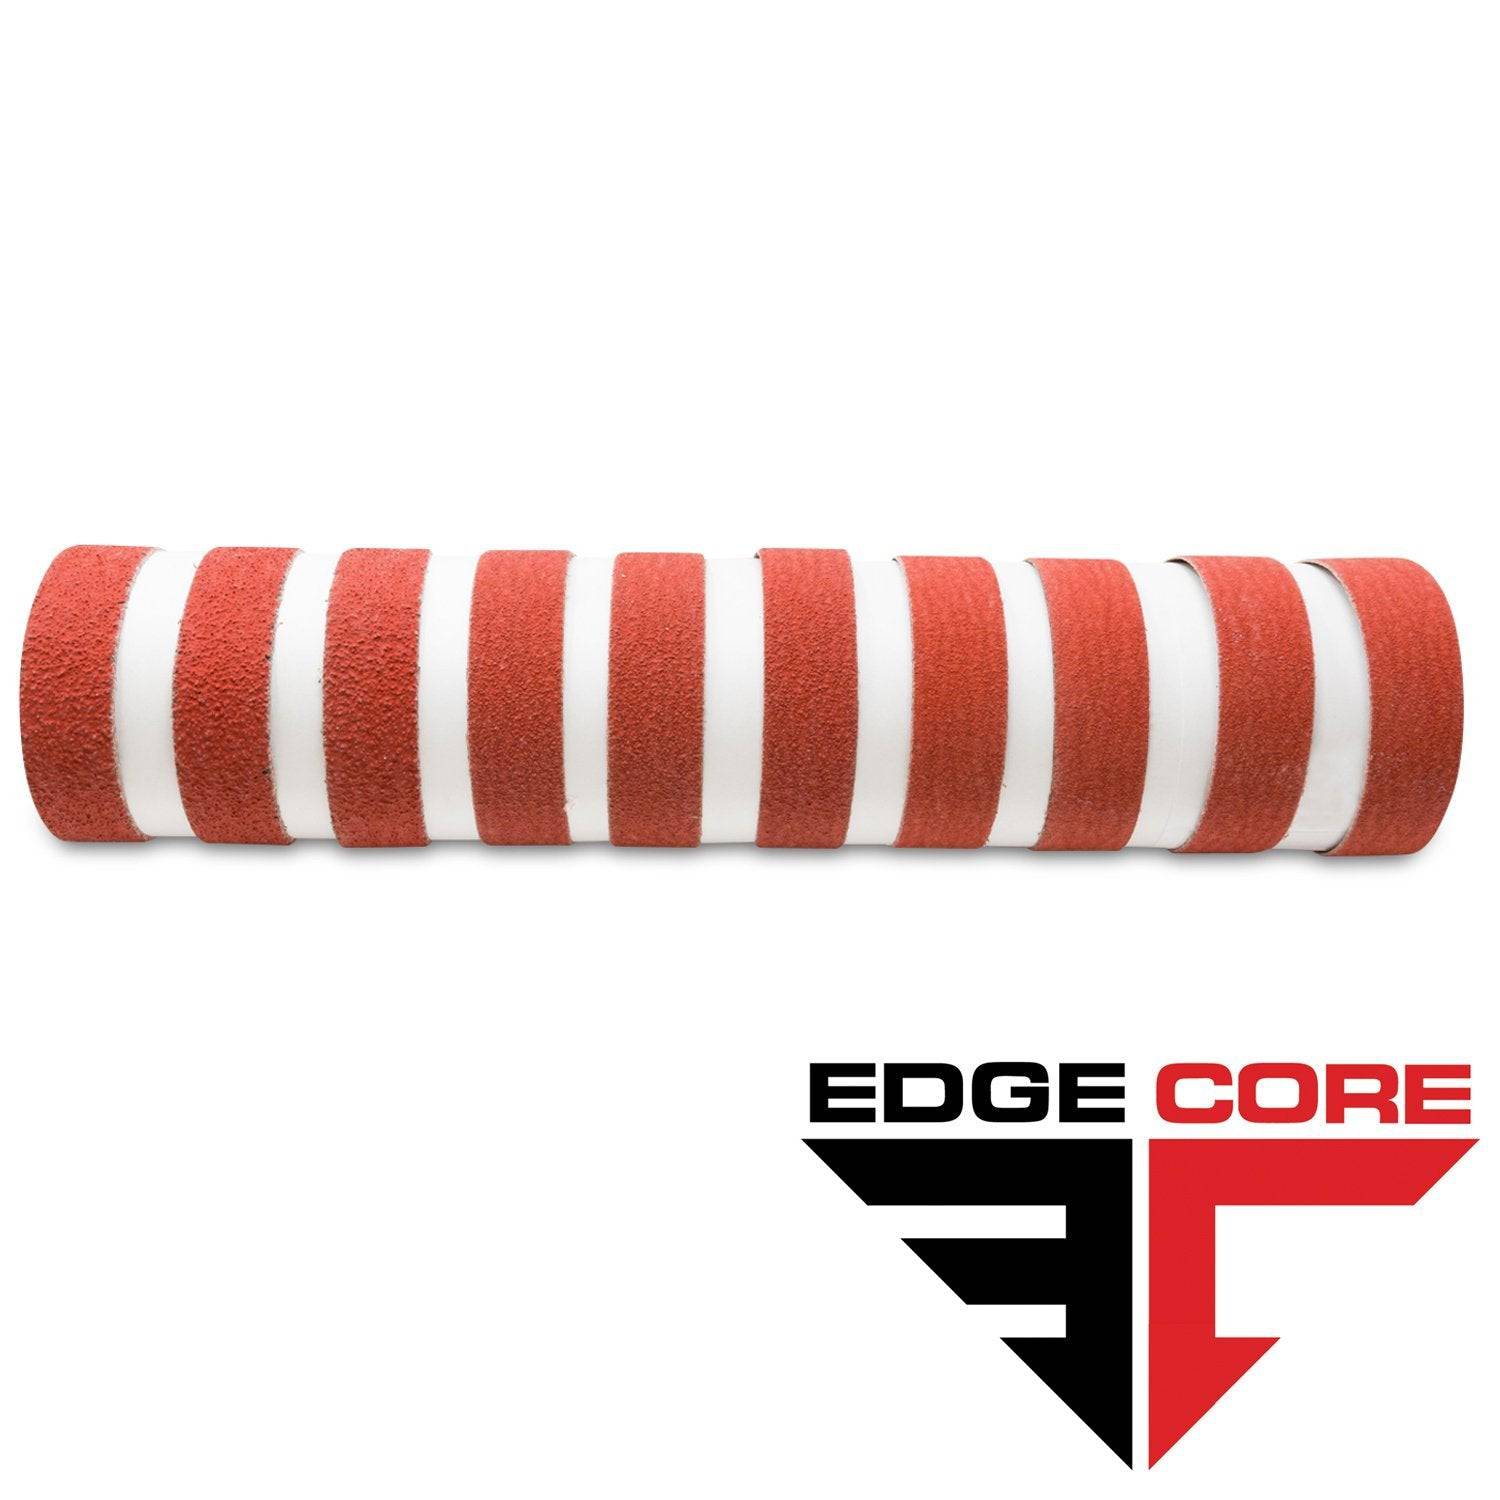
1 x 42 Inch Knife Makers Sanding Belt Assortment
Shop By Product Category


Why Choose Red Label?


