Your Cart is Empty
Free Shipping over $150 (Excludes Oversized Products)
Free Shipping over $150 (Excludes Oversized Products)
Sanding Belts
Sanding Discs

Developing a Blade Shape: How To Design Knives
by David Kranker 7 min read

Quick Summary
Good knife design is something that comes with time and experience. There are two main things you’ll want to keep in mind when designing knives. The first is what the knife will be used for. The primary use will drive many aspects of the design. The second thing you’ll want to make sure you’re doing is creating a design that doesn’t disrupt the flow of the lines defining the knife shape. If you do these two things, you’ll be well on your way to designing a good knife.
Jump To:
- What are the Main Parts of a Knife Blade?
- Common Blade Types
- Creating Your Knife Design
- Knife Design Tips
- Free Knife Design Templates
- Grinding Out the Silhouette
- Contact an Industrial Abrasive Specialist
Knives have several different uses. Some are for preparing and eating food while others are intended for carving, hunting, and other pursuits. Each type is distinguished by the shape of its blade, which also directs how you use it. In this guide, we’ll go over the most popular blade shapes and how you can develop the right one for your next project. We also have a free downloadable PDF of knife templates that you can use to start with.
What are the Main Parts of a Knife Blade?
Blades are made from different components, each of which can vary from one type to the next in order to give the knife its unique shape and cutting quality.
- Tang: The tang is the metal extension embedded in the knife handle.
- Heel: On most knives, the heel is the widest part of the blade. It is located at the end, right in front of the handle, and enables better control during cutting.
- Bolster: The bolster, which sits in front of the handle, is usually included on knives with heels. It is the thickest part of the blade and protects your fingers from coming into contact with the heel.
- Spine: Located opposed the blade’s cutting edge, it gives your knife structural integrity. In general, the thicker the spine, the more durable the knife’s cutting power.
- Edge: The edge is the part where the blade comes to a point. It is the sharpest section and does most of the cutting work.
- Point: The point is the sharp area of the blade where the top and bottom edges meet. Its main purpose is to poke holes.
- Tip: Sometimes confused with the point of a blade, the tip is actually the edge closest to the point.
Common Blade Types
In designing a blade, it helps to familiarize yourself with the most popular types of blades. Below are some common blade type options preferred by professionals and hobbyists alike.

Clip Point
Another common knife type, clip point blades frequently appear on pocket and bowie knives. The spine dips halfway down the blade, usually in a concave shape, although it may be straight too.

Drop Point
A popular all-purpose blade, the drop point style has a spine that curves from the handle to the point. Although the point is not as sharp as other designs, it still does a great cutting job, which is why drop point blades are often used for pocket knives.

Tanto
Tanto knives have a high point with a flat grind. Although the available cutting edge is limited due to lack of curvature, the point is exceptionally strong, so certain tactical knives have tanto blades.

Sheepsfoot
Sheepsfoot blades have a straight cutting edge and dull spine that curves at the end. They are great for cutting and slicing when a sharp point isn’t needed, which is why they were originally used to trim the hooves of sheep.

Spear Point
As its name suggests, spear point blades are symmetrical and have a center point like a spear. Some are sharpened at both ends, while others, like penknives, are only sharp on the bottom edge. Most knives designed for throwing have a spear point blade.

Gut Hook
Normally used by hunters and fishermen, gut hook blades have a hook on the spine for dressing game and cutting fish. They also have a large belly that is perfect for any necessary skinning or slicing, making it an ideal outdoors knife.
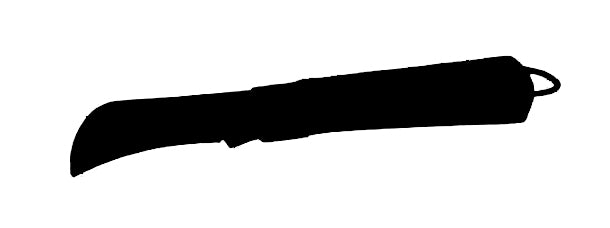
Hawksbill
With this blade, both the spine and the cutting edge curve inward. Its downward point makes it a great choice for scraping surfaces, whittling, opening boxes, and other practical applications.

Wharncliffe
Wharncliffe knives are similar to sheepsfoot blades, but the spine of the former starts curving closer to the handle. The absence of a point limits its versatility but does make it safer to use, which is why sailors use them to avoid accidental self-stabbing during shipboard cutting work.

Recurve
Recurve blades have a large belly that tapers toward the handle to form an S shape. In addition to being a standalone blade shape, recurves appear on styles like drop point and clip point. While they can be difficult to sharpen, recurve blades have a large curve that supports more cutting options.

Needle Point
Needle point blades taper more sharply than other types, so they are not especially strong, but they do an effective job of piercing when wielded with enough force, which is why you see them mostly on knives designed for combat.
Spey Point
Spey point knives have a straight edge that bends up at the point and a small clip on the heel. The lack of a well-defined point makes it impractical for penetrating, but it may be used for skinning or peeling.
Creating Your Knife Design
Once you’ve chosen a blade shape, you can draw a silhouette on a piece of paper or, if you’ve designed it using a CAD program or Microsoft Publisher, print it out. (We’ve also created a downloadable template you can use to profile your chosen blade style.) Cut the shape out, place it on sheet metal, and trace the outline with a marker.
NOTE: While there are no strict guidelines about handle length, most knifemakers recommend a grip of at least four inches, so you’ll want to allow for that amount of length.
Knife Design Tips
When You’re creating your knife design, there are a few things you should keep in mind that will ultimately help you create better knives.
- Consider use: Intricate features and a unique shape are great, but if the knife isn’t very functional for its primary use, it’ll be rendered useless. The starting point for all of your designs should be considering how it will be used. Once you know how the knife will be used, you can test out various existing knives in that use category to figure out what works well and what could be improved.
- Think of your knife as one cohesive unit: When designing knives, it’s possible to fall into the trap of separately designing the blade and handle. However, these two parts should work together synergistically. You’ll typically get a much better knife if you design your blade and handle shapes together.
- Test and evaluate your designs: Before sending a new design out into the world, it’s always best to test it yourself first. Being able to test it yourself will allow you the opportunity to evaluate whether or not your knife design truly works. You may find that a feature you thought would be cool actually detracts from the knife’s functionality.
- Study knife designs: Studying knives from other makers can help improve your own knife designs, especially if you’re new to knife making. There may be certain aspects of other knives that you really like and want to incorporate into your own designs with your own personal flare.
Good design evolves over time and your knife designs will evolve as you gain experience and knowledge. As a golden rule, the one thing you don’t want to do is design features that disrupt the flow of the lines that define the knife shape. As long as you’re following that rule, the rest will come with time and you’ll eventually develop your own unique style.
Free Knife Design Templates
Before starting with your own knife designs, it can help to grind a few existing designs first or modify some existing designs slightly to make them your own. Red Label Abrasives has compiled a PDF of over 40 knife designs that you can modify, print off, and use to get started with knife design. You can download our free knife design template here.
Grinding Out the Silhouette
Once you have your design, the next step in the process will be transferring the shape to your blade stock. There are a few different ways to do this. You could cut out a print or sketch of your design and glue it directly to the stock metal. You could also use the cutout to trace the shape onto the metal with a sharpie.
The technique used for shaping the initial profile varies from knife maker to knife maker. Some knife makers like to start with an angle grinder and then clean up the shape with a belt sander, while other makers like to go straight to the belt sander first.
Before grinding steel, some knife makers like to test their knife designs by grinding the shape with wood first or cutting the shape out on cardboard. Wood is easier to grind and less expensive than most blade materials as well. Cardboard is also a fast way to create a quick prototype. Testing your design with wood or cardboard can help you iron out the kinks before moving to the real material.
Contact an Industrial Abrasive Specialist
Are you a hobbyist or do you craft blades for a living? Red Label Abrasives manufactures the sanding belts you need for each stage of the blade shaping process. We have been in the abrasive manufacturing industry for over 35 years and can help you select the right materials for your knife making projects. For more information, please call 844-824-1956 or fill out our contact form. ABOUT THE AUTHOR
David Kranker is a writer and creative maker who has been covering the abrasive and knife-making industries on the Red Label Abrasives Blog since 2020. David spends his time continually researching sanding and bladesmithing to provide readers with the latest and greatest information. In his free time, David utilizes abrasives for many different home and auto projects at his home in Delton, MI.
Belt Packs Made For Knife Makers
2 X 72 Inch Knife Makers Sanding Belts Assortment
2 X 60 Inch Knife Makers Sanding Belts Assortment
2 X 48 Inch Knife Makers Sanding Belts Assortment
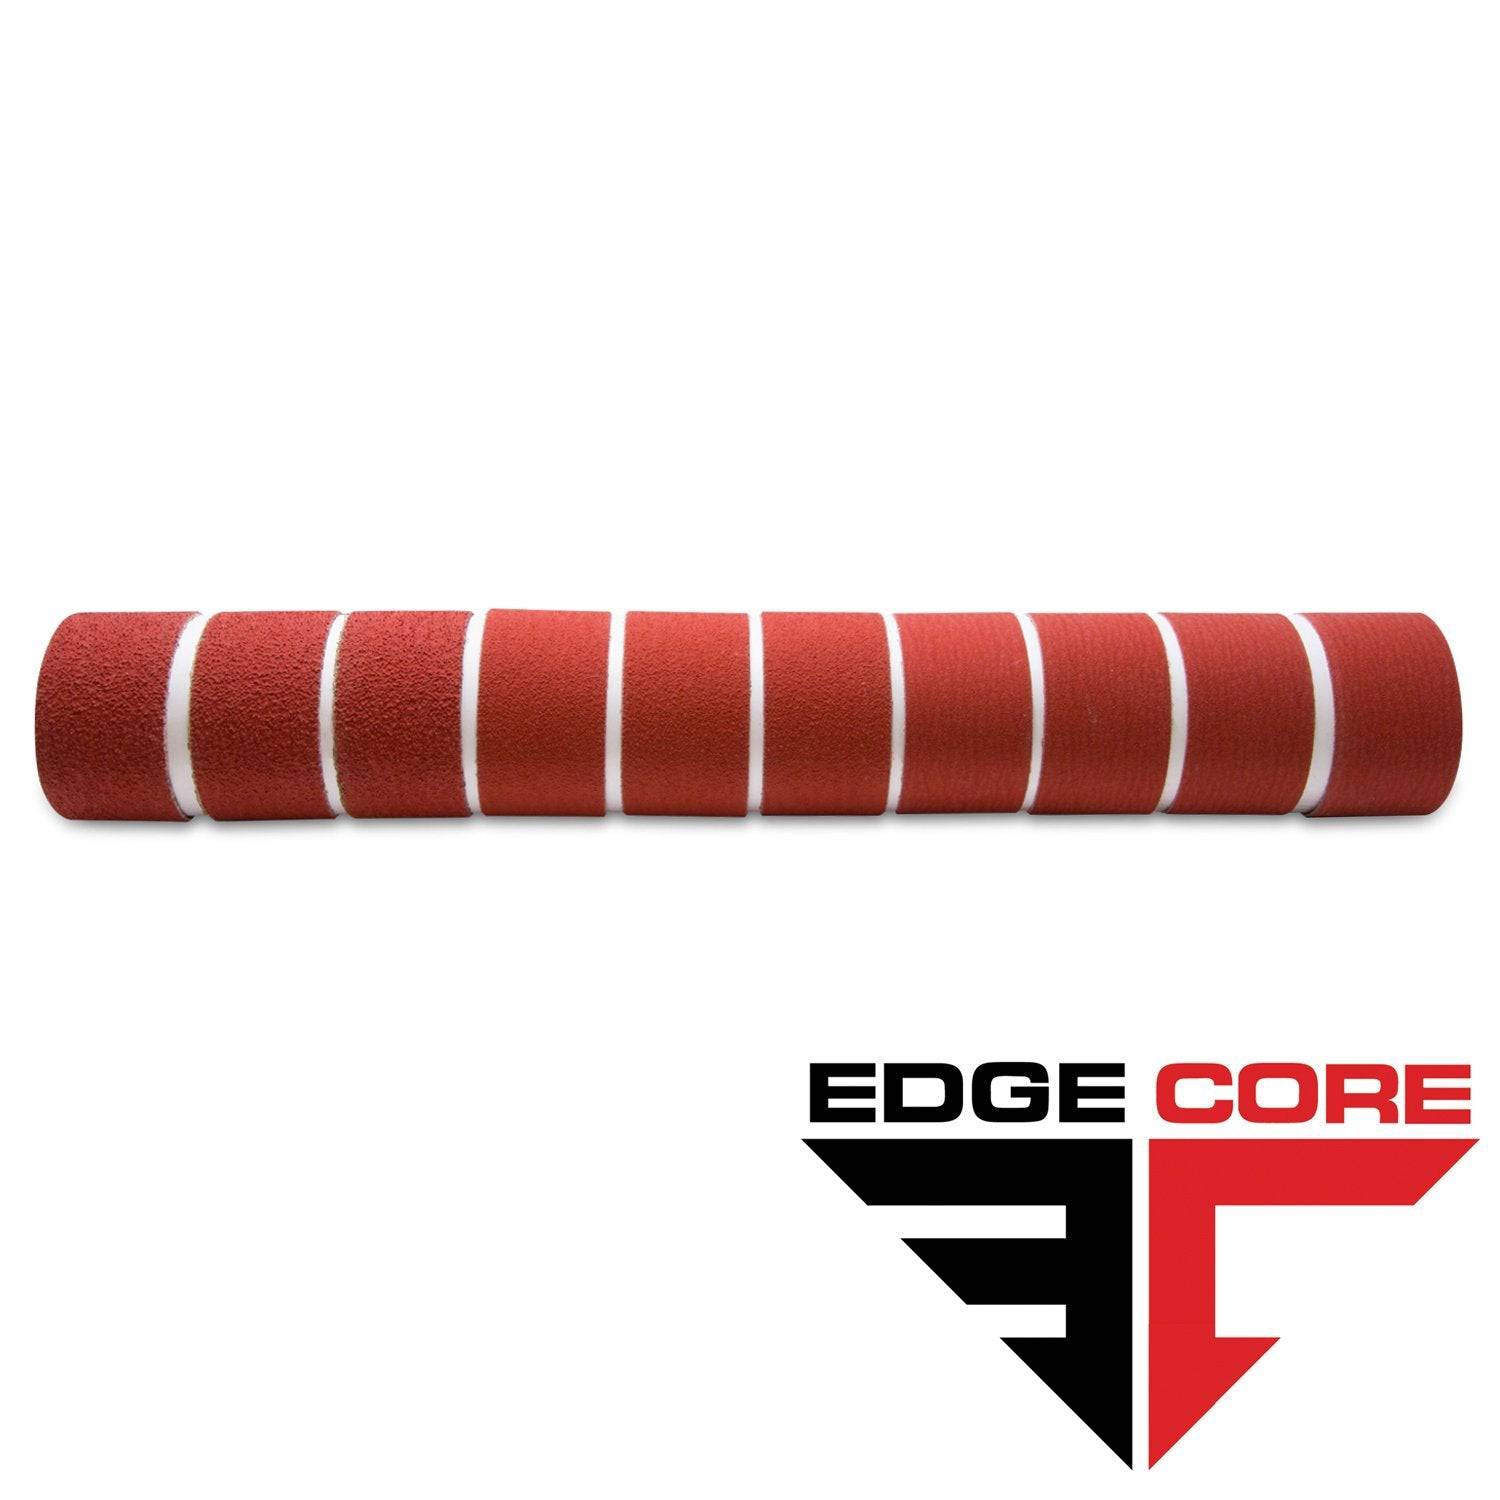
2 X 36 Inch Knife Makers Sanding Belt Assortment
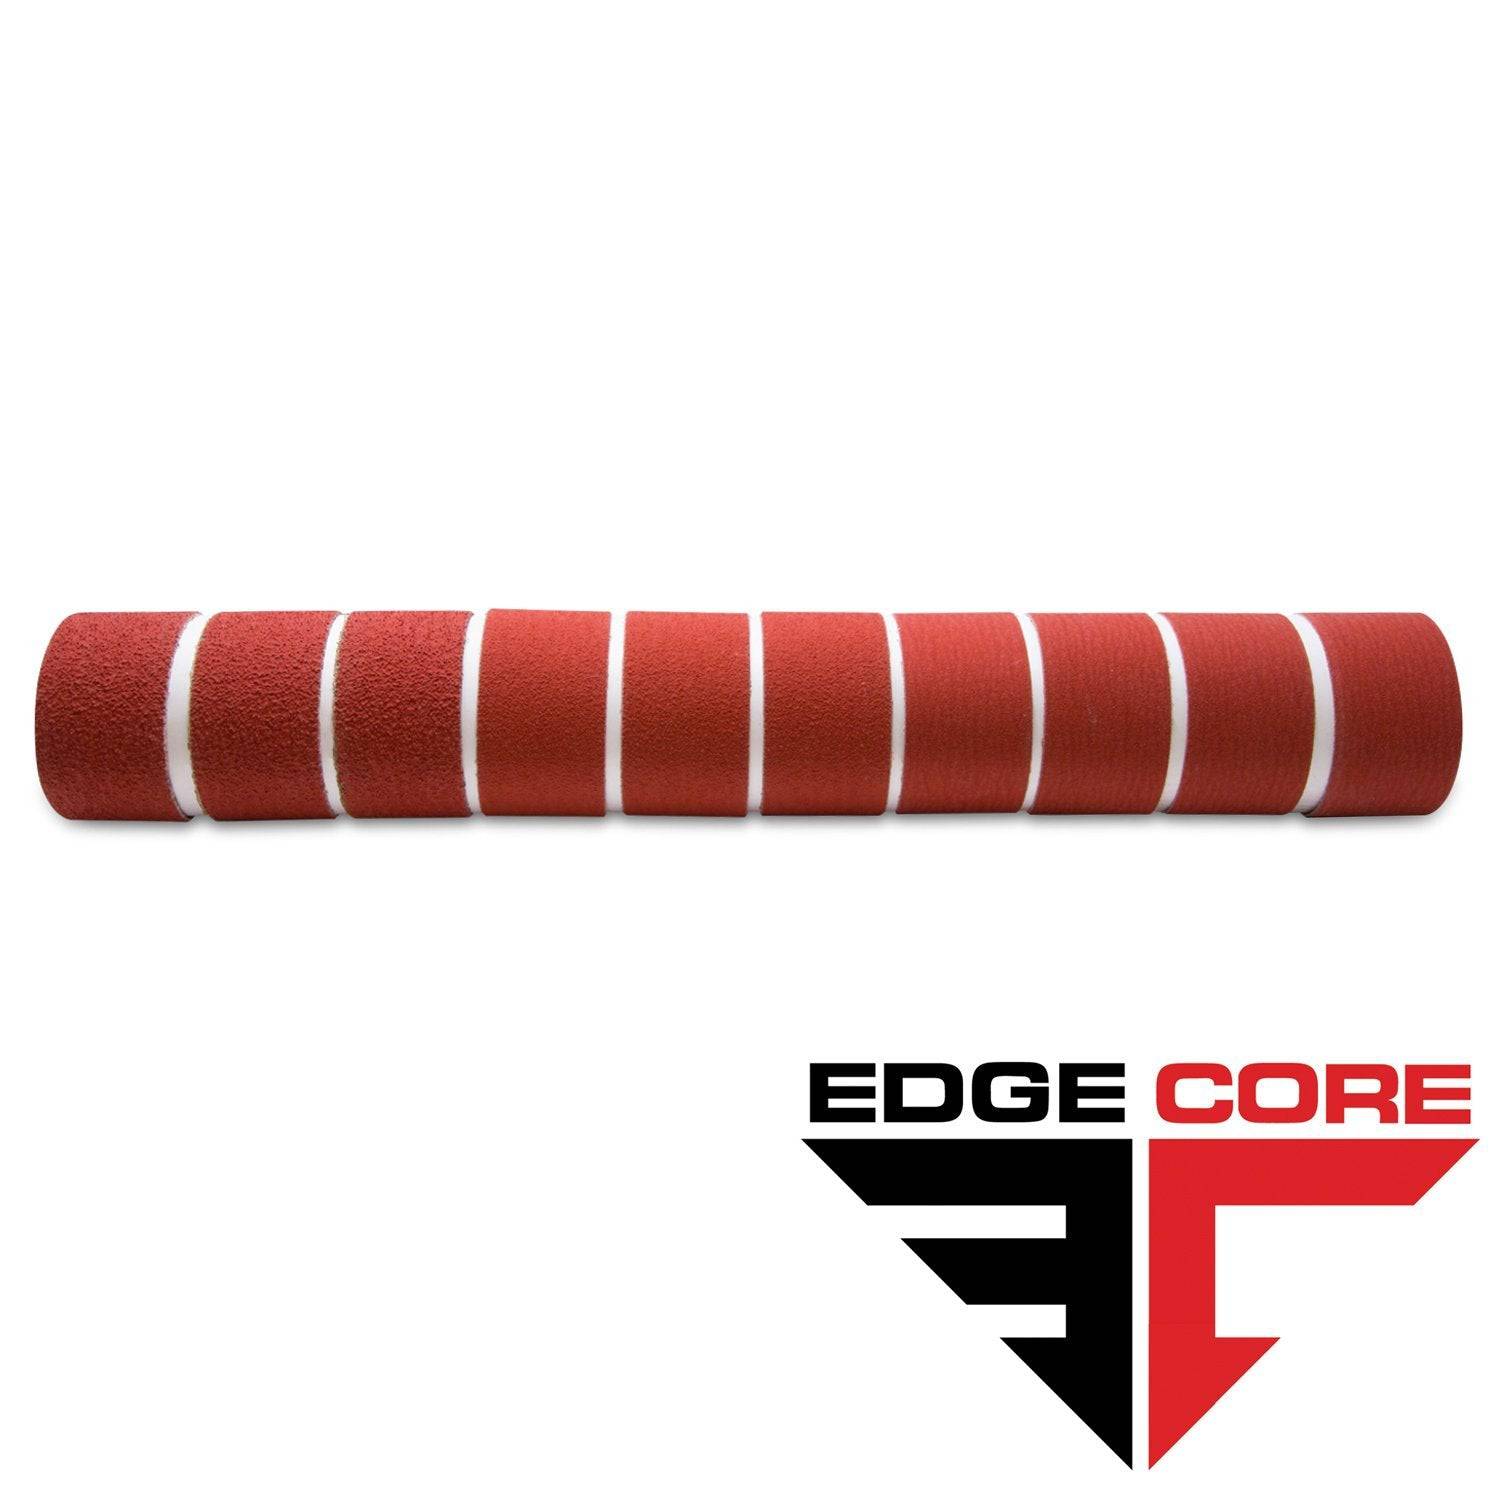
2 X 42 Inch Knife Makers Sanding Belts Assortment
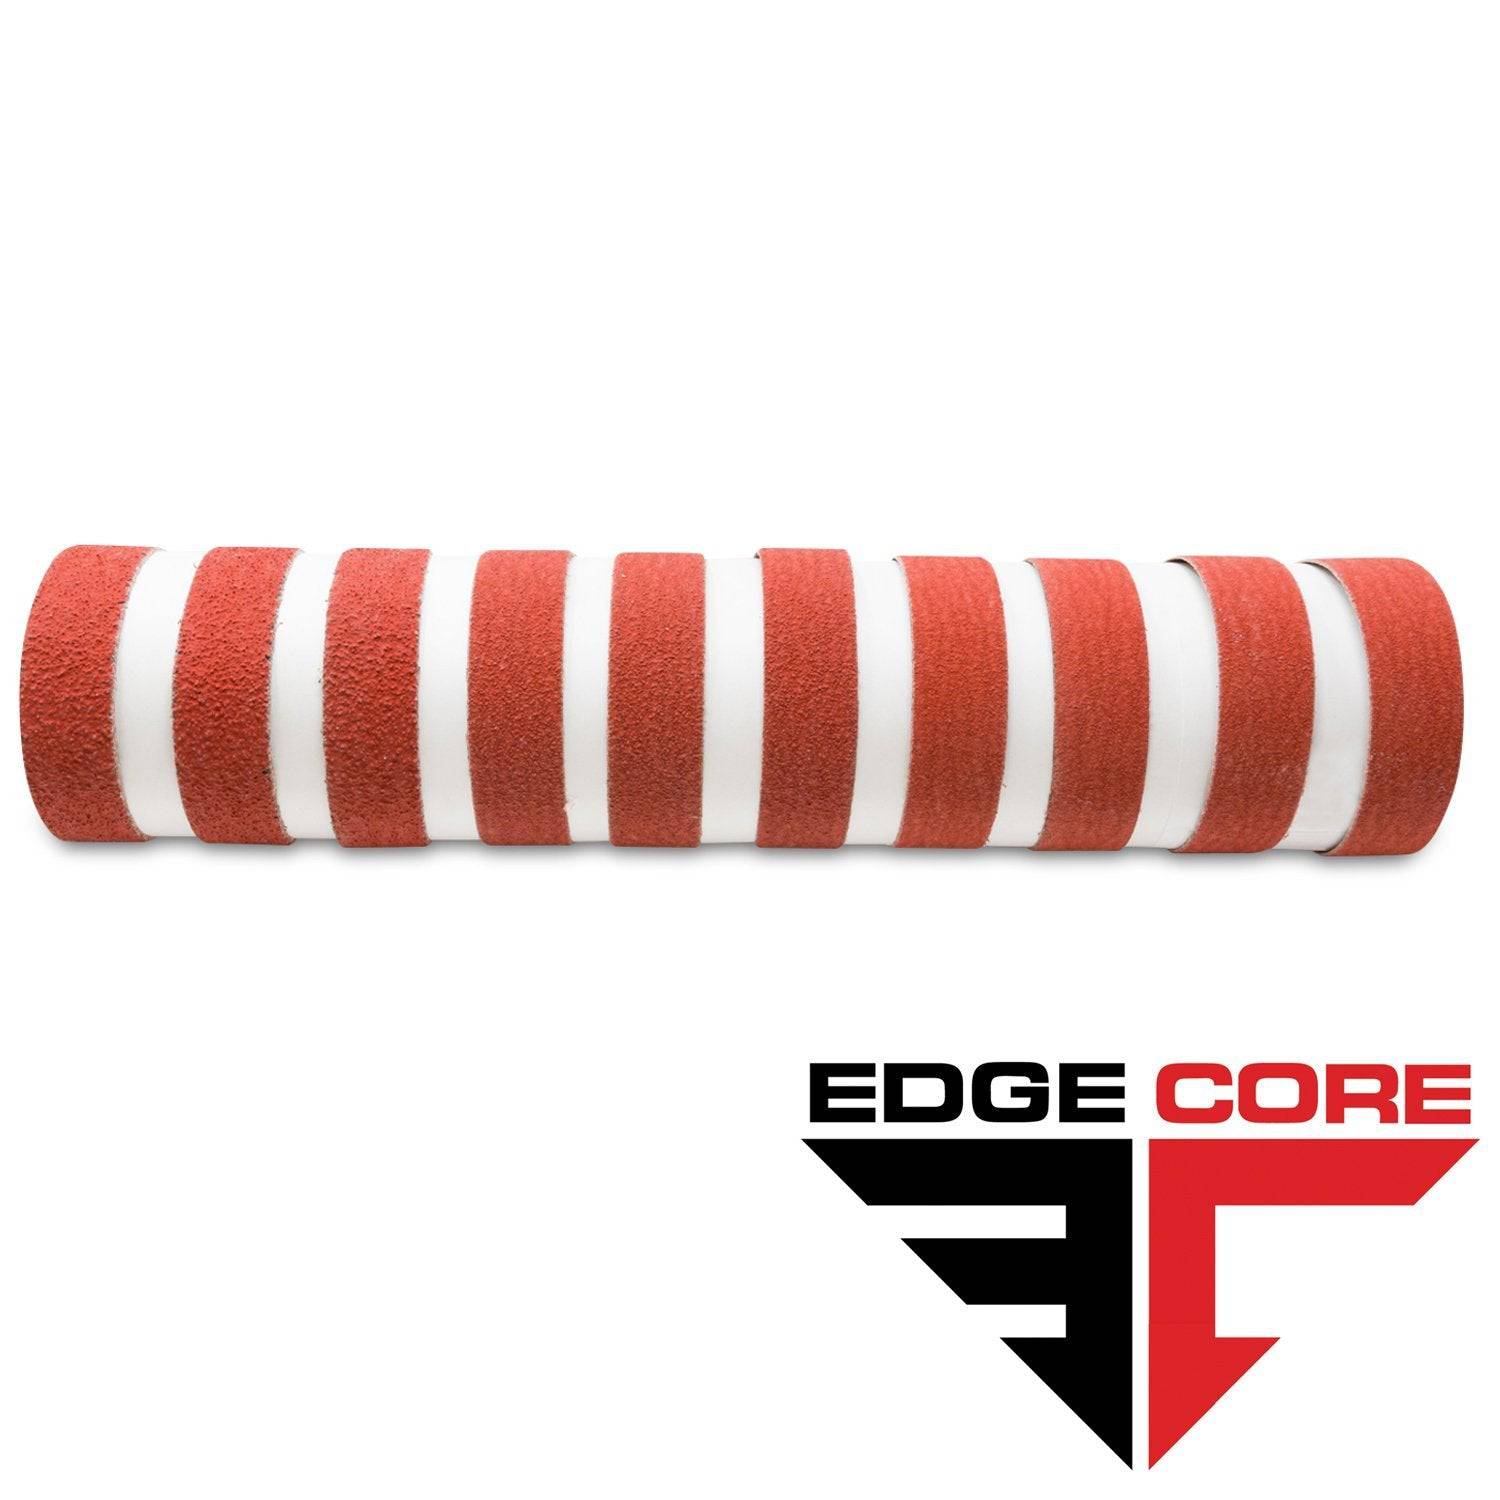
1 X 30 Inch Knife Makers Sanding Belts Assortment
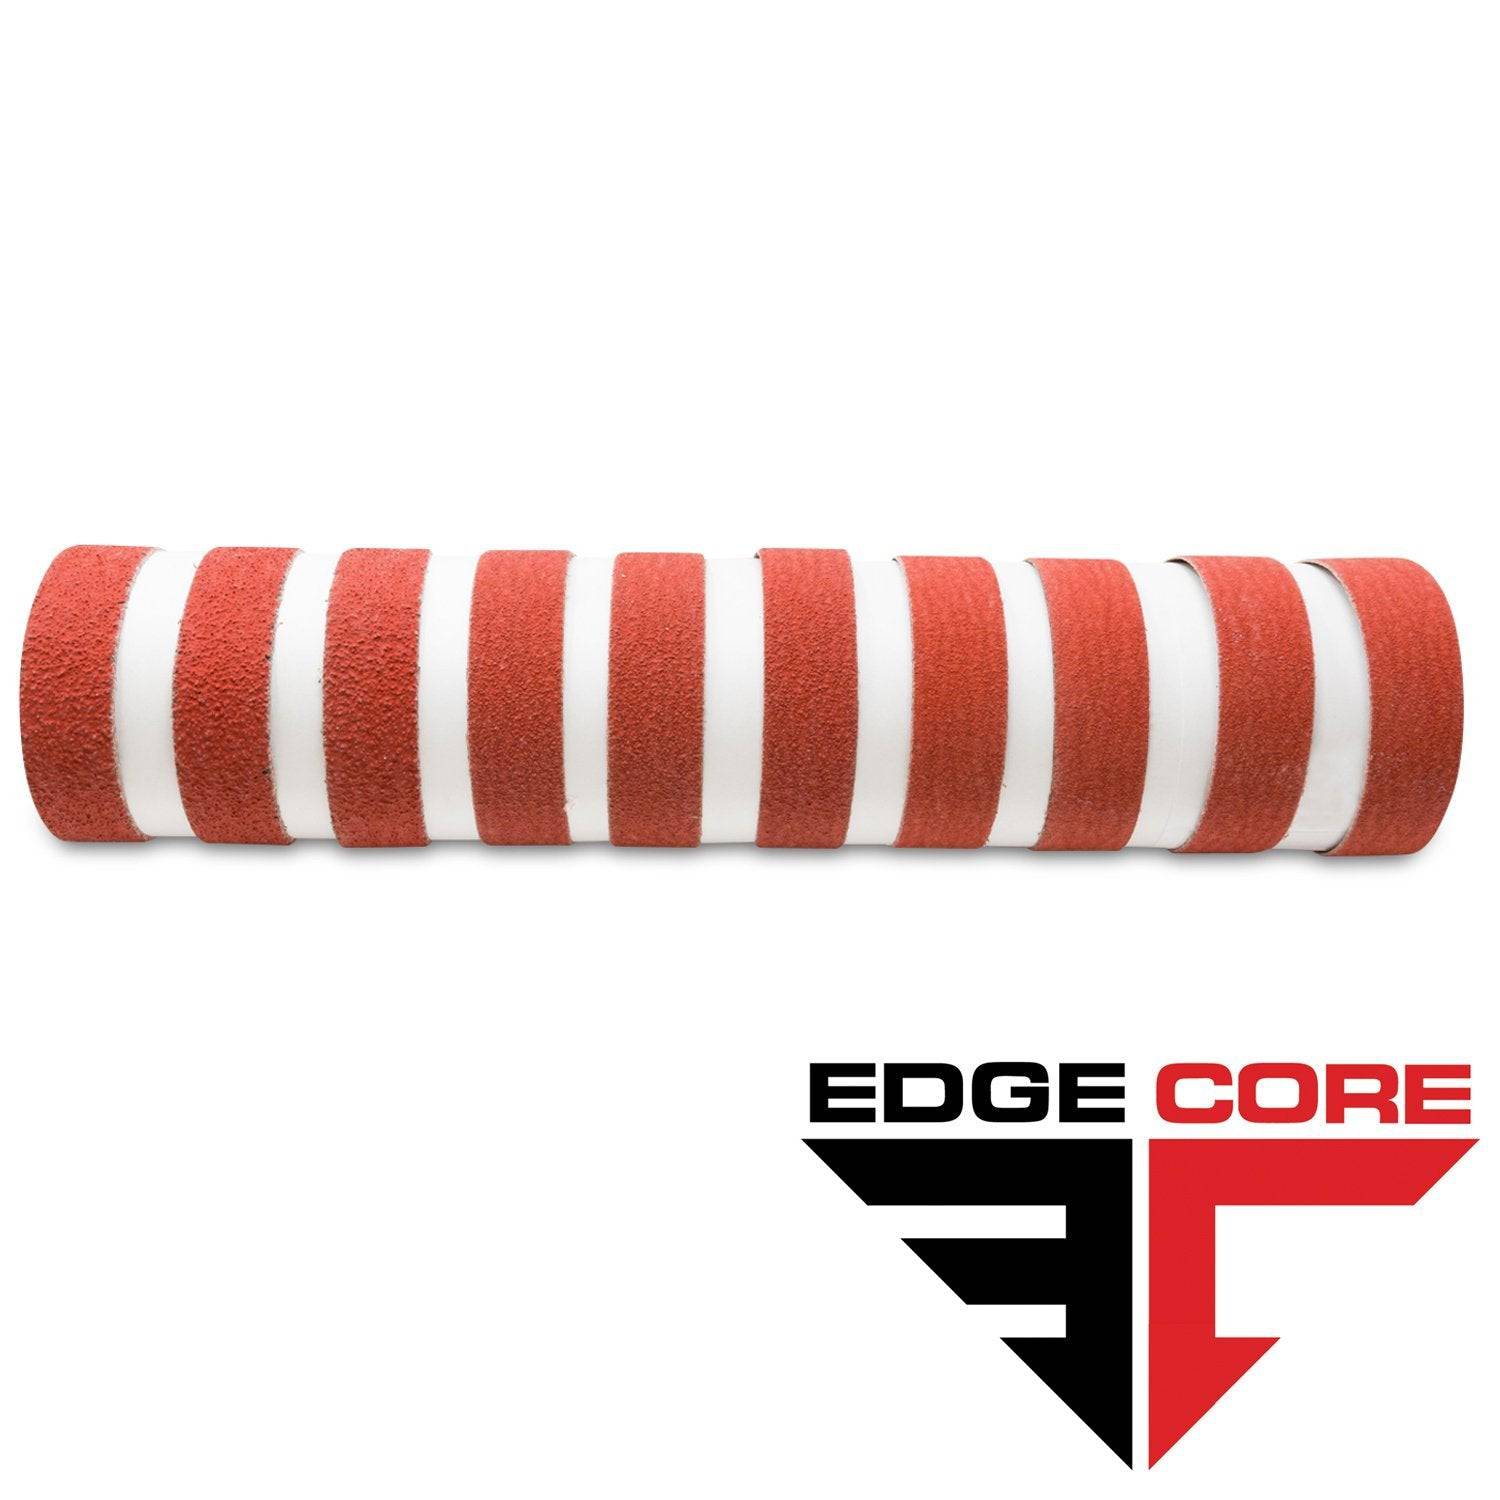
1 x 42 Inch Knife Makers Sanding Belt Assortment
Shop By Product Category


Why Choose Red Label?


