Your Cart is Empty
Free Shipping over $150 (Excludes Oversized Products)
Free Shipping over $150 (Excludes Oversized Products)
Sanding Belts
Sanding Discs

Free Downloadable Knife Templates
by David Kranker 7 min read

Quick Summary
Red Label Abrasives simplifies knife making by offering over 40 pre-made patterns for precise and consistent blade shapes. These templates save time, minimize errors, and are perfect for beginners while still allowing customization for professionals. After transferring the design to your material, use Red Label’s premium sanding belts to shape, grind, and polish the blade.
Knife making blends craftsmanship, creativity, and precision. This is why having reliable tools and resources like sanders, abrasives, and recommended guidelines is extremely important to novices and experienced bladesmiths alike.
At Red Label Abrasives, we not only provide premium sanding belts but also offer over 40 downloadable knife templates to simplify your design process. These templates help users achieve professional results without the hassle of creating their own outlines from scratch. In this guide, we’ll show you how to use our knife template, their advantages, and how they work seamlessly with our knife making kits for a polished finish.
Download Our Free Knife Templates
You can download our free templates by clicking the button below. Instructions on how to use the templates can be found further below.
What Are Knife Templates?
Knife templates are pre-designed outlines for various blade shapes. They serve as a visual guide, helping you accurately transfer designs onto your blade material. These templates cater to different blade shapes, including the popular options below.
- Drop Point Blade: The drop point blade has a spine that curves gently toward the tip, creating a strong and controllable point. This shape is common in hunting knives because it excels in tasks like skinning and general utility. The large belly of the blade offers plenty of surface area for slicing, while the strong tip can withstand pressure without breaking.
- Clip Point Blade: The clip point blade is easily recognized by its clipped or concave section near the tip. This creates a sharp, pointed end, making it ideal for precision work like piercing. Found in iconic designs like Bowie knives, the clip point has a sleek, aggressive look that appeals to collectors and outdoor enthusiasts.
- Tanto Blade: The tanto blade is characterized by its straight edge and angular tip. The tip allows for excellent penetration, while the blade’s thick spine provides added strength for tasks like prying or chopping.
- Straight Back Blade: For those focusing on culinary tools, the straight back blade, often found in chef’s knives, is a must-have. With a flat spine and a gently curving edge toward the tip, this blade shape is perfect for slicing, dicing, and chopping.
- Sheepsfoot Blade: The sheepsfoot blade has a flat cutting edge and a spine that curves downward to meet the tip, which lacks a sharp point. This design prioritizes safety and control, making it ideal for rescue knives and utility tasks.
- Spear Point Blade: The spear point blade is symmetrical, with both edges tapering evenly to a central tip. This balanced design is commonly found in daggers and throwing knives, as it excels in piercing and thrusting. Its attractive appearance and precise geometry make it a popular choice for decorative or collectible knives, as well as functional tools for specific applications like martial arts or camping.
- Wharncliffe Blade: The Wharncliffe blade has a flat cutting edge and a spine that slopes gradually downward. Similar to the sheepsfoot but with a more dramatic curve, this blade shape provides excellent control for fine carving or slicing.
Designing a knife from scratch requires technical drawing skills and hours of refinement. Templates provide a ready-to-use design, letting you focus on shaping and finishing your blade. Other advantages include:
- Better Consistency: It can be difficult to achieve consistency when creating multiple knives. Templates make replication easy and help ensure that every blade meets the same high standard.
- Beginner-Friendly: Templates guide beginners through the design phase and reduce the learning curve. When you use one, your blade starts with proper proportions and a clean outline.
- Easier Customization: Starting with a template doesn’t mean sacrificing creativity. You can modify dimensions, add unique details, or combine elements from different designs to create something truly yours.
- Reduced Risk Of Error: Cutting errors can waste expensive materials like high-quality steel. Templates minimize mistakes by providing a clear guide, ensuring you maximize your resources.
How to Use Knife Templates
Using templates helps you achieve professional results, even if you’re just starting out. Below is a detailed breakdown of each step.
Choose Your Template
Start by identifying the type of knife you want to make. Templates are available for a wide range of designs, including hunting, tactical, and kitchen knives.
Prepare Your Material
High-carbon steel is a common choice for its edge retention and strength, while stainless steel is favored for its corrosion resistance, making it ideal for kitchen tools. Damascus steel, known for its striking patterns, combines functionality with artistry. Once you’ve chosen your steel, cut it into a manageable size, leaving enough material around the edges to refine the blade later.
Print and Attach the Template
Print your chosen template on heavy-duty paper or cardstock for durability. Attach it to your steel using spray adhesive for a secure fit or opt for painter’s tape if you need easier removal. Alternatively, trace the template’s outline directly onto the material with a marker. This method allows for small adjustments, such as altering the handle size or blade length, to suit your preferences.
Cut Out the Blade Shape
With the template in place, use a bandsaw, angle grinder, or jigsaw to cut along the outline. Bandsaws are ideal for detailed curves while angle grinders do a great job on thicker materials. Cutting requires steady hands and attention to detail, as small errors can impact the blade’s symmetry. Always prioritize safety by wearing gloves, goggles, and ear protection, and ensure your workspace is clean and well-lit.
Refine with Sanding Belts
Once the blade is cut, it’s time to refine the shape and smooth out rough edges. Start with coarse sanding belts, such as P36 or P60, to remove excess material and establish clean lines. Use medium grits like P120 to define the blade’s profile, then transition to finer grits for a polished look. Check the blade against your template regularly to maintain accuracy and symmetry throughout the process.
Bevel and Sharpen
Beveling creates the cutting edge of the knife. Use coarse grits like P36 to grind the blade at a consistent angle. Then gradually move to finer grits, such as P400 or P800, to refine the bevel. For sharpening, use ultra-fine grits (up to P5000) to create a razor-sharp edge with a mirror-like finish. Proper sharpening improves the blade’s functionality as well as its overall appearance.
Knife-Making Essentials: Sanding Belts
No knife-making process is complete without sanding belts. These tools refine, shape, and finish your blades, so Red Label Abrasives offers a variety of sanding belt kits tailored to every stage of knife making for a variety of different benchtop belt grinder sizes:
- 2x72 Inch Knife Maker Sanding Belts
- 2x60 Inch Knife Maker Sanding Belts
- 2x48 Inch Knife Maker Sanding Belts
- 2x36 Inch Knife Maker Sanding Belts
- 2x42 Inch Knife Maker Sanding Belts
- 1x42 Inch Knife Maker Sanding Belts
- 1x30 Knife Maker Sanding Belts
Maximizing the Benefits of Red Label Sanding Belts
From aggressive stock removal to fine polishing, Red Label sanding belts are engineered to meet the demands of knife making. To get the most out of these high-quality abrasives, it’s important to use them correctly and maintain them properly. Here’s how to make the most of your sanding belts.
Use the Right Grit Progression
Each grit serves a specific purpose, and skipping steps can lead to uneven surfaces or excess wear on finer belts.
- Coarse Grits (P36-P60): Coarse grits help you quickly remove excess material, define the blade's profile, and eliminate imperfections left by cutting tools. At this stage, focus on getting the general shape and lines of your blade in place without worrying about fine details.
- Medium Grits (P120-P240): After achieving the basic shape, switch to medium grits to refine the blade’s profile and edges. This is where you’ll begin smoothing out rough areas and preparing for bevel grinding. Medium grits are also great for removing deep scratches left by coarse belts.
- Fine and Ultra-Fine Grits (P400-P5000): Once the blade has been shaped and refined, use fine grits for sharpening and ultra-fine grits for polishing. Fine grits help establish a sharp cutting edge, while ultra-fine grits are used to achieve a mirror-like finish. The progression to finer grits should be gradual to avoid over-grinding or damaging the blade.
Pro Tip: Always check your blade frequently as you move through grit levels. A simple visual inspection or touch can help you identify areas that need more attention.
Maintain Your Belts
Over time, belts accumulate debris like steel particles, dust, and grit residue, which can reduce their effectiveness. Proper maintenance extends the life of your sanding belts and ensures consistent performance.
- Clean Regularly: Use a belt cleaner, such as a rubber cleaning stick, to remove buildup. Running the belt lightly over the cleaner restores its abrasive surface. For heavy buildup, gently sand a soft material like pine wood to remove stubborn debris.
- Avoid Overheating: Excessive heat can degrade the adhesive that holds the abrasive to the belt. Use light, consistent pressure and let the belt do the work to minimize friction and heat buildup.
- Inspect Before Use: Check belts for signs of wear, tears, or cracks. Damaged belts can break during operation and pose a safety hazard. Replace worn belts promptly to ensure smooth results.
Pair with Quality Tools
A sturdy belt grinder is a key investment for any knife maker. Choose a belt grinder with a stable base and powerful motor to ensure consistent pressure and speed. You should also look for a grinder with variable speed settings: slower speeds are ideal for fine polishing while higher speeds are better for coarse shaping. A grinder with a reliable belt tracking mechanism keeps the sanding belt aligned during operation, preventing uneven wear and damage to the belt edges.
Pro Tip: If you’re using smaller belts, such as 1x30 or 1x42 sizes, ensure your grinder has accessories or attachments to support detailed work.
Craft the Perfect Blade With Red Label Abrasives
Knife templates are a game-changer for both new and experienced knife makers. They save time, improve accuracy, and allow for creative customization. When paired with premium sanding belts from Red Label Abrasives, these templates help you create professional-grade knives with ease.
Whether you’re shaping, grinding, or polishing, we have the tools you need to bring your designs to life. Download our templates today, pick up a sanding belt kit, and start creating blades that stand out in quality and craftsmanship. If you have questions or would like to place an order, call Red Label Abrasives at 844-824-1956 or fill out our contact form today. ABOUT THE AUTHOR
David Kranker is a writer and creative maker who has been covering the abrasive and knife-making industries on the Red Label Abrasives Blog since 2020. David spends his time continually researching sanding and bladesmithing to provide readers with the latest and greatest information. In his free time, David utilizes abrasives for many different home and auto projects at his home in Delton, MI.
Belt Packs Made For Knife Makers
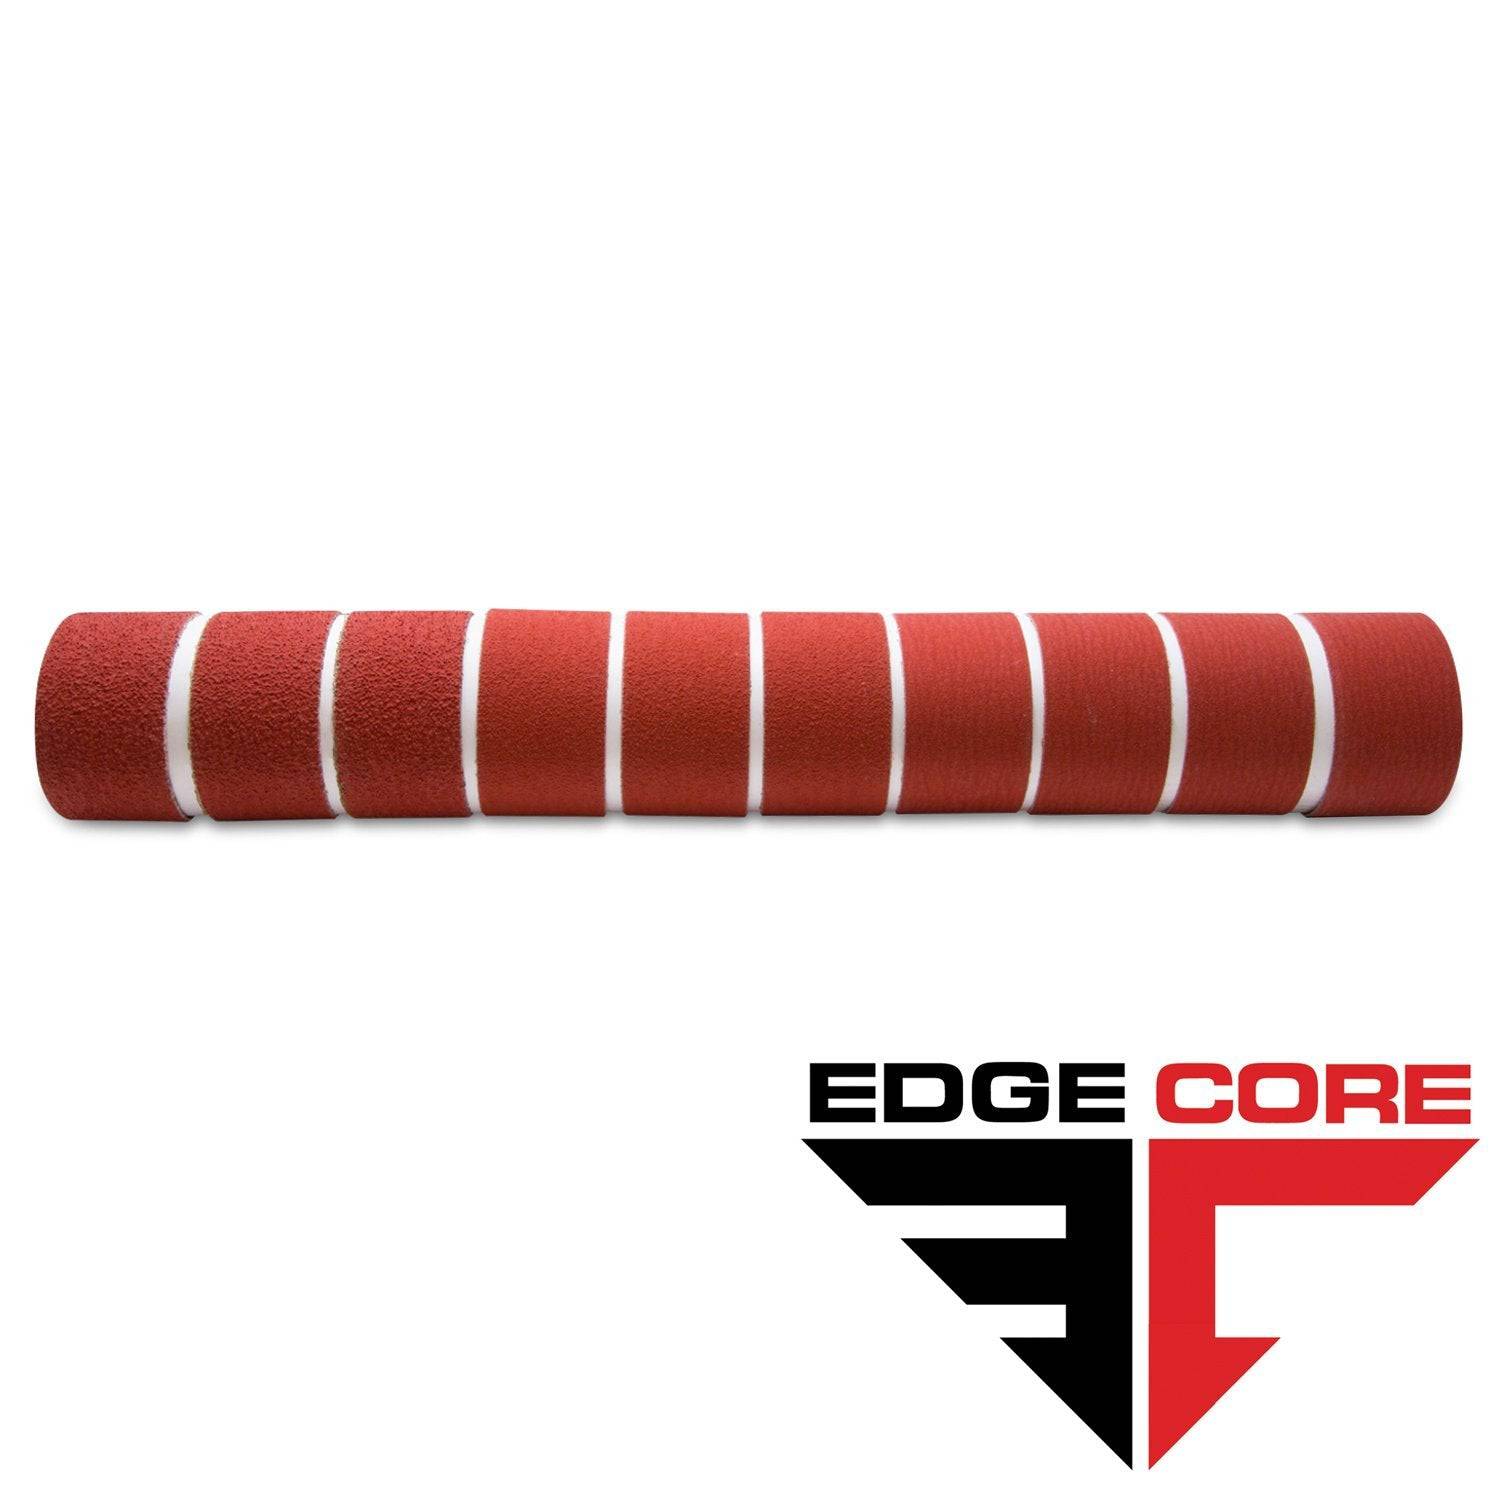
2 X 72 Inch Knife Makers Sanding Belts Assortment
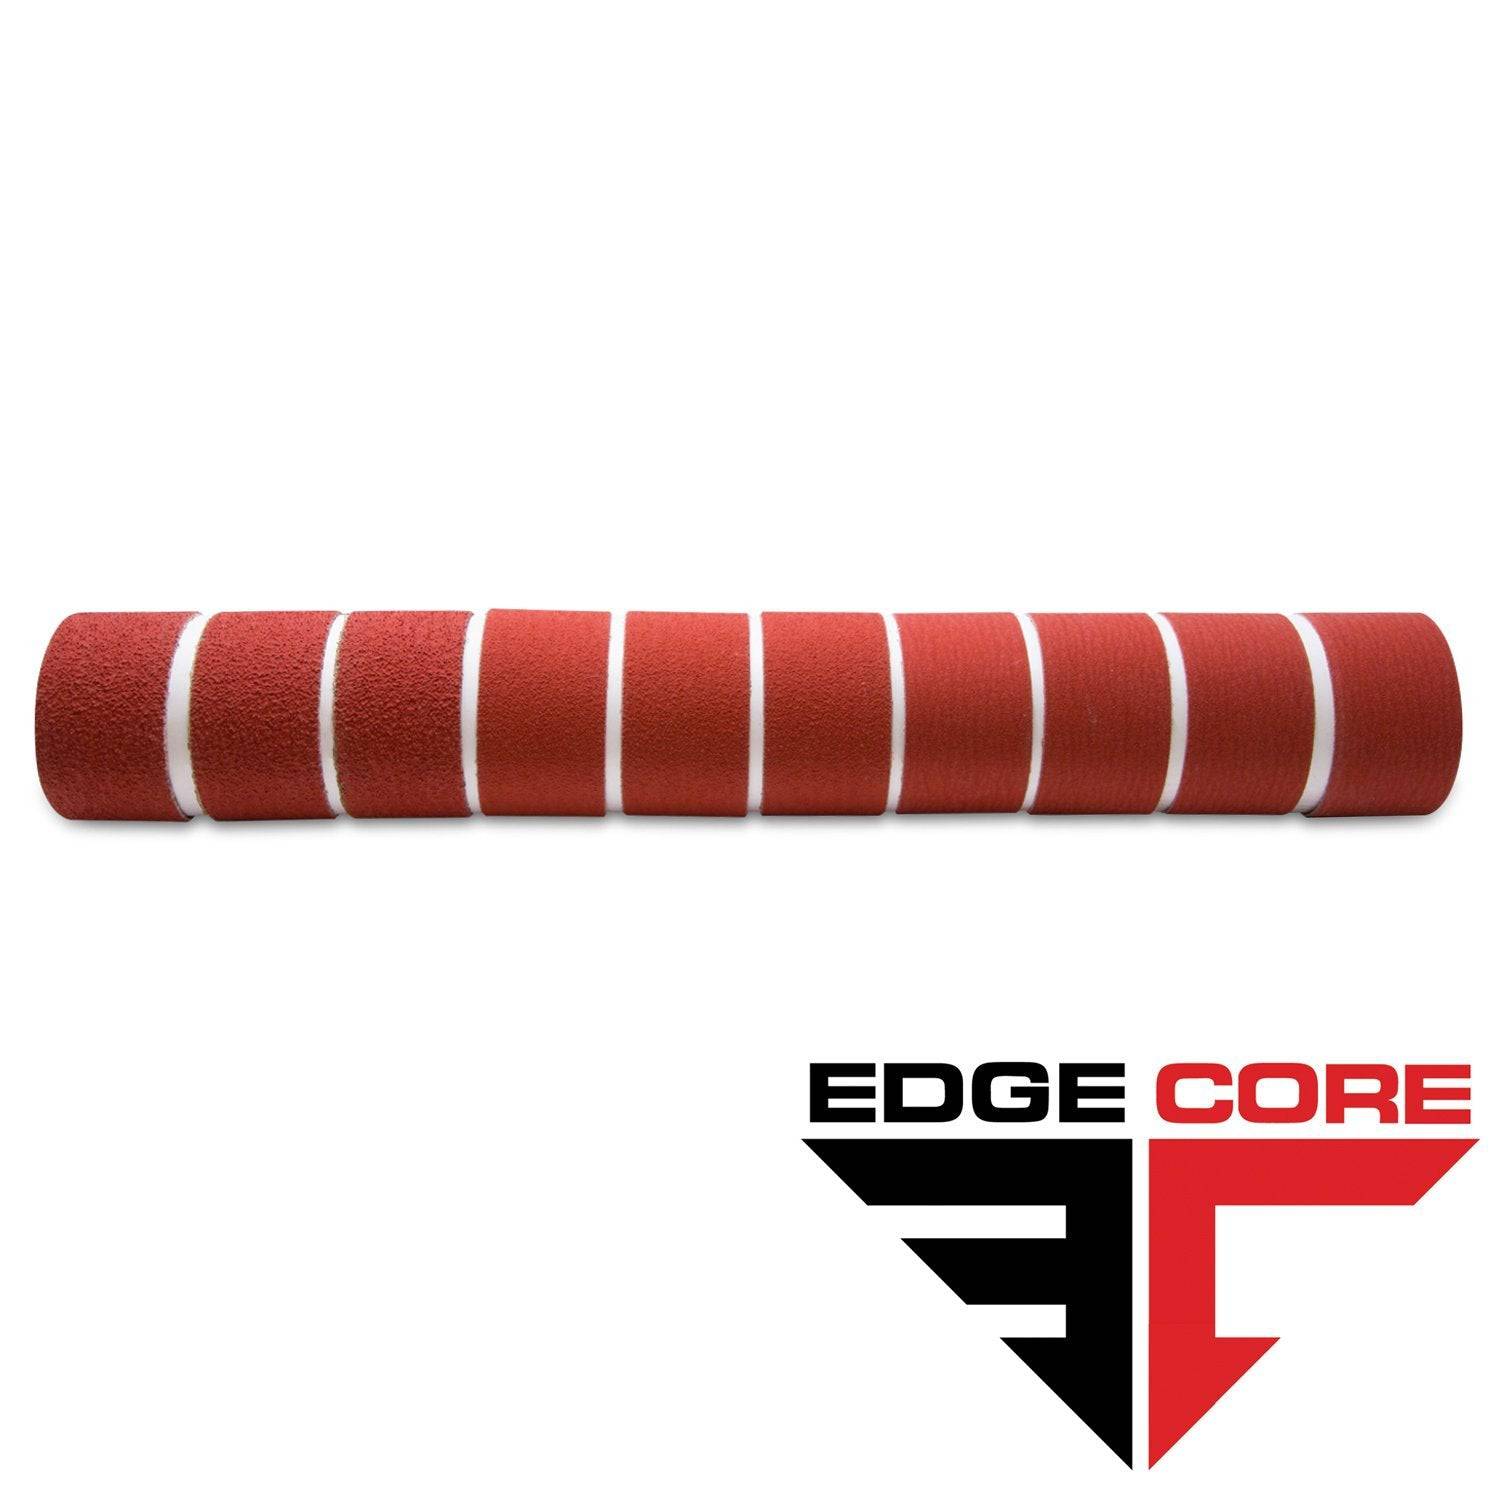
2 X 60 Inch Knife Makers Sanding Belts Assortment
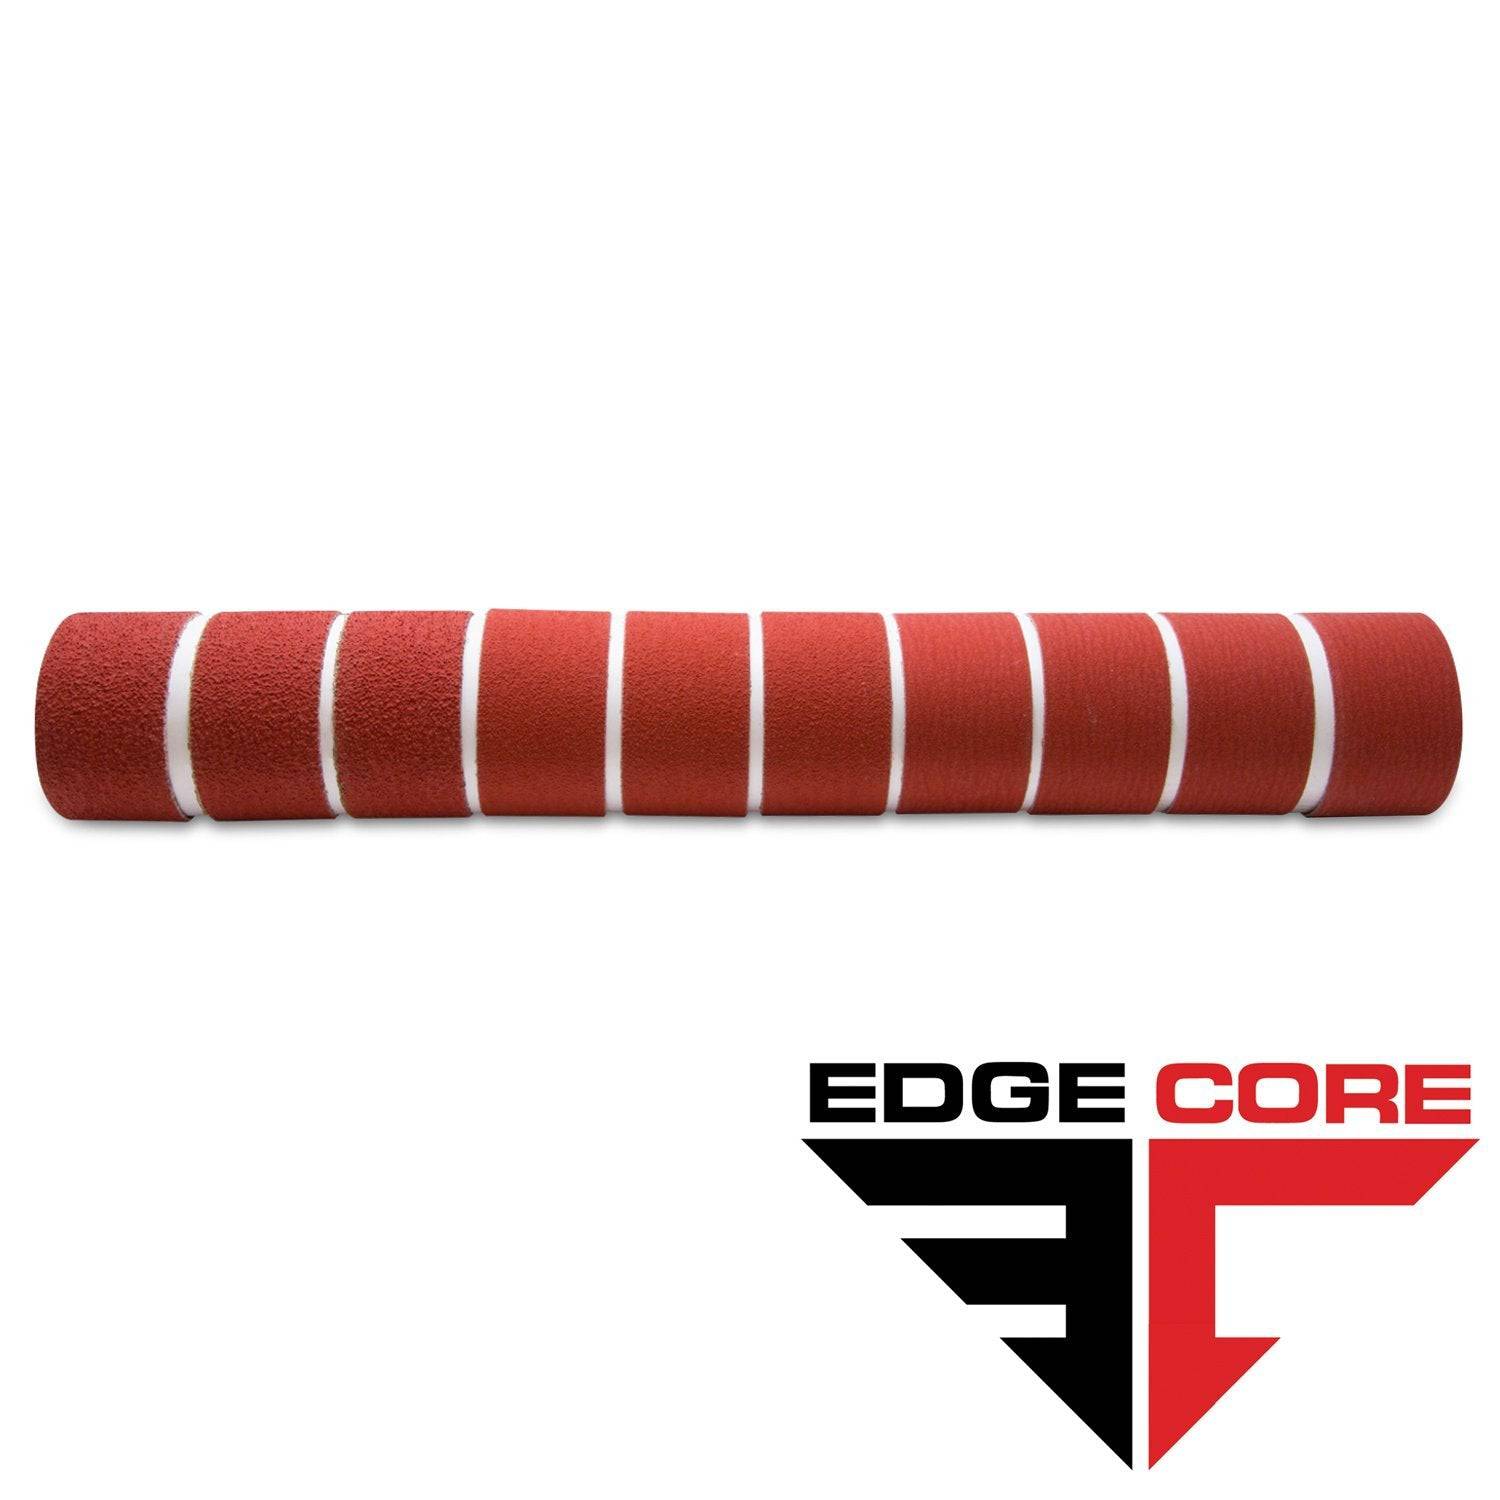
2 X 48 Inch Knife Makers Sanding Belts Assortment
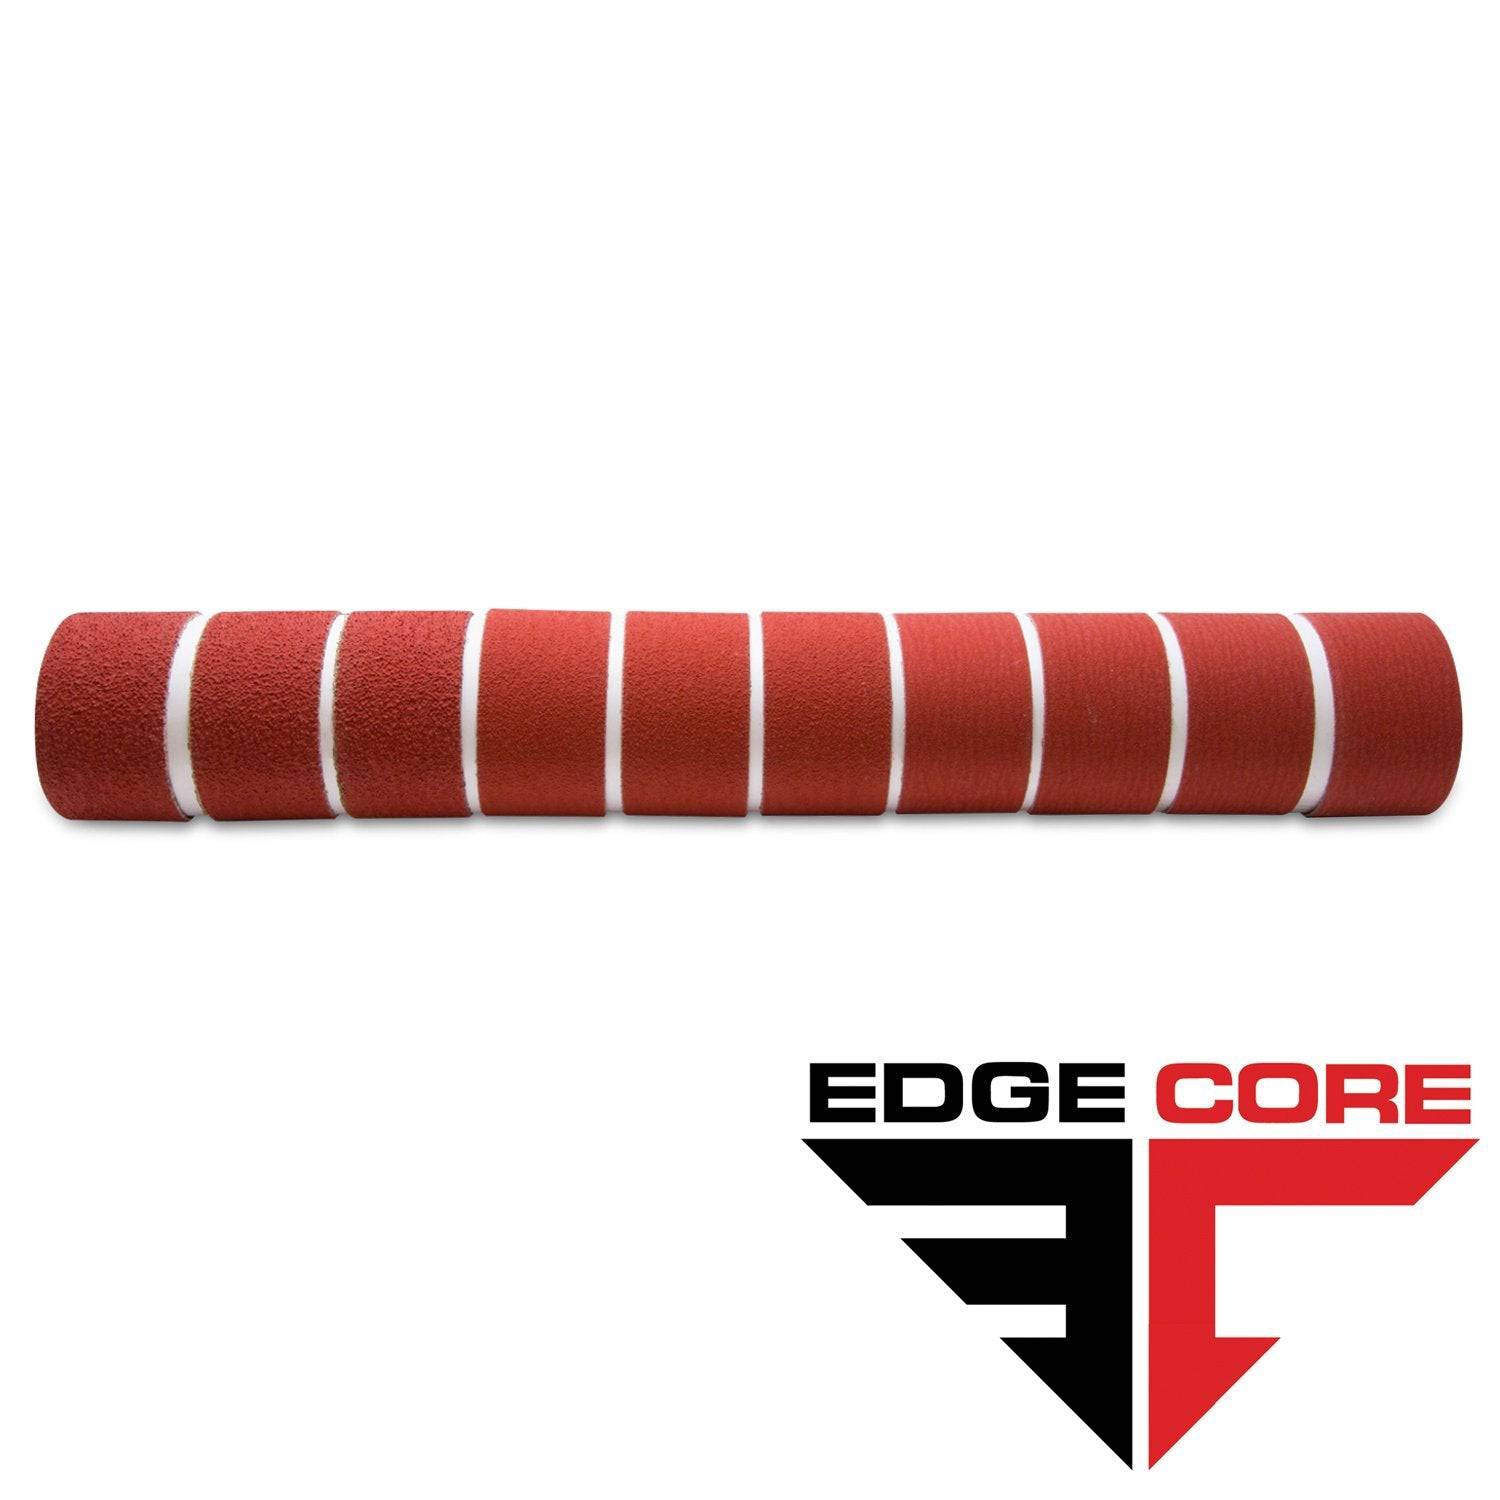
2 X 36 Inch Knife Makers Sanding Belt Assortment
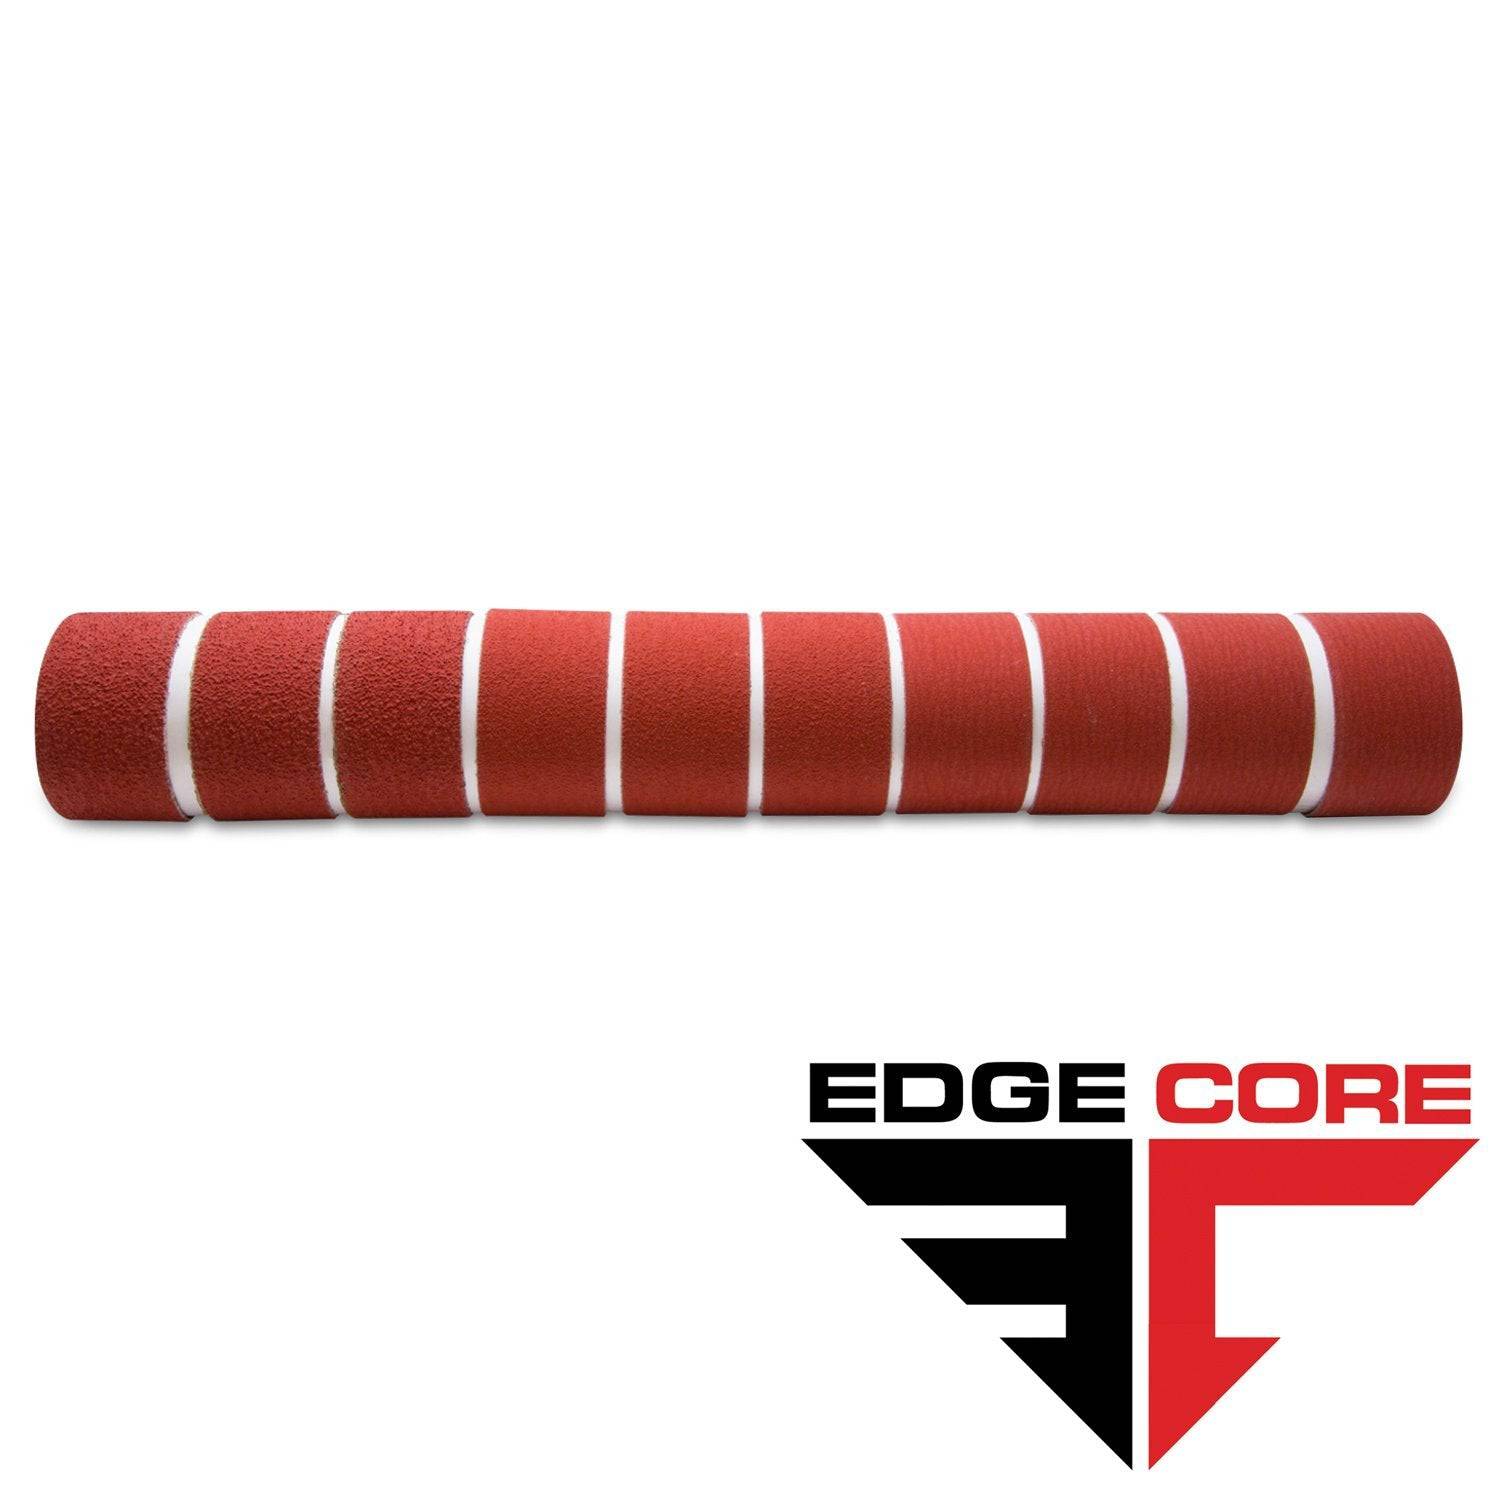
2 X 42 Inch Knife Makers Sanding Belts Assortment
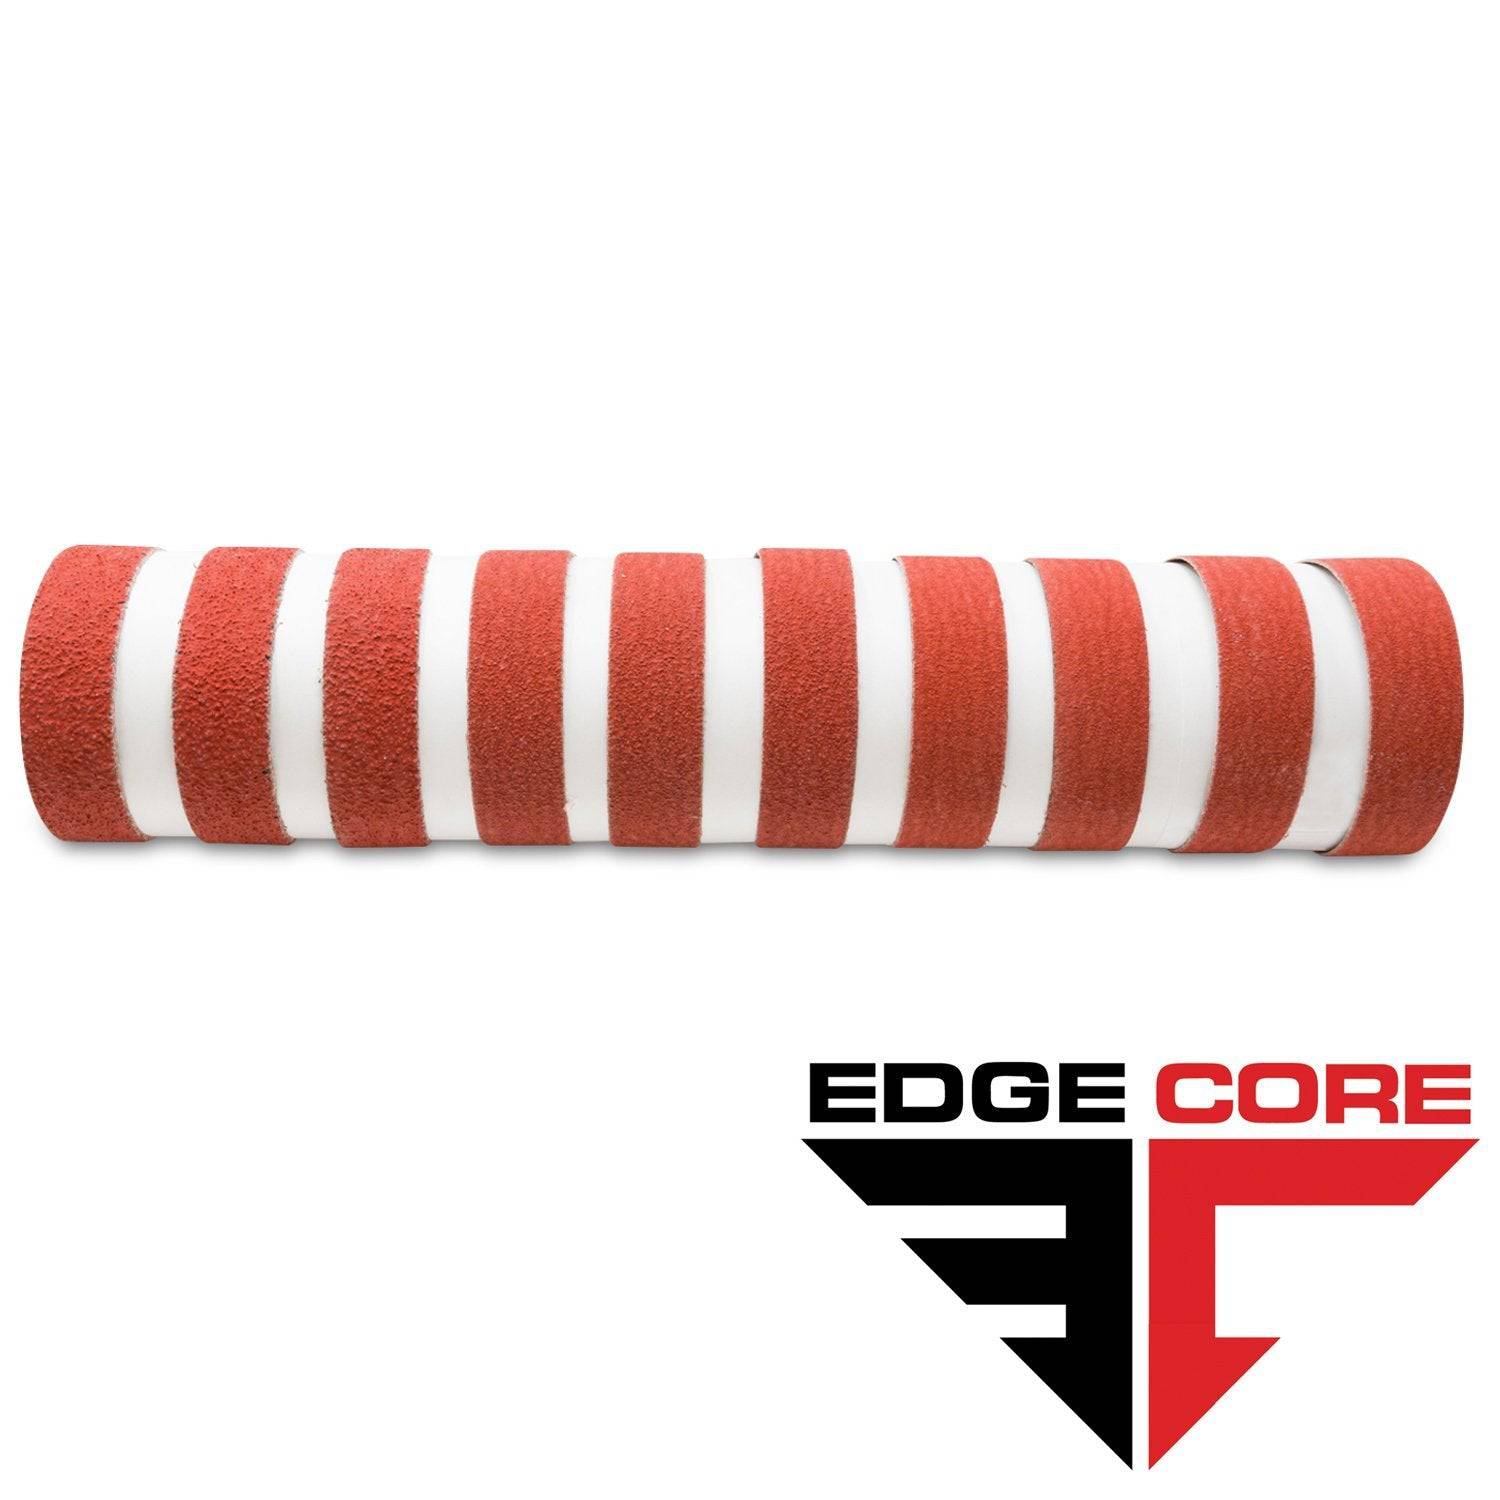
1 X 30 Inch Knife Makers Sanding Belts Assortment
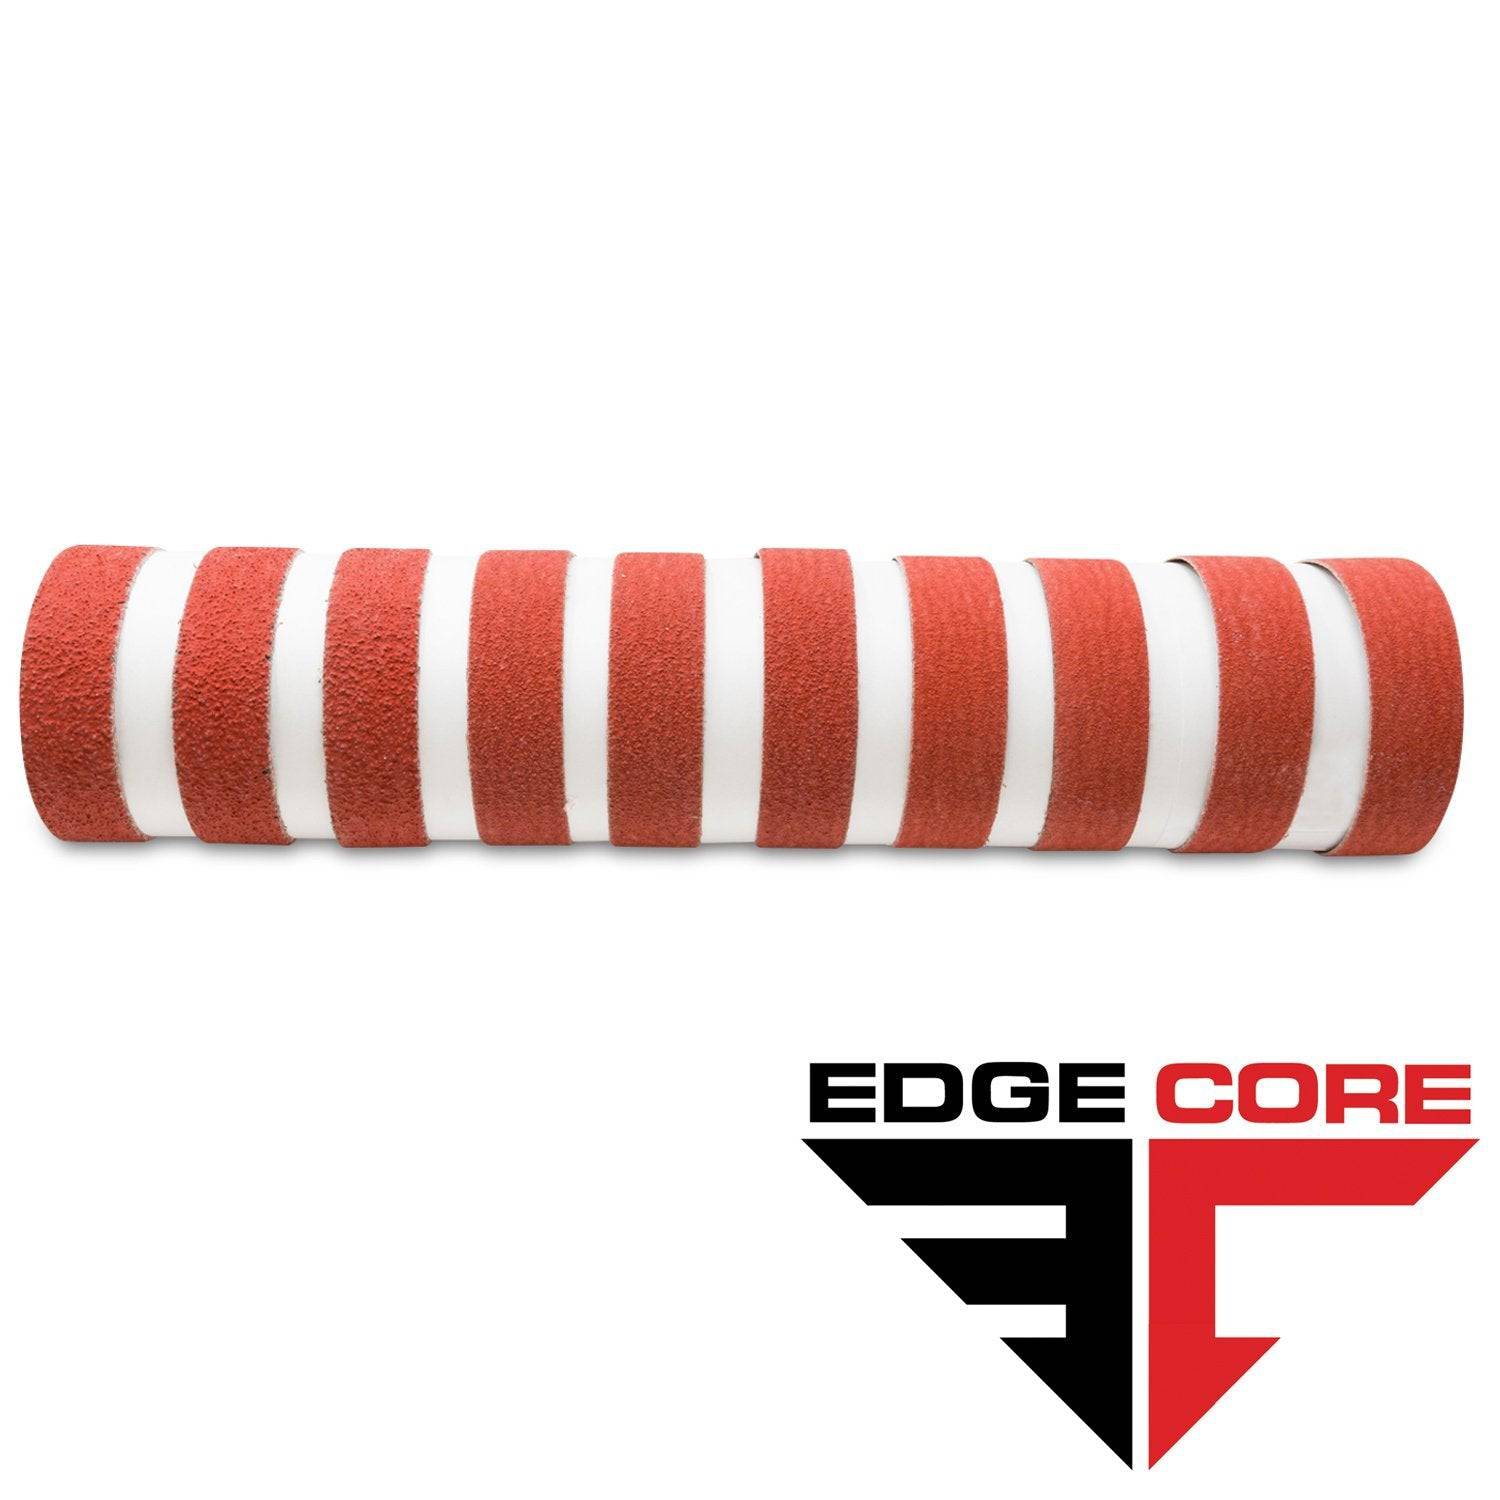
1 x 42 Inch Knife Makers Sanding Belt Assortment
Shop By Product Category


Why Choose Red Label?


