Your Cart is Empty
Free Shipping over $150 (Excludes Oversized Products)
Free Shipping over $150 (Excludes Oversized Products)
Sanding Belts
Sanding Discs

How To Make A Knife From A File
by David Kranker 12 min read

Quick Summary
Transforming an old file into a functional knife is a rewarding project that connects us with ancient blacksmithing traditions. Choose a suitable high-carbon steel file and clean it of rust and debris. Then heat the blade section of the file using a forge or propane torch and shape the metal on an anvil. Heat treat the blade and then quench it in oil or water. Use a grindstone or belt sander to further shape the blade before polishing its surface and attaching a handle.
In a world full of mass-produced goods, there's something undeniably satisfying about making something yourself - something that reflects your creativity and skills. One such fascinating and rewarding project is transforming an old, discarded file into a functional and attractive knife. Forging a knife from a file gives you a tool with dual functionality for filing and cutting.
Repurposing not only celebrates resourcefulness but also connects us with ancient blacksmithing traditions that have shaped human history for centuries. In this blog, the team at Red Label Abrasives goes over the detailed but hugely rewarding process of making a knife from a file.
Why Make a Knife From a File?
Converting an old file into a knife isn't just a practical exercise; it's an exercise in preservation, creativity, and resourcefulness. Here are several compelling reasons why such a conversion is a worthwhile project.
- Preservation of History: Old files often hold stories of their own. By repurposing them into knives, you're giving new life to a piece of history. Files were once essential tools in workshops and industries, witnessing countless projects and developments. Transforming them into knives allows you to honor their past while creating something new and functional.
- Sustainable Crafting: In an era of disposable products and overconsumption, repurposing materials is a sustainable choice. By converting an old file into a knife, you're reducing waste and minimizing your environmental footprint. This act of recycling aligns with a more eco-conscious lifestyle, demonstrating that even seemingly obsolete items can be given a second chance.
- Personalized and Unique Creations:Crafting a knife from an old file allows you to design a piece that's truly one-of-a-kind. The texture, markings, and characteristics of the file are retained in the final product, giving your knife a distinctive appearance and a sense of character.
- Skill Development: From blacksmithing techniques to metallurgy, you'll gain insights into working with metals, shaping them, and understanding their properties. Learning to forge a functional tool from a seemingly mundane object is a rewarding challenge that can boost your confidence as a craftsperson.
- Affordability: If you're just starting with bladesmithing or blacksmithing, working with an old file can be more budget-friendly compared to purchasing specialized knife-making materials. Files are often readily available in thrift stores, flea markets, or even your own tool collection, making them a cost-effective option for honing your skills.
- Sentimental Value: If you come across an old file that holds sentimental value – perhaps it belonged to a family member or was used in a specific context – converting it into a knife can be a touching tribute. It allows you to repurpose a piece of personal history into a functional heirloom that can be passed down through generations.
Materials and Tools Required
Before you get started, make sure you have all the materials and tools that you’ll need.
- Old file (carbon steel is preferred for durability and edge retention)
- Forge or propane torch
- Anvil or heavy metal surface
- Hammer
- Bench vise
- Belt sander
- Knife-making sanding belts (we recommend our knife-making belt kits)
- Quenching oil or water
- Heat-resistant gloves and safety goggles
- Handle materials (wood, paracord, etc.) and epoxy
Step 1: Safety First
When you’re crafting a knife from a file, safety is paramount, as the process involves working with hot metal, sharp tools, and potentially hazardous equipment. Take the following precautions before you get started.
- Wear clothing made from natural fibers, as synthetic materials can melt onto the skin if exposed to extreme heat. Don a long-sleeved shirt, pants, and closed-toe shoes to minimize skin exposure.
- Invest in heat-resistant gloves designed to withstand high temperatures. These gloves provide essential protection while handling hot metal and working near the forge.
- Safety goggles or a full-face shield should be worn to safeguard your eyes and face from sparks, debris, and potential splatter. Choose eyewear that's rated for impact resistance.
- When generating dust or particles, wear a dust mask or respirator to prevent inhaling harmful substances. Ensure the mask is rated for the type of particles you'll encounter.
- Work in a well-ventilated area or use exhaust systems to minimize the accumulation of fumes and dust.
- Keep your workspace organized and free from clutter. Secure your workpiece properly to prevent slipping or unexpected movements.
- Follow manufacturer instructions for tools and equipment. Use tools for their intended purposes and ensure they are in good working condition.
- Have a fire extinguisher nearby and be aware of fire hazards, especially when working with flammable materials like oils and gasses.
Step 2: Preparing the File
Choosing the right type of file, ensuring it's free from rust or debris, and annealing – a crucial process of softening the metal – are all fundamental preparation steps.
Selecting the Right Type of File
Not all files are created equal, and when choosing a file for knife-making, certain characteristics play a pivotal role in determining its suitability:
- Material:Opt for files made from high-carbon steel. This type of steel is ideal for blades due to its excellent edge retention and durability.
- Size and Shape: Consider the length, width, and thickness of the file. These dimensions will influence the size and style of the knife you intend to create.
- Teeth Configuration: The tooth pattern on the file, often referred to as "cut," affects material removal. For knife-making, a single-cut or double-cut file works well, as they produce a smoother finish.
Cleaning the File
Files that have been lying around can accumulate rust, dirt, and debris over time. Use a wire brush, abrasive pad, or sanding sheet to gently remove any rust from the file's surface. A rust remover solution can also be effective. You’ll also want to ensure there's no dirt or debris stuck between the teeth of the file. A stiff brush or compressed air can help dislodge these particles.
Annealing the File
Annealing is a critical step in the knife-making process, especially when working with a file. The term refers to the process of heating the metal until it turns red-hot and then allowing it to cool slowly. This softens the metal, making it more malleable and easier to work with during the forging process.
Here's how to anneal a file:
- Put on your protective gear – heat-resistant gloves and safety goggles or a face shield – to ensure your safety during the annealing process.
- If you have a forge, heat it to a temperature of around 1,400 to 1,500 degrees Fahrenheit (760 to 815 degrees Celsius).
- Place the cleaned file in the forge and heat it until it turns a bright, glowing red color. Make sure the entire file is evenly heated.
- Once the file has reached the desired temperature, turn off the forge and allow the metal to cool slowly. You can leave the file in the forge as it cools down, or you can place it in a container filled with a heat-resistant material like vermiculite or ashes.
As the file cools, the red color will gradually fade. Once it's no longer glowing, it's safe to remove from the forge or container.
Step 3: Forging the Blade
This process involves shaping the softened metal into the desired blade profile. By heating the file and hammering it on an anvil, you'll bring the blade to life
Heating the File
- Using a Forge: If you have a forge, heat the blade section of the file to a temperature that's workable but not overheated. Aim for a bright red or orange glow – around 1,400 to 1,500 degrees Fahrenheit (760 to 815 degrees Celsius).
- Using a Propane Torch: If a forge isn't available, you can heat the blade section using a propane torch. Move the flame evenly across the metal until it reaches the desired temperature.
Shaping the Blade
Ensure your anvil is clean and free from debris. You can also lightly oil the surface to prevent sticking. Then, with the heated blade section placed on the anvil, use controlled hammer blows to shape the metal. Begin with the spine (back) of the file, hammering it down to define the blade's thickness. Work your way from the spine towards the edge, gradually tapering the blade.
While hammering, you'll be able to control the curvature of the blade. Use the anvil's edge to create curves or bends, as needed. Simultaneously, focus on tapering the blade – it should be thicker near the handle and gradually become thinner towards the edge.
Pro Tip:As the metal cools down during forging, it becomes less malleable. Reheat the blade section as needed to maintain workability.
Forging the blade requires patience and precision. Take short breaks to let the blade cool slightly, allowing you to assess your progress and make necessary adjustments.
Step 4: Reheating and Re-forging
If you find that the shape, thickness, or taper of your blade isn't meeting your expectations, don't be discouraged. With the metal in its softened state after annealing, you have the opportunity to make adjustments and refine the blade until you achieve the desired outcome.
Reheat the blade section in the forge or with a propane torch until it reaches a malleable temperature. As you did during the initial forging process, use controlled hammer blows on the anvil to reshape the blade. Focus on the areas that need improvement, whether it's refining the curvature, thinning the blade, or enhancing the taper.
It's common for bladesmiths to go through several rounds of reheating and re-forging to achieve the desired outcome. Each cycle brings the blade closer to your envisioned design.
Step 5: Heat Treating for Hardness
Heat treating involves a series of carefully controlled temperature changes that alter the molecular structure of the steel, ultimately influencing its hardness, strength, and overall performance. By properly heat treating your blade, you're enhancing its cutting ability, edge retention, and resilience against wear. Here's a guide to executing this crucial phase with precision:
- Place the blade in a heat-resistant container or forge and heat it until it reaches a critical temperature – the point at which the steel becomes non-magnetic. The exact temperature varies based on the type of steel you're using.
- Once the blade reaches the critical temperature, promptly remove it from the heat source and quench it in a quenching medium – typically oil or water. The quenching process rapidly cools the blade, causing a transformation in its crystalline structure that results in increased hardness.
While the blade is now harder, it might also be more brittle. To address this, the next step is tempering, which balances the hardness with improved toughness and flexibility.
- Heat the blade again, this time to a lower temperature – typically between 350°F and 500°F (177°C to 260°C). The specific temperature depends on the desired balance between hardness and toughness.
- As you heat the blade, it will exhibit a range of colors that signify specific temperatures. The colors progress from pale straw to deep blue. These colors provide a visual guide to the temperature of the blade.
- After reaching the desired tempering temperature, remove the blade from the heat source and allow it to cool slowly. This controlled cooling process minimizes the risk of creating new stresses or causing the blade to become overly brittle.
- Once the blade is fully cooled, you can perform a hardness test using a Rockwell or other appropriate testing method. This helps ensure the blade has achieved the desired hardness and meets your functional requirements.
After heat treatment, clean the blade to remove any residues or oxidation that might have formed during the process. Coat the blade with a thin layer of oil to prevent rust.
Step 6: Refining the Blade Shape
With the blade forged to your satisfaction, it's time to start refining. This step involves using specialized tools to shape the blade further, hone the edge, and create a smooth, polished surface.
To ensure stability and safety, place the blade in a bench vise. This will hold the blade in place while you work on shaping and refining it. Once it’s secure, you can begin shaping it to your desired profile. A grindstone or belt sander is a powerful tool for removing excess material and creating precise bevels on the blade.
Pay special attention to the blade edge during this process. You can create different types of edges, such as flat, convex, or hollow, depending on your intended use for the knife. Slow and deliberate movements are key to maintaining control and achieving the desired edge geometry.
Pro Tip:You’ll want to start with a coarse grit on the grindstone or belt sander to remove material efficiently. As you progress, move to finer grits for honing and polishing. This gradually refines the blade's surface and sharpens the edge. Ensure you maintain a consistent angle while grinding to achieve an even edge and uniform bevels.
Step 7: Final Polishing
Beyond its aesthetic appeal, a polished surface on the blade serves a practical purpose by enhancing its resistance to corrosion and rust. To achieve this professional touch, you'll use polishing compounds and a buffing wheel.
Select a polishing compound suitable for metal. These compounds come in various grits, and you'll typically start with a coarser grit and progressively move to finer grits for a smoother finish. You'll also need a buffing wheel or polishing wheel that attaches to a bench grinder or polishing machine. Ensure the wheel is clean and free from debris before use.
Here’s an overview of the buffing process:
- Apply a small amount of polishing compound to the buffing wheel. Start with the coarser grit compound first.
- Gently press the blade against the rotating buffing wheel. Move the blade back and forth, ensuring even coverage across the surface. Take care not to apply excessive pressure, as this can generate excess heat and potentially damage the blade.
- After the first pass with the coarser compound, switch to a finer-grit polishing compound and repeat the process. Each pass with a finer compound will further refine the blade's surface. You may need to make several passes with increasing grits of polishing compound to achieve the desired level of shine and smoothness.
- Periodically stop and inspect the blade's surface under good lighting to assess your progress. Look for any remaining scratches, dull areas, or imperfections.
- As you move to the finest-grit polishing compound, the blade's surface should approach a mirror-like finish. The finer compounds remove the fine scratches left by the coarser compounds.
Once you're satisfied with the level of polish, clean the blade to remove any residual polishing compound. A cloth dampened with warm water and mild soap can help remove any remaining residues.
Pro Tip:Be careful not to over-polish the blade edge, as this can blunt it. Focus your polishing efforts on the blade's flat surfaces.
Step 8: Handle Attachment
The handle material you choose, the way you shape it, and the method of attachment can greatly influence the functionality and aesthetic appeal of the final product. Here's how to ensure a successful handle attachment.
Choose Your Handle Material
- Wood: Wood is a classic and versatile choice. You can select from a variety of wood species, each offering unique grain patterns and color variations. Common choices include oak, walnut, maple, and exotic woods like cocobolo or ebony.
- Bone, Horn, or Antler: These materials provide a unique texture and appearance, creating a connection with traditional knife-making practices.
- Micarta or G10: These modern materials offer durability, resistance to moisture, and a range of colors and patterns.
- Paracord: For survival or utility knives, a paracord can be wrapped around the tang to create a functional and ergonomic grip.
Cut and Shape the Handle
The tang of the blade is the part that extends into the handle. Ensure that the handle material is cut and shaped to accommodate the tang snugly. The handle can be a full tang (extending the entire length of the handle) or a hidden tang (inserted partially into the handle). Use tools like files, sandpaper, or a belt sander to shape the handle material to your desired profile. Consider ergonomics, aesthetics, and functionality while shaping.
Attach the Handle
One common method of attachment is using pins. Drill holes in the handle material that align with corresponding holes in the tang. Insert pins, often made of brass or steel, to secure the handle in place.
Another common attachment method is epoxy. Epoxy resin provides a strong adhesive bond between the tang and the handle material. Apply epoxy to the tang and inside the handle, then carefully slide the handle onto the tang. Clamp the handle and tang together until the epoxy cures.
Whether using pins or epoxy, the goal is to achieve a snug fit between the handle material and the tang. This ensures stability and prevents wobbling or shifting of the handle.
Create Better Knives With Premium Abrasives
Turning an old, discarded file into a functional and captivating knife can be a challenging and rewarding project. Using the right products, coupled with a good technique, can result in a professional quality blade you’ll be proud to show off.
At Red Label Abrasives, we help knife makers produce exceptional knives with premium abrasive products, including sanding belts, knife-making kits, and polishing and buffing compounds. Our most popular knife-making abrasives are our 2" x 72" sanding belts. Our industrial-grade abrasives have a higher cut rate and a longer lifespan than most of the abrasive products you’ll find on the market. If you’re not sure exactly what you need, our abrasive technicians are here to help, and we’re happy to ship your purchase wherever you are in the world. If you have questions or would like to place an order, call 844-824-1956 or fill out our contact form today! ABOUT THE AUTHOR
David Kranker is a writer and creative maker who has been covering the abrasive and knife-making industries on the Red Label Abrasives Blog since 2020. David spends his time continually researching sanding and bladesmithing to provide readers with the latest and greatest information. In his free time, David utilizes abrasives for many different home and auto projects at his home in Delton, MI.
Belt Packs Made For Knife Makers
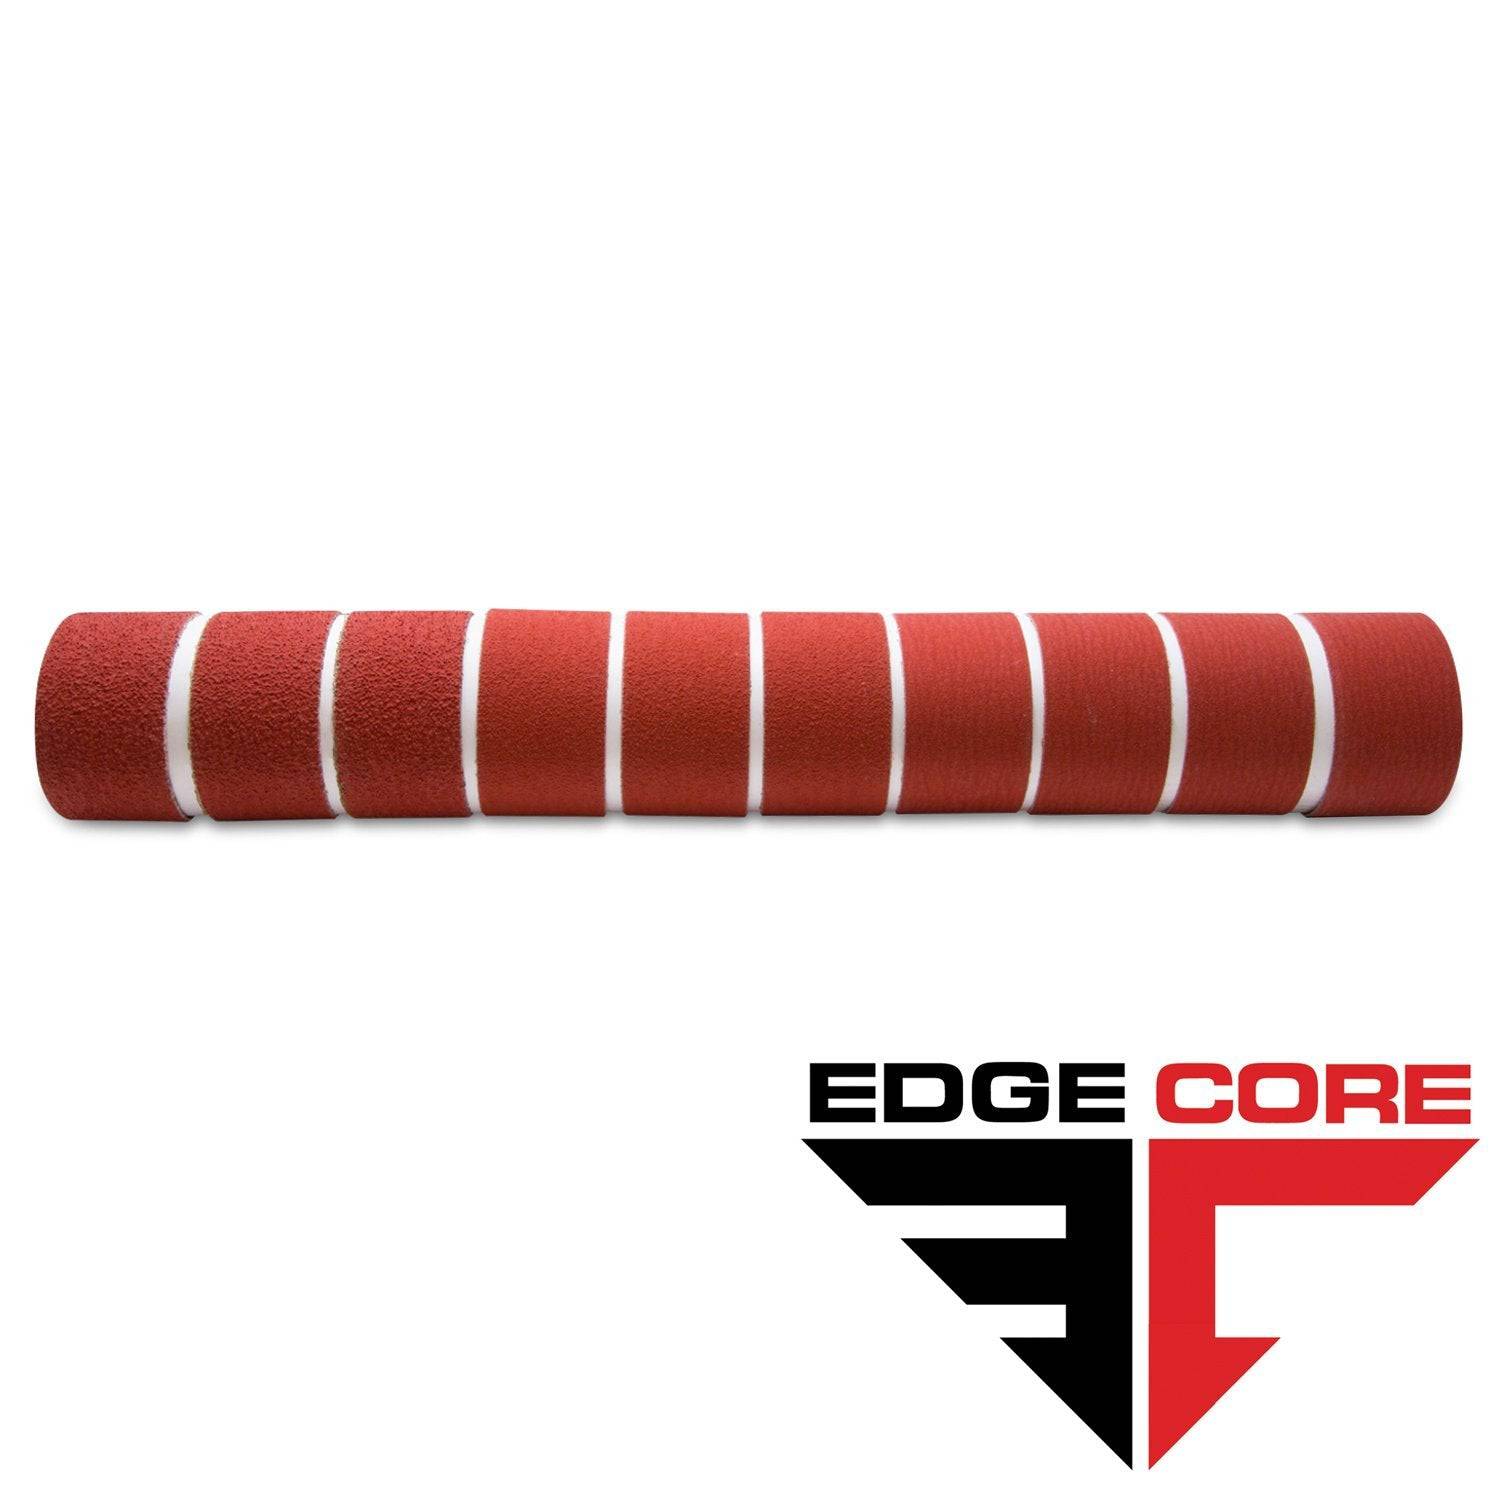
2 X 72 Inch Knife Makers Sanding Belts Assortment
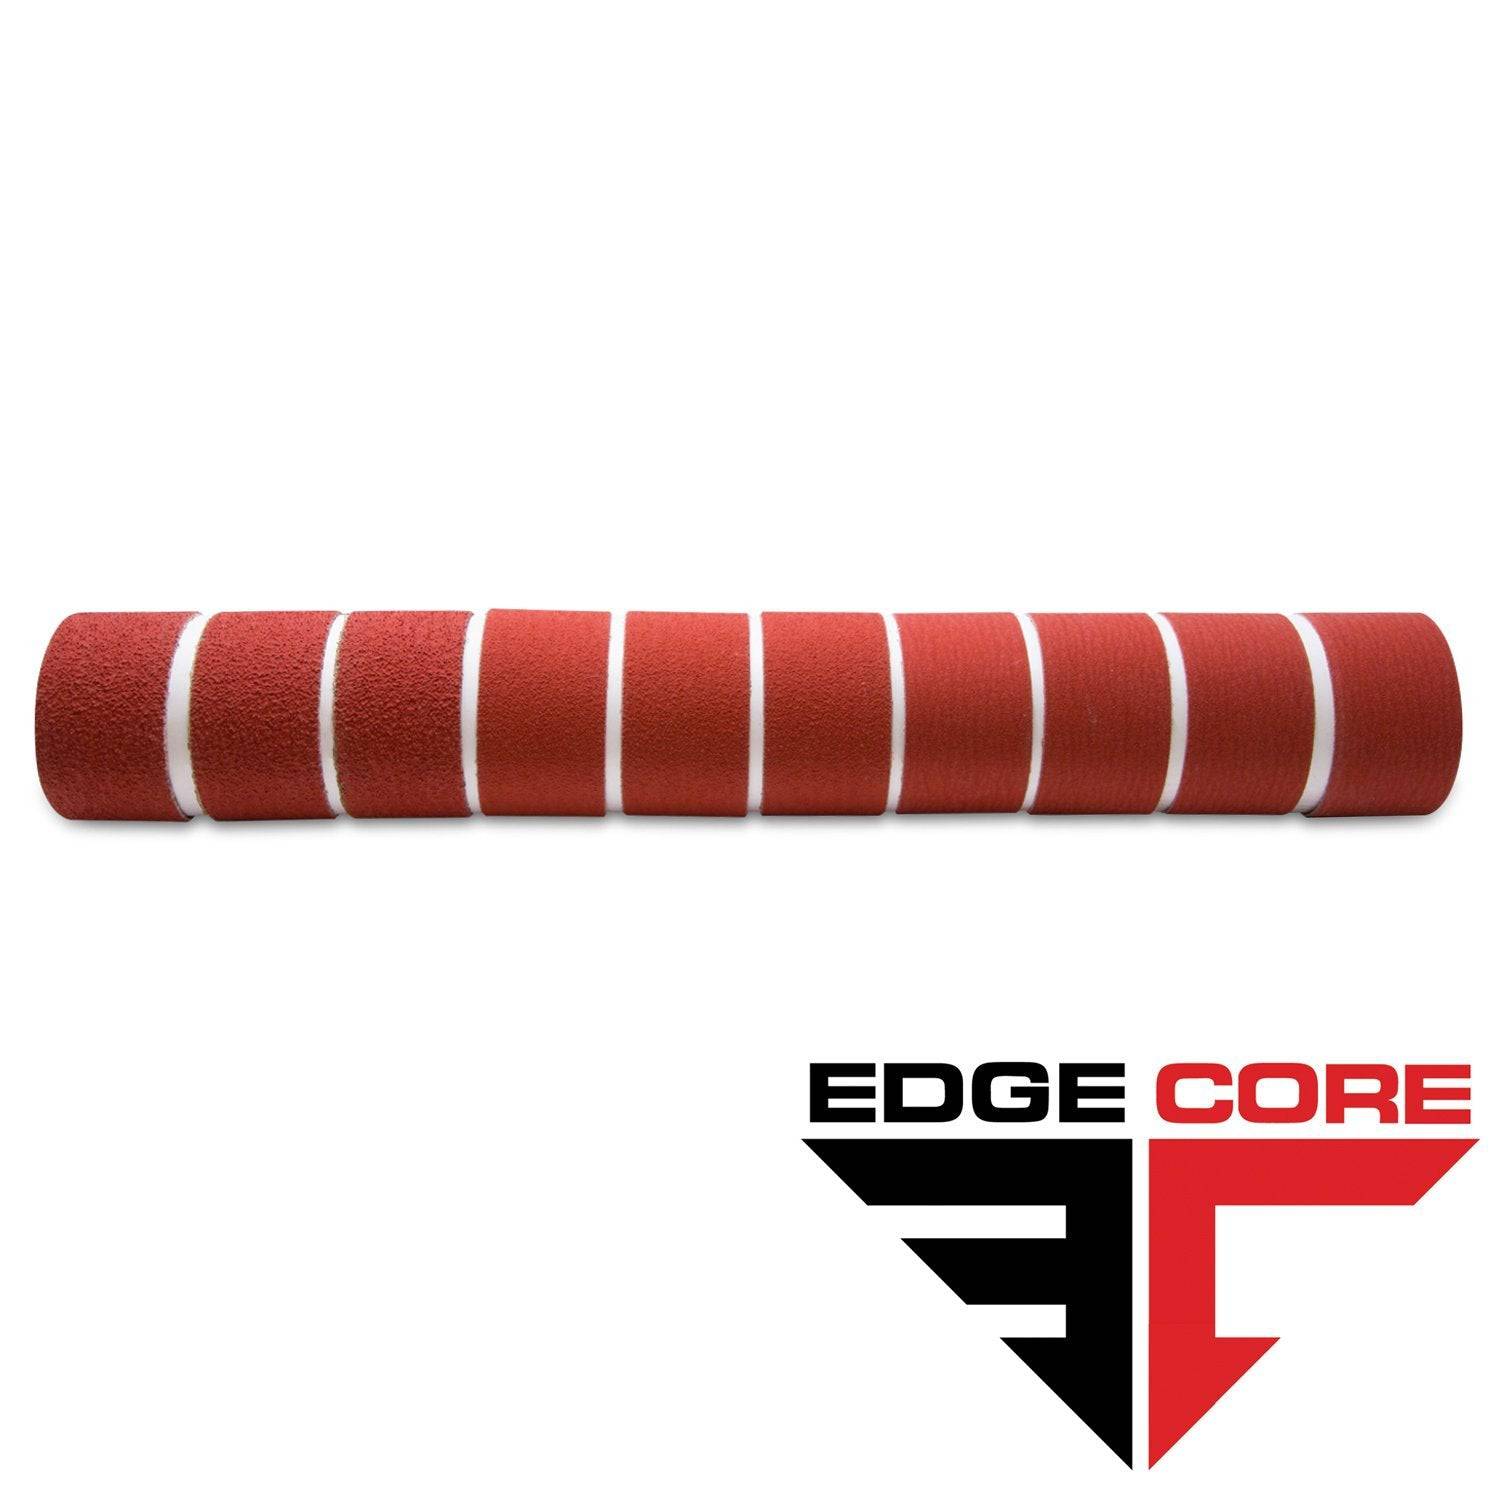
2 X 60 Inch Knife Makers Sanding Belts Assortment
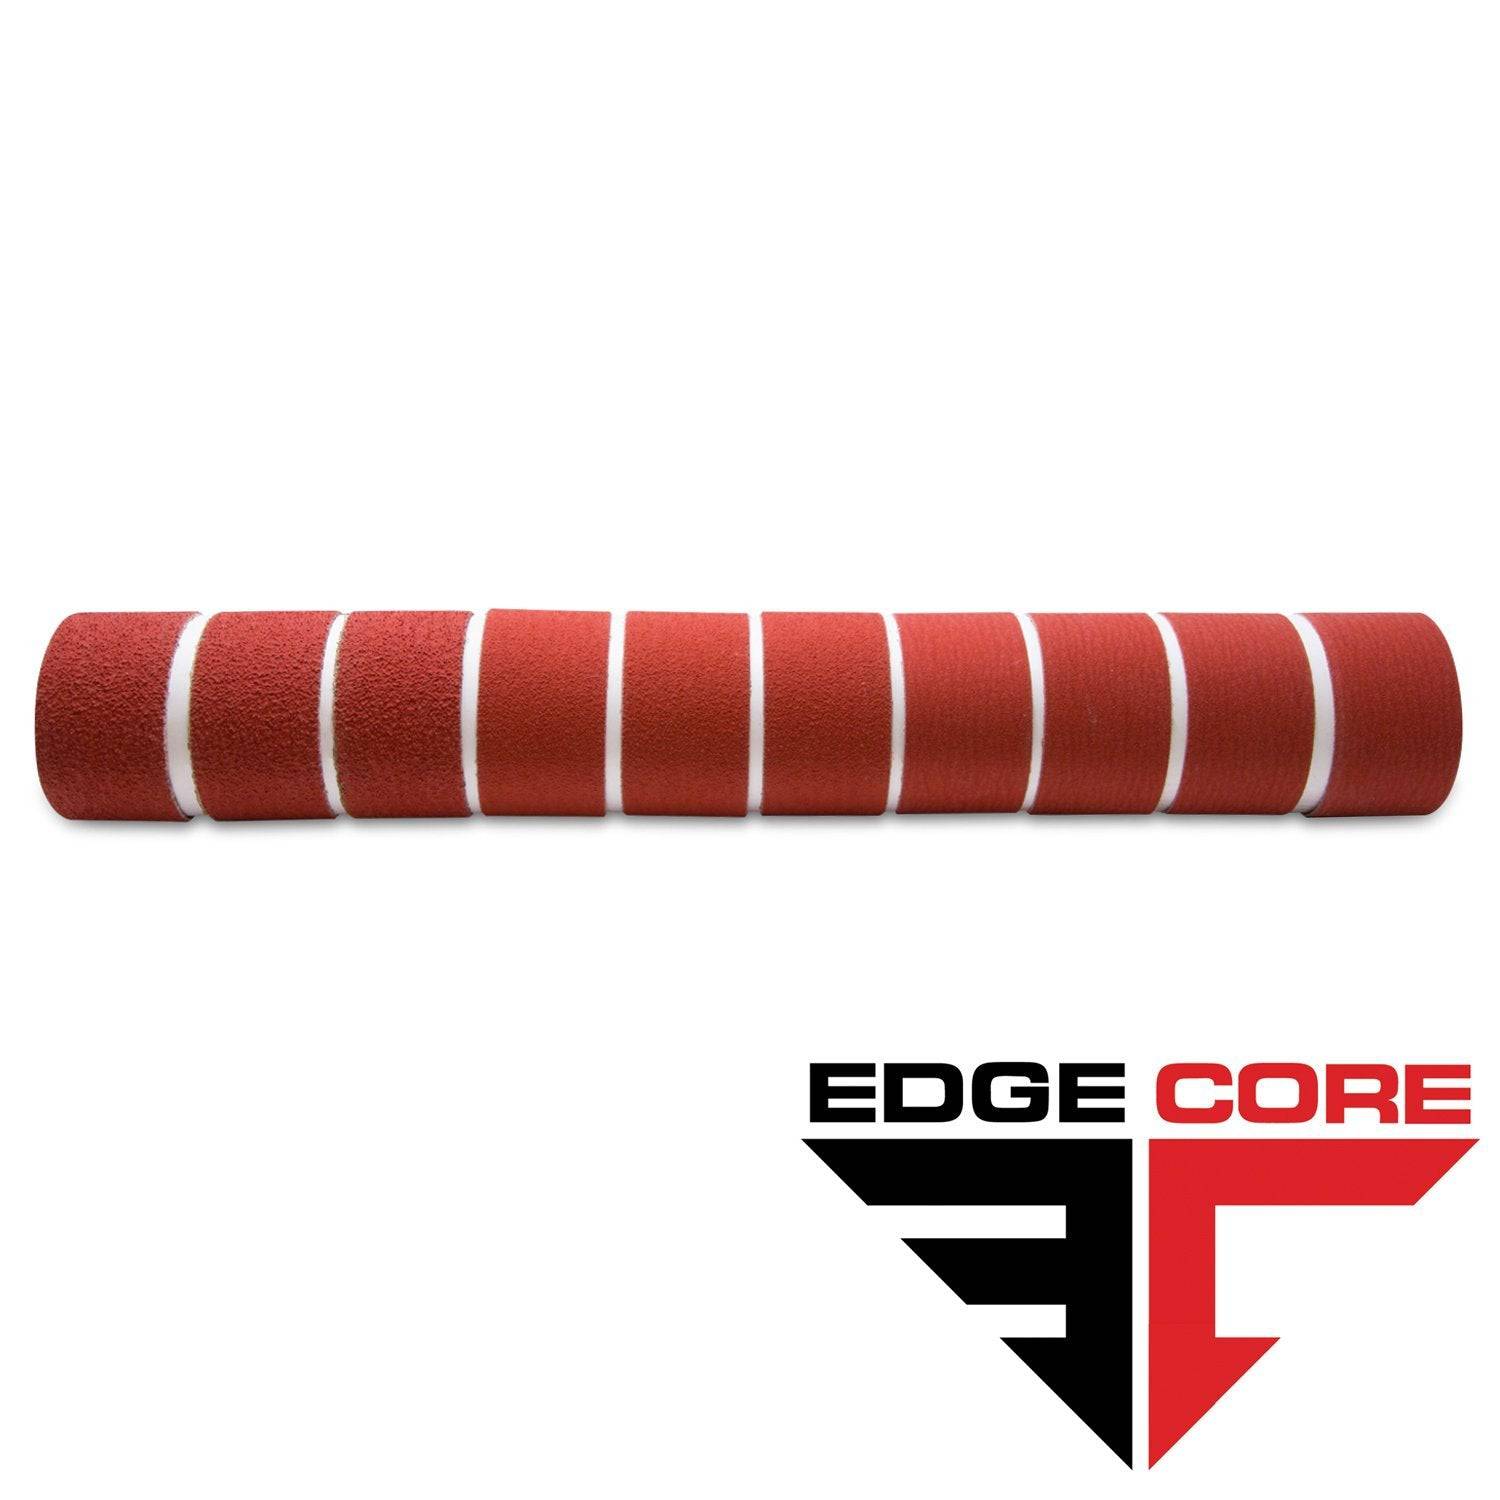
2 X 48 Inch Knife Makers Sanding Belts Assortment
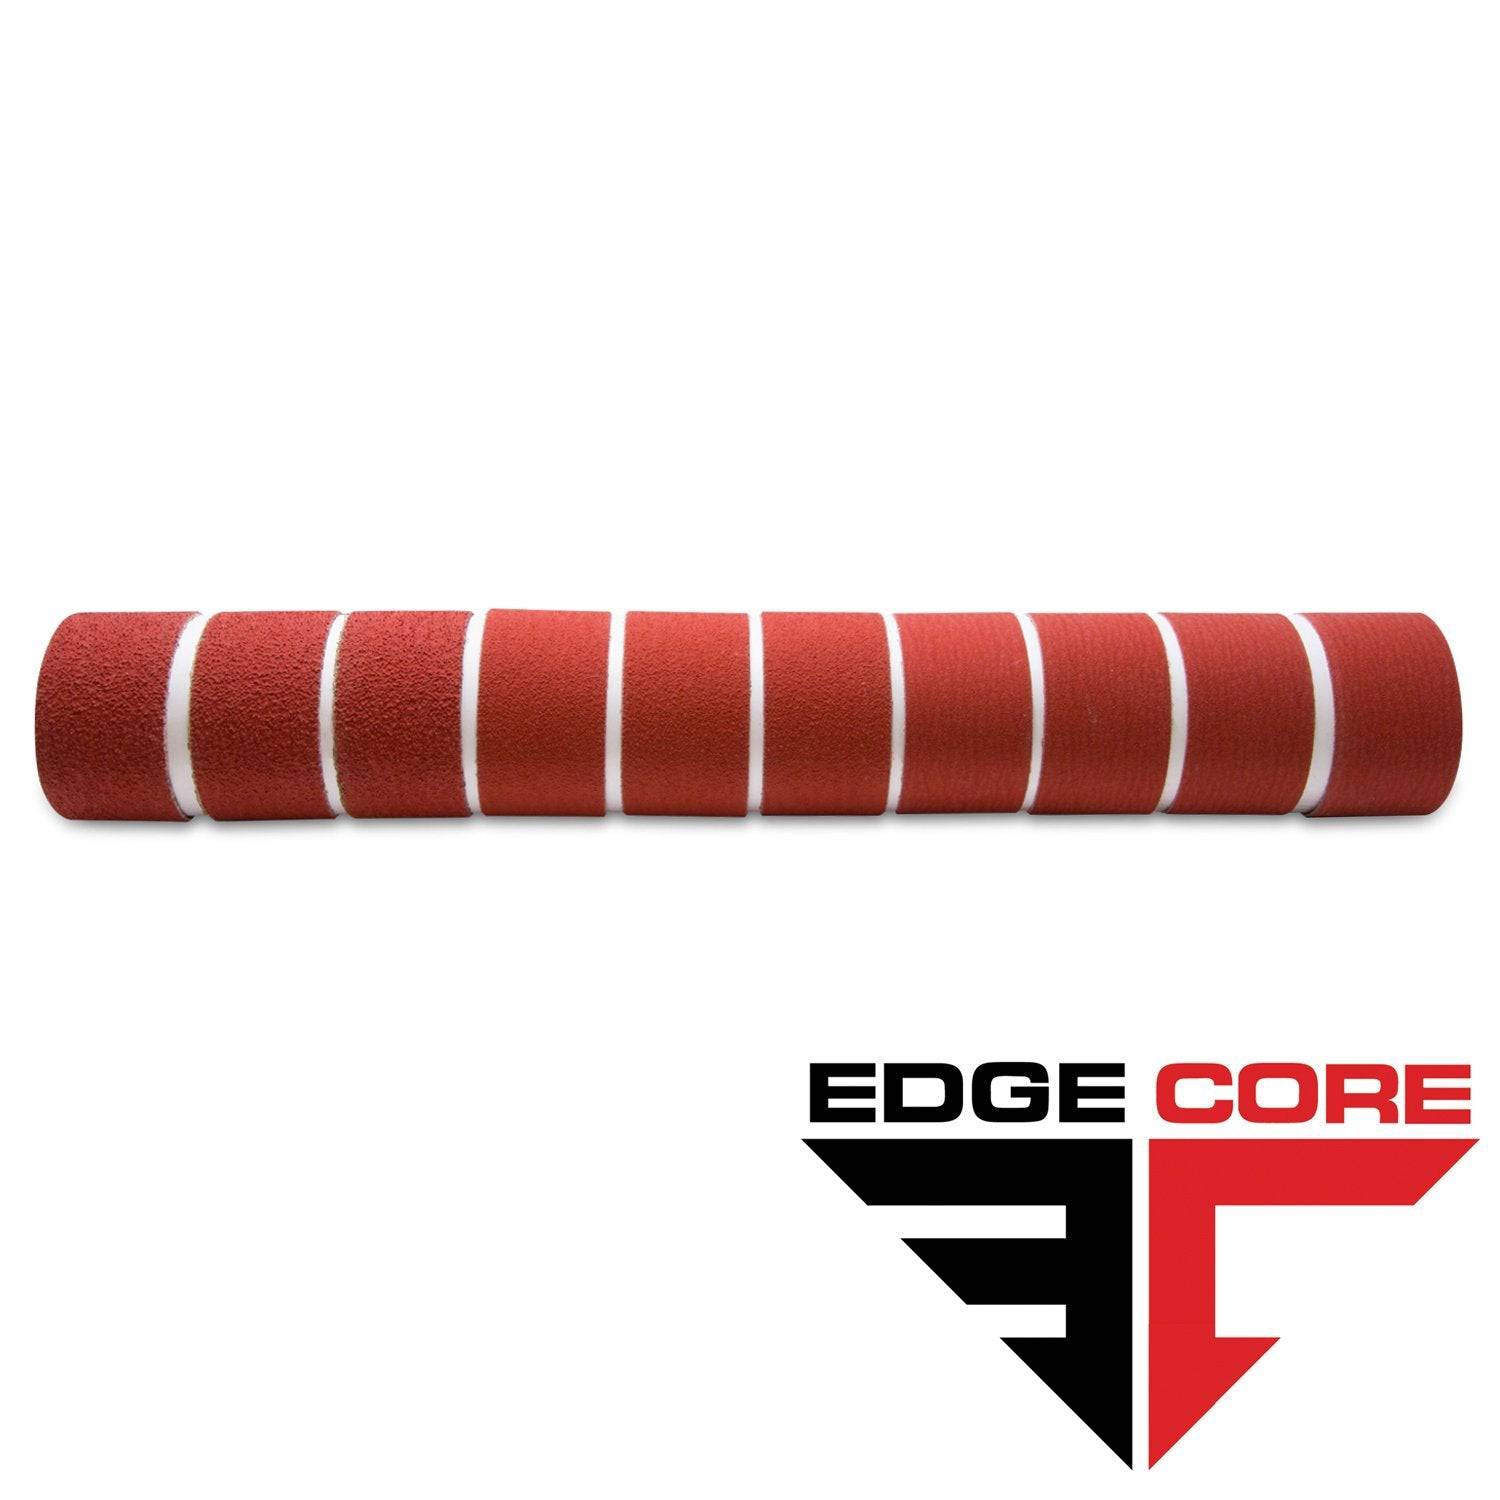
2 X 36 Inch Knife Makers Sanding Belt Assortment
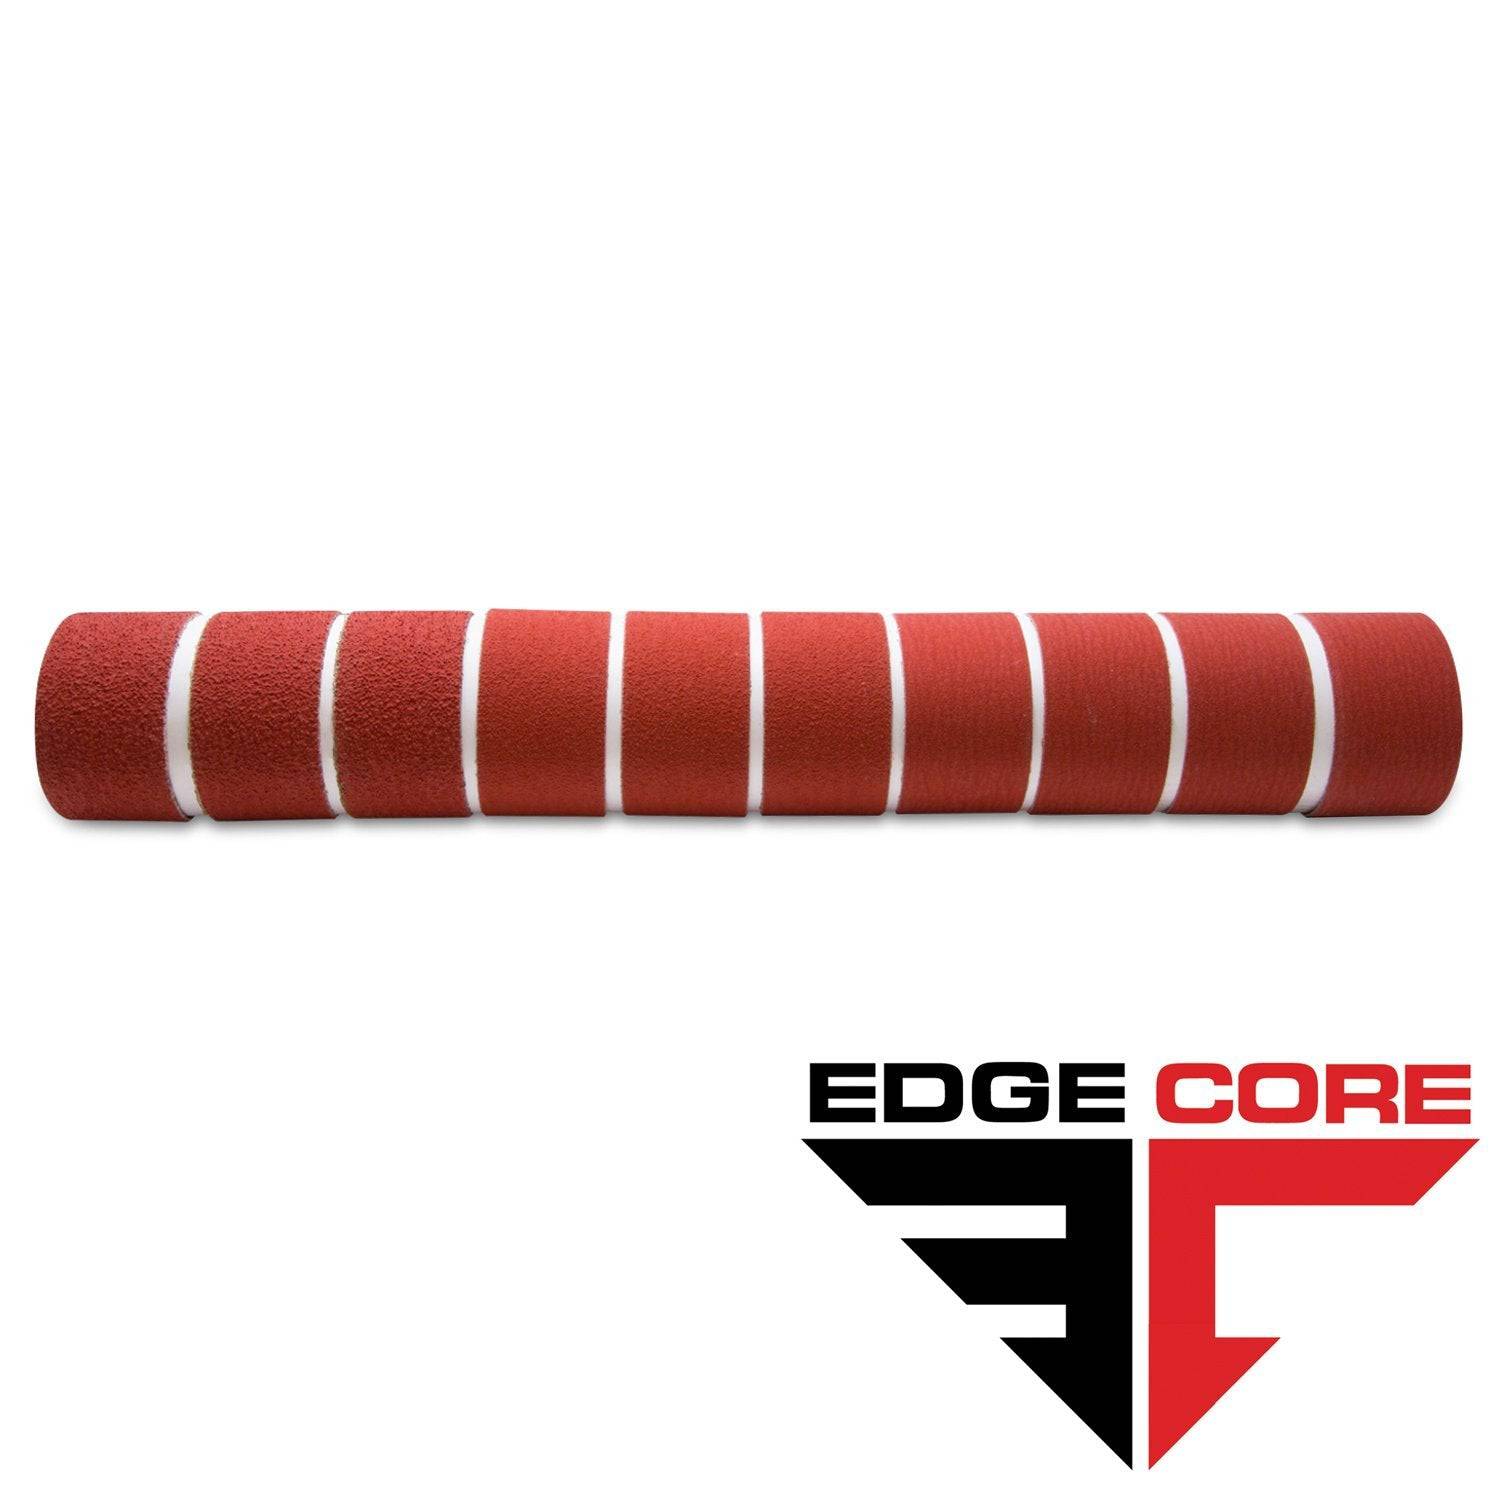
2 X 42 Inch Knife Makers Sanding Belts Assortment
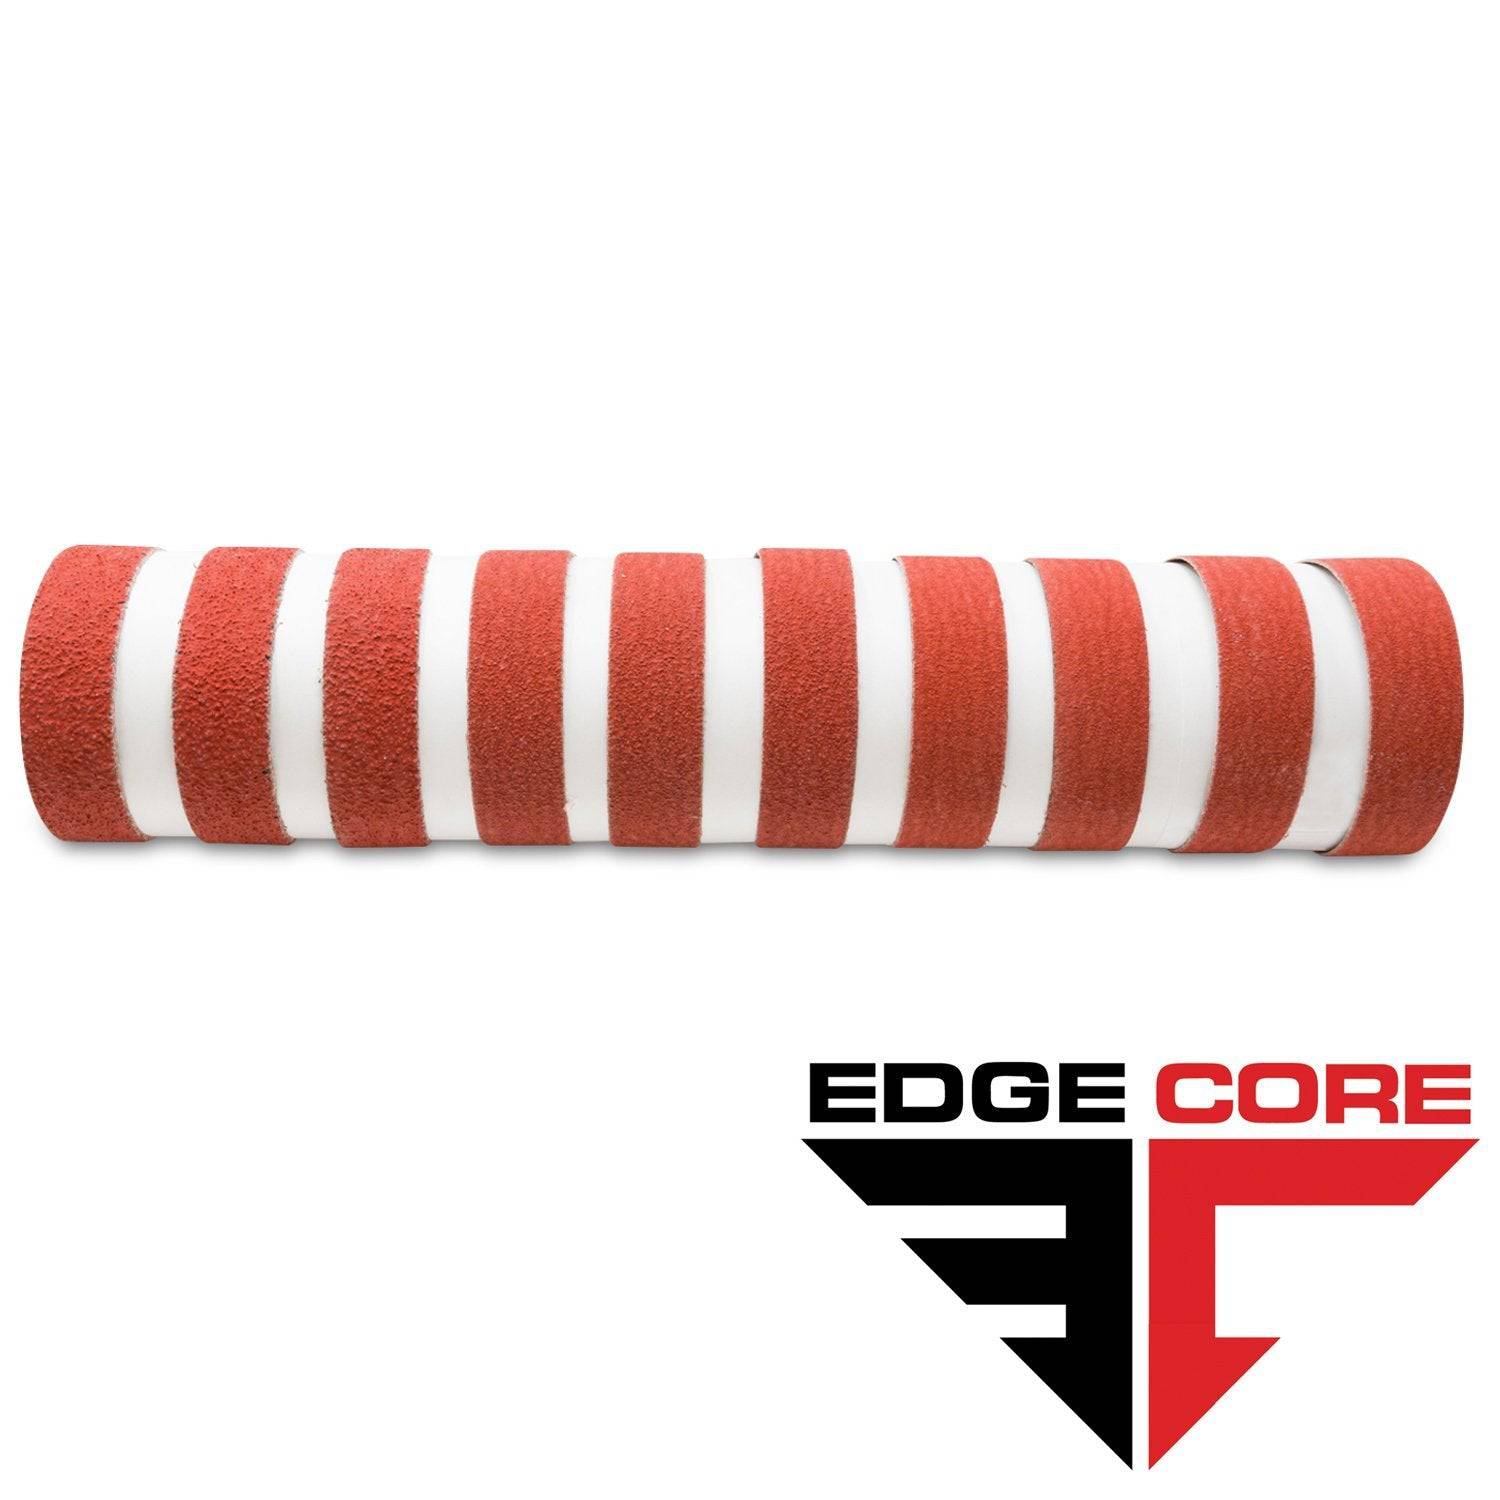
1 X 30 Inch Knife Makers Sanding Belts Assortment
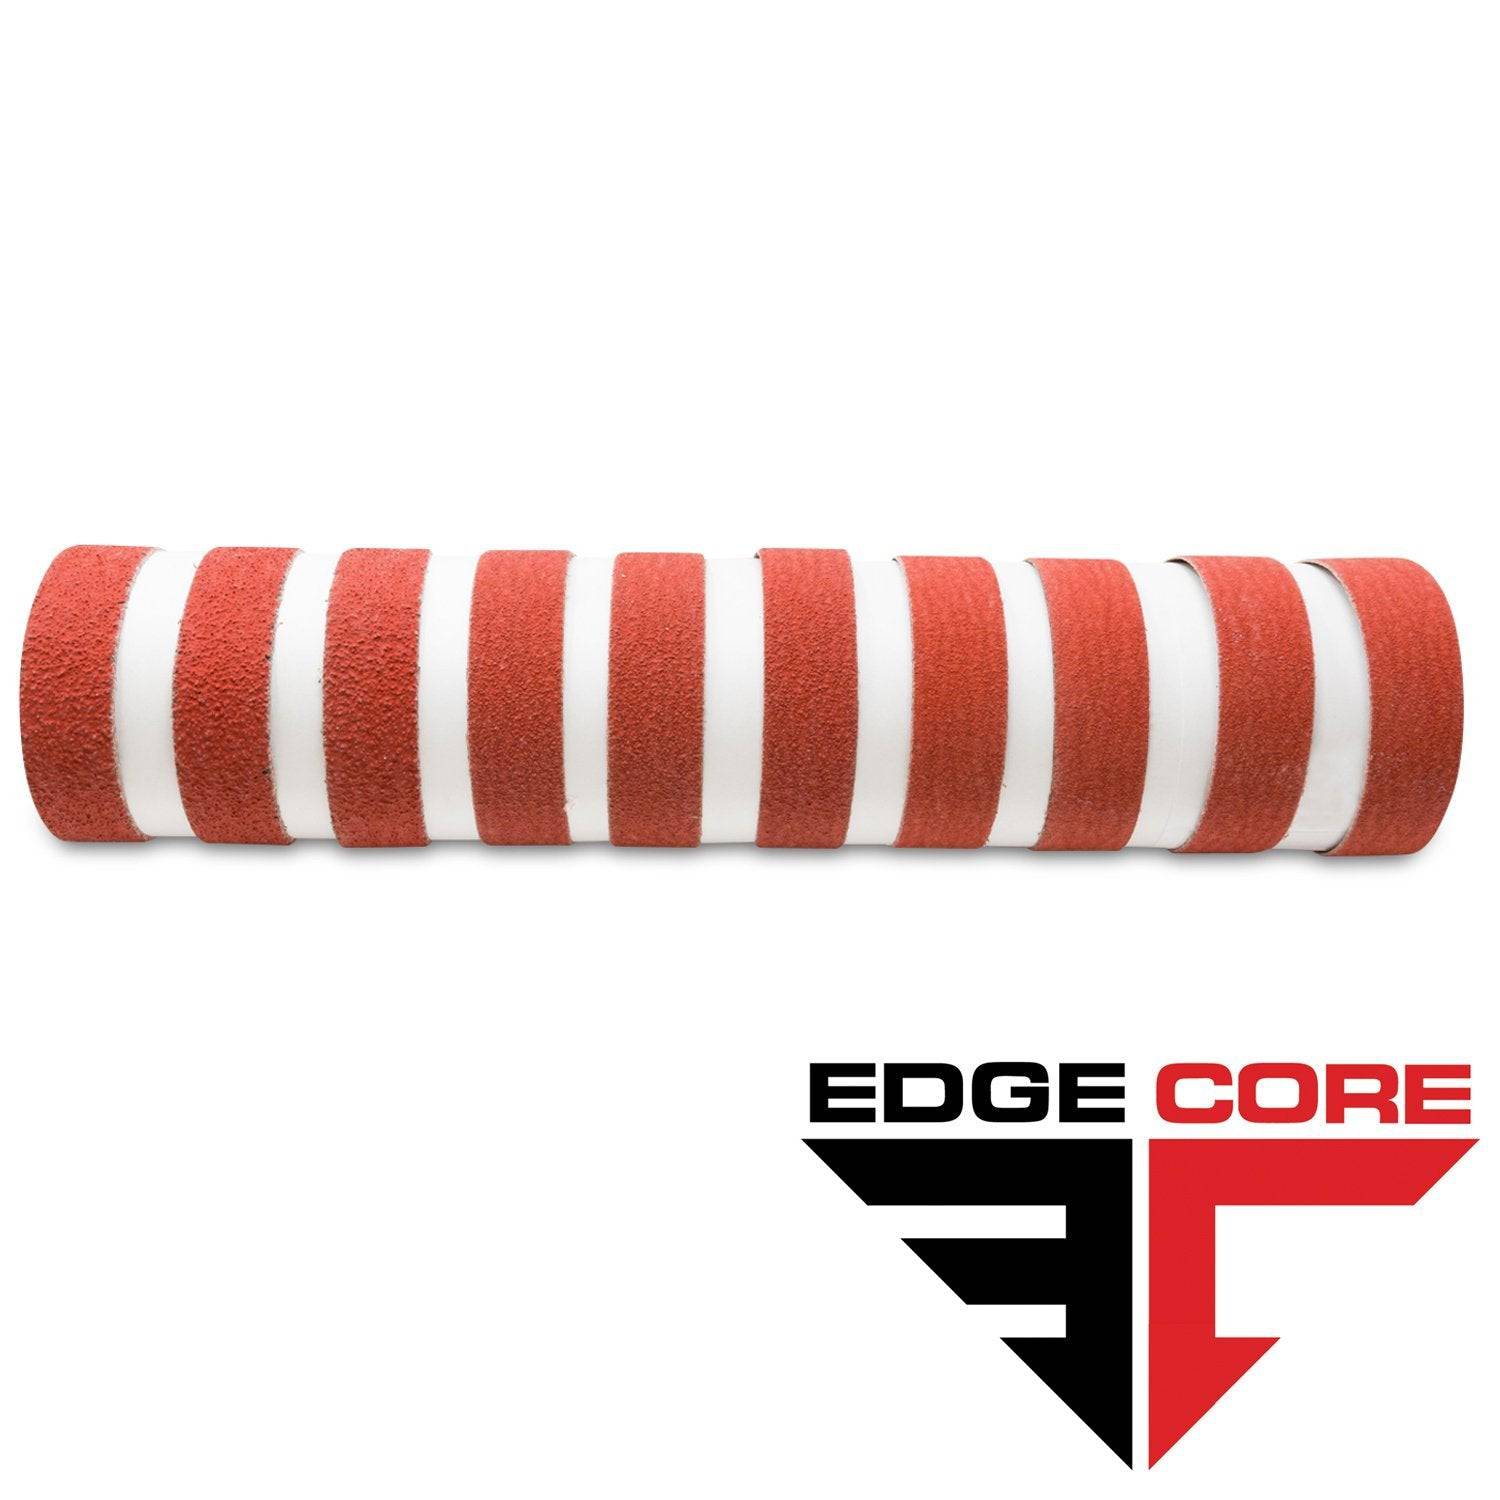
1 x 42 Inch Knife Makers Sanding Belt Assortment
Shop By Product Category


Why Choose Red Label?


