Your Cart is Empty


How To Prepare Wood For Painting (Step-By-Step Guide)

Quick Summary
Preparing wood for painting starts with gathering essential tools like sandpaper, wood filler, and primer. First, clean the wood surface to remove dirt and dust. Next, inspect and fill any imperfections with wood filler. Sand the wood using the appropriate grit sandpaper, then apply a primer suited to your paint. After priming, use painter’s tape to protect areas you don’t want to paint. Finally, apply multiple coats of paint, allowing each coat to fully dry and cure. Red Label Abrasives offers high-quality sanding products to help you achieve a smooth, professional finish.
Painting wood is one of the most rewarding DIY projects. Whether you're refinishing furniture, touching up trim, or working on cabinetry, getting the perfect finish requires more than just applying the paint, letting it dry, and hoping for the best. The secret to a professional-looking, long-lasting paint job lies in proper preparation. Without it, your paint could peel, bubble, or look uneven.
In this guide, the team at Red Label Abrasives will break down everything you need to do to get your wood surfaces ready for painting. From cleaning to sanding and priming, every step matters. By following these steps, you'll ensure your paint adheres well and creates a smooth, durable finish.
Step 1: Gather Your Tools and Materials
Preparation starts with gathering the right tools and materials: having everything ready at the beginning will keep your project on track and save you from having to stop and search for supplies. Here's what you’ll need:
- Sanding sheets and/or abrasives for your power sander (in various grits, ranging from coarse to fine)
- Power sander (optional, but recommended for large surfaces)
- Sanding block or sanding sponge (for small, detailed areas)
- Wood filler or putty (to fill in cracks and holes)
- Putty knife
- Tack cloth or lint-free cloth
- Primer (oil-based or latex, depending on your choice of paint)
- Painter's tape (to protect areas you don’t want painted)
- High-quality paintbrushes or rollers
- Drop cloth or tarp (to protect your work area)
- Vacuum or broom (to keep the area clean)
Make sure your workspace is well-ventilated, especially when using primers and paints with strong fumes. If you're working indoors, open windows and use fans to keep the air circulating.
Step 2: Clean the Wood Surface
Paint doesn’t adhere well to dirt, dust, or grease, so you want to start with a completely clean surface. For old wood surfaces or outdoor projects, accumulated grime could affect the finish.
- Step 1: Use a vacuum or broom to remove loose dust and debris.
- Step 2: Mix a mild detergent with water and gently wipe down the wood surface with a soft cloth or sponge.
- Step 3: If you’re working with greasy areas (like kitchen cabinets), use a degreaser to cut through built-up grease and grime.
Avoid soaking the wood with water, as excessive moisture can cause it to swell or warp. Once the wood is clean, dry it thoroughly with a lint-free cloth or tack cloth to remove any remaining dust particles.
Step 3: Inspect for Imperfections
Before sanding a wood surface, you’ll want to carefully inspect the wood for any imperfections like cracks, holes, or dents, as these blemishes can affect the quality of your paint finish if they’re not addressed beforehand. Even small imperfections can stand out once you’ve applied the paint, so this step is extremely important.
For small cracks and holes, use a wood filler or putty to fill them in. Here’s how:
- Step 1: Apply the wood filler with a putty knife, smoothing it into the cracks or holes. Be sure to slightly overfill the area to account for shrinkage as the filler dries.
- Step 2: Allow the filler to dry completely. Drying time can vary, but most fillers take around 30 minutes to an hour to dry.
- Step 3: Once the filler is dry, sand the area smooth with fine-grit sandpaper (around 220 grit). The goal is to make the repaired area flush with the surrounding wood.
After sanding, wipe down the surface with a tack cloth to remove any sanding dust, which could interfere with the next step.
Step 4: Sand the Wood
Sanding is one of the most important steps in preparing wood for painting, as it smooths the surface, helps paint stick better, and ensures an even finish. Depending on the condition of the wood, you may need to use different grits of sandpaper.
- Coarse Sanding (40-80 grit): If the wood is rough or has old paint or varnish, start with coarse-grit sandpaper. This will remove imperfections, rough patches, and old finishes.
- Medium Sanding (100-150 grit): After the initial sanding, move on to medium-grit sandpaper to smooth the surface. This is also useful for leveling out wood fillers or putty repairs.
- Fine Sanding (180-220 grit): Finish the sanding process with fine-grit sandpaper to create a smooth, even surface.
If you're sanding large areas like doors, table tops, or cabinets, using a power sander will save you time and effort. However, for corners, edges, and intricate details, use a sanding block or sponge for better control.
Pro Tip: Always sand with the grain of the wood to avoid scratches. After sanding, clean the surface with a tack cloth to remove any dust or particles. Dust left on the surface can interfere with primer adhesion, so it's important to ensure the surface is spotless.
Step 5: Prime the Wood
Priming is essential for ensuring a smooth, even paint finish. It helps the paint stick to the wood, prevents stains from bleeding through, and can even out any remaining imperfections in the wood grain. When selecting a primer, be sure to choose one that’s compatible with the type of paint you’ll be using.
- Oil-Based Primer: Works well with both oil-based and latex paints. It’s especially useful for woods that have tannins (like cedar or redwood), which can bleed through paint if not sealed properly.
- Latex Primer: This is a water-based option that dries faster than oil-based primers and works well for most interior wood surfaces.
Apply the primer with a brush or roller, depending on the size of the surface you’re working on. Use thin, even coats, and avoid applying too much primer in one go, as it can lead to drips and unevenness. Allow the primer to dry according to the manufacturer's instructions (typically a few hours). Once the primer is dry, lightly sand the surface again with fine-grit sandpaper (around 220 grit). This helps smooth out any raised grain or imperfections that appear during priming. After sanding, wipe the surface down with a tack cloth to remove dust.
Step 6: Apply Painter’s Tape
Painter’s tape is your best friend when it comes to creating clean, crisp lines. Whether you’re painting trim, furniture, or cabinetry, painter’s tape ensures that you don’t accidentally paint over areas you want to keep clean. Here’s how to use it for best results:
- Step 1: Carefully apply the tape along edges, seams, and anywhere you don’t want paint. Press it down firmly to prevent paint from seeping underneath.
- Step 2: If you’re working on furniture or cabinets, consider removing the hardware, such as drawer pulls or handles, before painting. Store them in a safe place and reattach them after the paint is fully cured.
Painter’s tape is also helpful for covering glass surfaces or nearby walls, especially if you're painting close to windows or door frames.
Step 7: Paint the Wood
Now that the wood is fully prepped, it’s time to paint. The type of paint you use depends on the project and the desired finish.
- Oil-Based Paint: This type of paint is durable and typically used for high-traffic areas like floors and doors. It has a smooth finish and resists stains, but it takes longer to dry and requires mineral spirits for cleanup.
- Latex Paint: Water-based latex paints are easier to work with, dry quickly, and are easy to clean up with soap and water. They’re a popular choice for interior projects, such as furniture or trim.
Regardless of the type of paint, apply it in thin, even coats for the best results. If you’re working on large flat surfaces, a roller can give you smooth, even coverage. Use a paintbrush for smaller or more detailed areas.
Allow the first coat to dry completely before applying a second coat. Depending on the wood and paint type, you might need to apply two or three coats for full coverage. Between coats, lightly sand the surface with fine-grit sandpaper to smooth out any imperfections, and be sure to wipe away dust with a tack cloth.
Step 8: Let the Paint Cure
Even after the paint feels dry to the touch, it needs time to fully cure and harden. Curing can take several days or even up to a week, depending on the paint type and environmental conditions. During this time, avoid placing objects on the painted surface or exposing it to heavy use. Letting the paint cure properly ensures that it hardens, resulting in a more durable, long-lasting finish.
Step 9: Reattach Hardware and Clean Up
Once the paint is fully cured, you can reattach any hardware, such as drawer pulls, cabinet handles, or hinges. Make sure the hardware is clean before putting it back in place to avoid any scratches or marks on your freshly painted surface. After removing any painter’s tape carefully to avoid peeling up any paint, give your workspace a good clean up, wiping away any dust or stray paint splatters.
Best Abrasives for Wood
Abrasives come in various types, many of them capable of achieving excellent results with wood preparation. Here’s a look at some of the best abrasive grains for sanding wood.
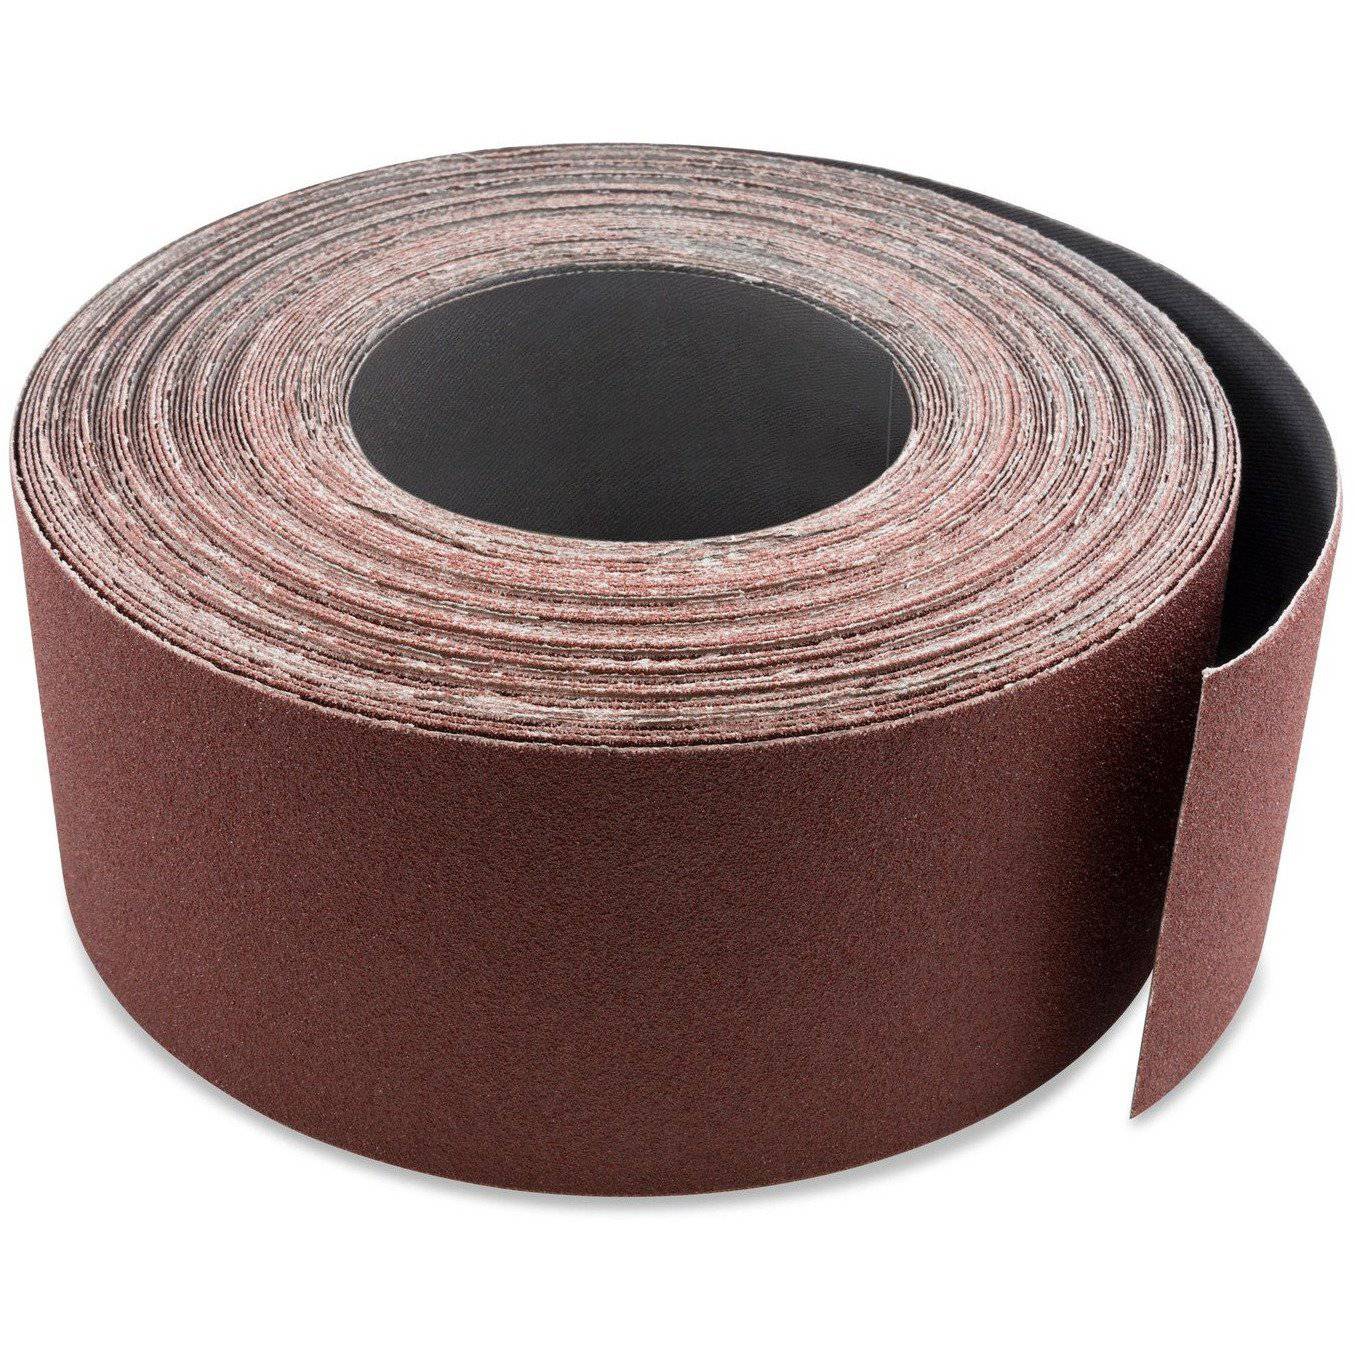
Aluminum Oxide
Aluminum oxide is one of the most popular and versatile abrasive grains for woodworking. It’s a durable, self-sharpening grain, which means that as you sand, new cutting edges are exposed, maintaining performance over time. Aluminum oxide works well for both coarse and fine sanding, making it a great option for a wide variety of woodworking projects.
Best for: General sanding, removing old finishes, smoothing rough wood surfaces.
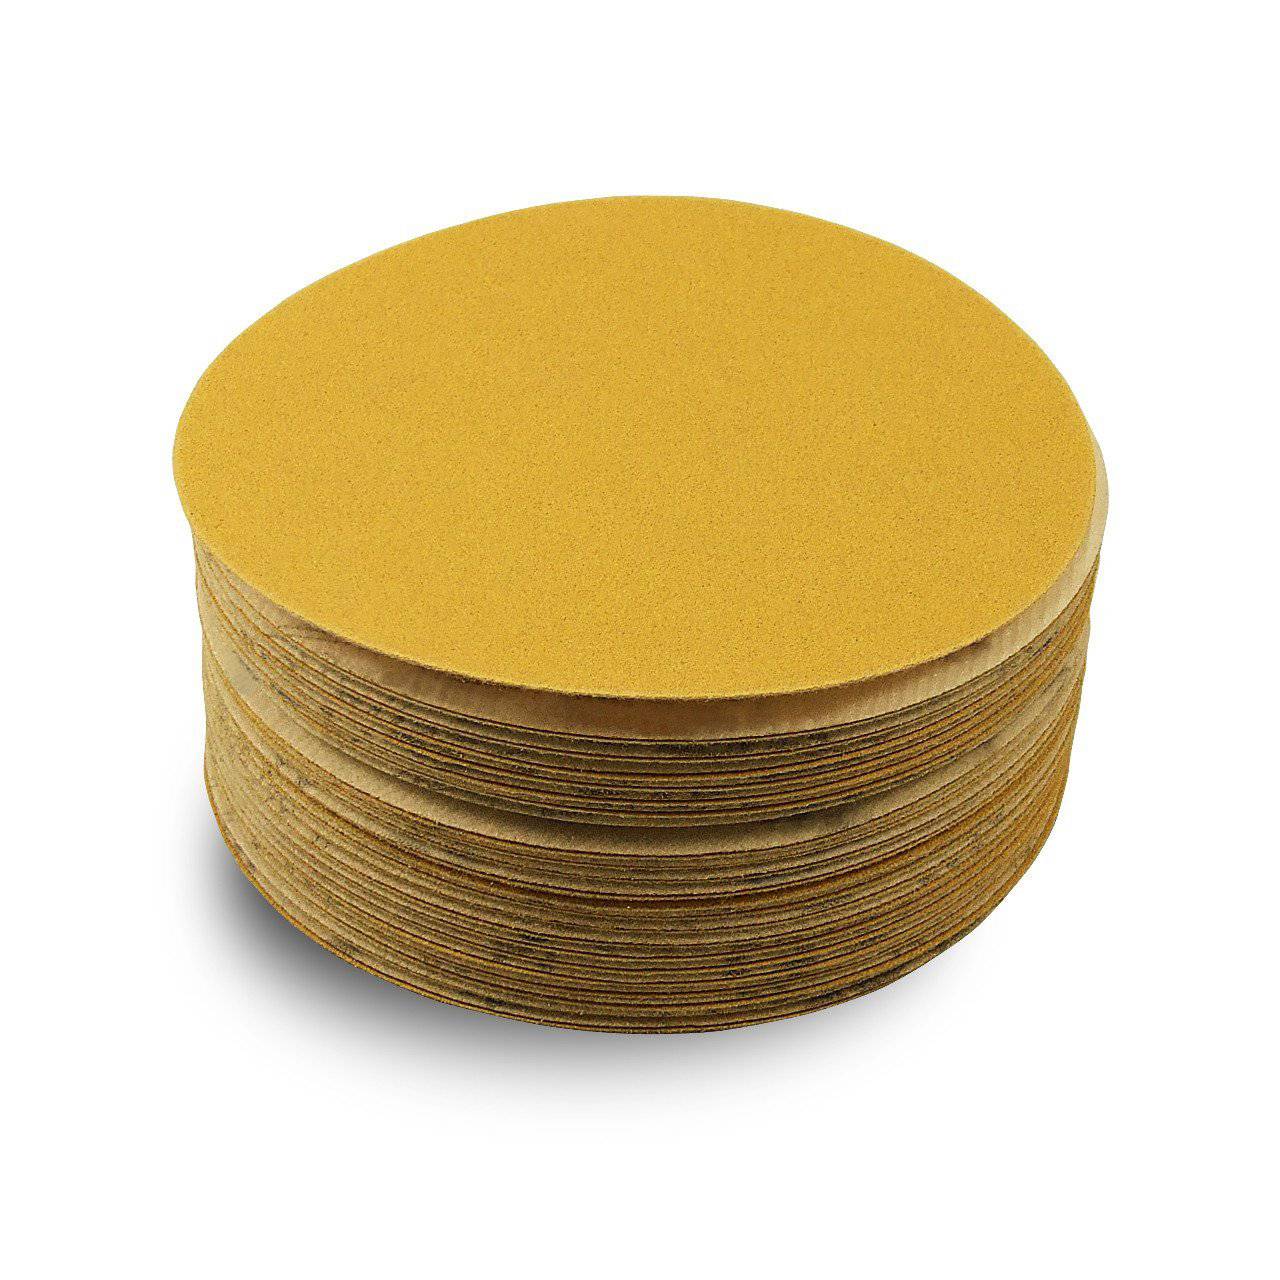
Silicon Carbide
Silicon carbide is a harder, sharper grain than aluminum oxide, making it perfect for finishing tasks and delicate sanding. It’s commonly used for fine sanding and works especially well on hardwoods. Because it wears down more quickly than other abrasive grains, silicon carbide is best for finishing rather than heavy-duty tasks.
Best for: Fine sanding, finishing tasks, smoothing between coats of paint or primer.
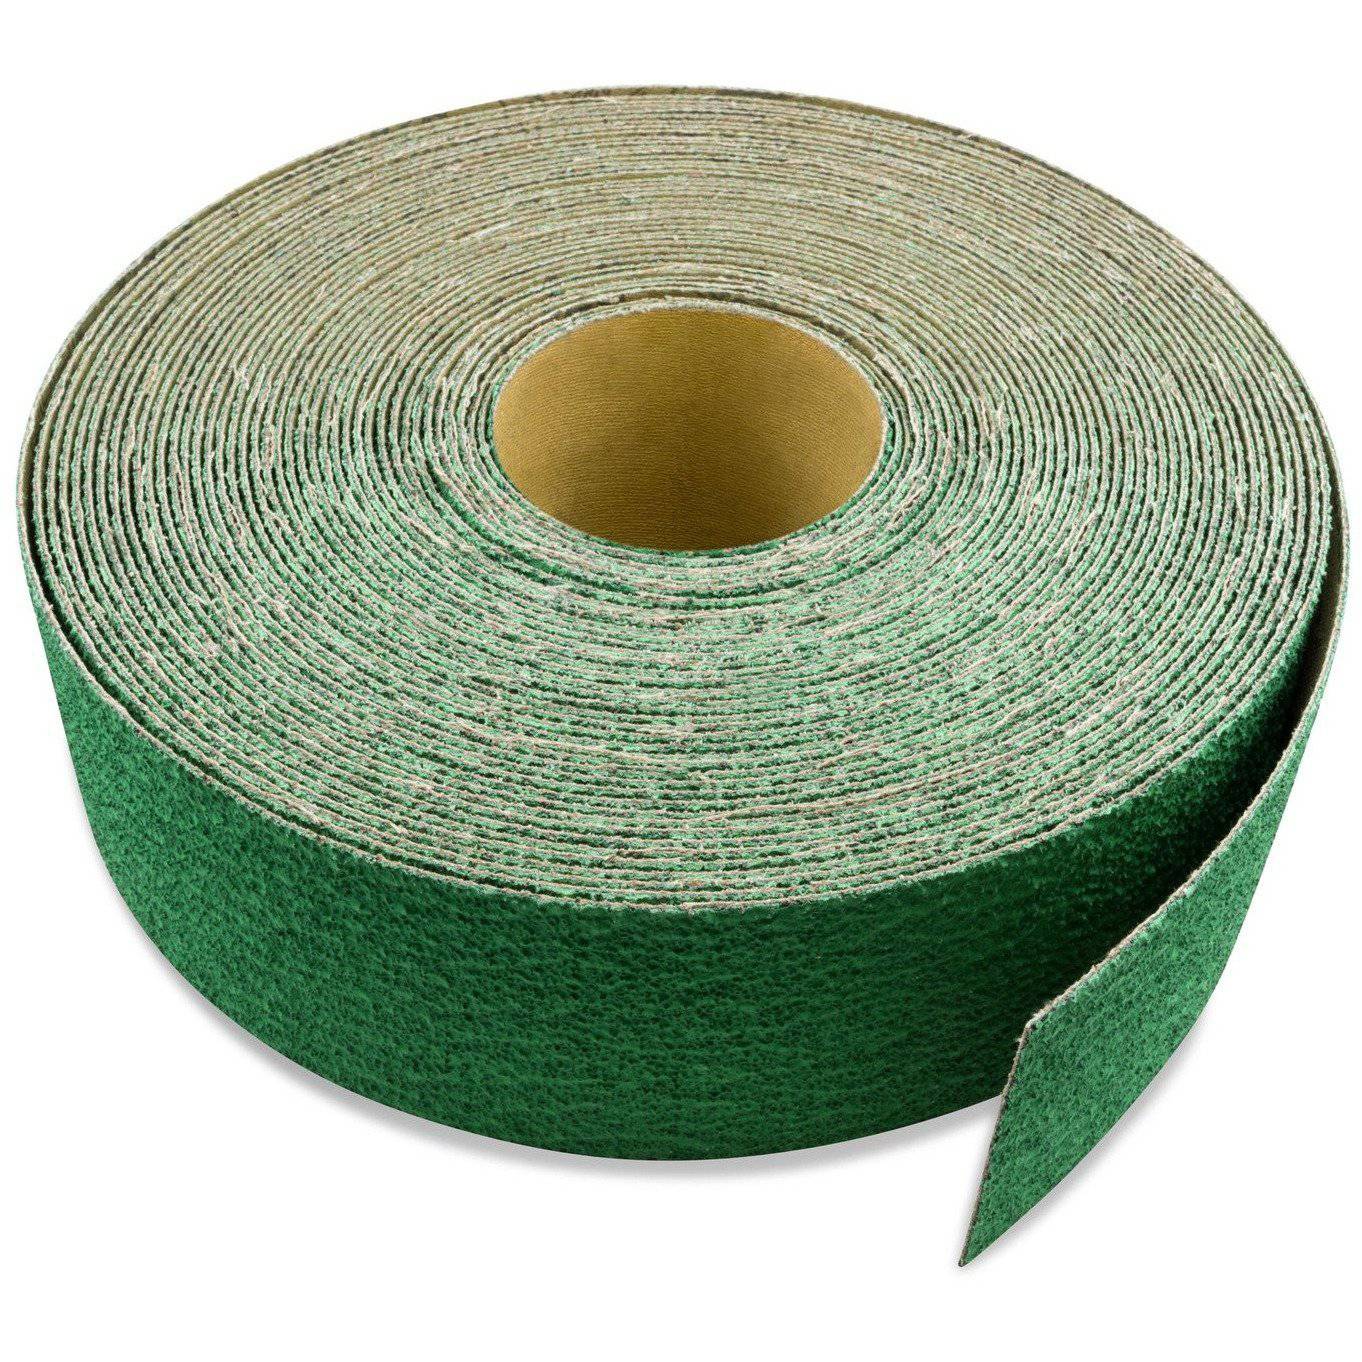
Zirconia Alumina
Zirconia alumina is a long-lasting, tough abrasive grain that’s often used for heavy-duty sanding. If you're working on hard, dense wood or need to remove thick layers of paint, zirconia alumina is a great choice. It's more durable than aluminum oxide, making it ideal for tough sanding jobs.
Best for: Heavy-duty sanding, removing thick layers of paint or varnish, sanding dense hardwoods.
Prepare Your Wood for Painting With Red Label Abrasives
It takes time to properly prepare wood for painting, but each step plays an important role in delivering a smooth, long-lasting finish. By cleaning, sanding, priming, and using the right abrasives, you can achieve professional-quality results that will stand the test of time.
If you need to prepare a wood surface for painting, contact Red Label Abrasives. We offer a wide range of high-quality sanding sheets, sanding belts, and sanding discs to help you complete your woodworking projects with ease and precision. Whether you’re prepping a small piece of furniture or tackling a larger project like doors or flooring, we have the products you need to get the job done right. If you have questions about our abrasives or would like to place an order, call 844-824-1956 or fill out our contact form today.


Our Most Popular Abrasives For Woodworkers
3 inch X 70 FT Woodworking Aluminum Oxide Cloth Drum Sander Strip Roll
5 Inch Hook and Loop Gold Sanding Discs, 50 Pack

2 X 72 Inch Multipurpose Sanding Belts, 6 Pack
3 inch X 70 FT Premium Zirconia Woodworking Drum Sander Roll
6 X 48 Inch Aluminum Oxide Wood & Non-Ferrous Sanding Belts, 2 Pack
Shop By Product Category


Why Choose Red Label?

