Your Cart is Empty
Free Shipping over $150 (Excludes Oversized Products)
Free Shipping over $150 (Excludes Oversized Products)
Sanding Belts
Sanding Discs

How To Stabilize Wood For Knife Scales
by David Kranker 4 min read

Quick Summary
Wood stabilization is the process of strengthening wood so that it will no longer respond to changes in humidity. Stabilization can be performed in five steps: drying the wood, loading the vacuum chamber, saturating the wood with resin, curing the wood, and coloring the wood.
What is Wood Stabilization?
The stabilization process removes moisture from the wood pieces by putting them into a vacuum chamber that sucks out all the air. You then introduce an acrylic resin, let it saturate the wood, and then remove it from the chamber so that the resin can cure, usually with a supporting heat treatment. The result is a stable piece of wood that will no longer respond to humidity changes.
Other benefits of stabilization include:
- The wood becomes more rot-resistant
- It is easier to machine
- The material is no longer affected even if exposed to intense UV radiation or high humidity
You’ll notice that despite being saturated with acrylic resin, the knife handles still look and feel like wood instead of plastic.
Best Woods for Stabilizing
Be warned that not all woods stabilize well. Your best bet is to choose low-density, large-pored woods like birch, popular, or beech. Woods like those below are generally unsuitable due to their oily and resinous nature, high density, and smaller pores.
- Ebony
- Olive
- Rosewood
- Softwoods
Some woods contain high amounts of tanning agents, which impair the absorption of the stabilizing resin and can prevent an optimal hardening process.
Wood Stabilizing Process
Wood stabilization is usually done by thermosetting the resin. This step allows it to completely penetrate the wood after introduction and be cured by the heat to produce the most stable results.
One of the most popular products is the Cactus Juice brand of resin, which reaches a prime state of stability when baked in an oven. Other knifemakers use epoxy resin, which needs to be introduced using a vacuum chamber in order to penetrate the wood deeply enough.
Step One: Collect Materials
You will need the following materials and equipment:
- Dried wood, ideal with a moisture content of 5% or less.
- Aluminum foil
- A high-quality oven thermometer
- A vacuum pump
- A vacuum chamber equipped with a meter, valves, and a hose
- A regular or toaster oven
- Protective equipment (apron, gloves, goggles)
- A dye or a coloring agent if you want to color the handles afterward.
Step Two: Dry the Wood
If you know that the wood you’re using for the knife handles has not been pre-dried, set your oven to 250℉ and let the pieces bake for at least two hours. Then place them in a sealable freezer bag and cool to room temperature. If condensation appears inside the bag, too much moisture remains inside the wood, so put the pieces back in the oven and repeat until the bag is clear.
NOTE:Make sure the freezer bag is airtight. Otherwise the wood will absorb moisture from the air and hinder your drying efforts.
Step Three: Load Vacuum Chamber
Once the wood is sufficiently dried, place them in the vacuum chamber. Put them wide enough apart that the stabilizing resin can reach them from all sides and weigh them down to prevent them from floating upward while stabilizing is taking place. You can use a weighted mesh grid or an anti-float mat applied to the wall of the vacuum tank.
Once the wood pieces are secured, fill in the resin until the liquid is around 15 mm above the level of the wood. During stabilization, the resin level drops slightly as it is being absorbed, and you want to ensure that there is enough medium to get the job done.
Step Four: Begin Saturation
Close the chamber and activate it so the air evacuation process can begin. You’ll notice that as the air in the wood escapes, the resin will begin to ‘boil.’ If it starts to over-foam and run off, let the air escape slowly and wait until the foam has dissolved, Repeat as necessary. When the resin no longer bubbles, it means that all air has escaped and your wood is completely saturated.
This step usually takes about an hour, although it can sometimes take longer. Switch off the vacuum chamber, ensuring that the valve is closed first, and leave the wood to sit for a while. Then take them out, let them drain well, and dab them thoroughly with paper towels.
Tip:You can reuse the reason. Pour it into an airtight container and store it in a dark, dry place at a maximum temperature of 68℉.
Step Five: Cure the Wood
Wrap each handle piece tightly in a single sheet of aluminum foil and preheat the oven to a temperature of 160 to 200℉, using an oven thermometer to confirm when the right temperature has been reached. Then place the wrapped handles in the oven with the matt side facing outward and the glossy side inward, and leave them there for at least 60 but no more than 90 minutes. When the process is complete, remove the wood carefully using protective gloves.
You will notice that the wood feels much heavier after stabilization. You want to make a well-balanced knife that is comfortable to hold and use, so consider the weight of the handle when you’re ready to apply the scales to the blade.
Step Six: Color the Wood (Optional)
If you want to color the wood, source a coloring medium from the same manufacturer that produced the resin, so that there are no unexpected outcomes due to incompatible chemicals or ingredients.
Contact an Abrasive Specialist
A beautiful, well-polished handle will enhance the beauty of a finished knife. Red Label Abrasives simplifies the process by providing all-inclusive knife making kits with the abrasives you need to not only shape and polish the blade but also produce a handle that’s both attractive and easy to hold. We’ve been supporting professional and hobbyist knifemakers for over 35 years and will answer any questions you have about our abrasive products. For more information, please call 844-824-1956 or fill out our contact form. ABOUT THE AUTHOR
David Kranker is a writer and creative maker who has been covering the abrasive and knife-making industries on the Red Label Abrasives Blog since 2020. David spends his time continually researching sanding and bladesmithing to provide readers with the latest and greatest information. In his free time, David utilizes abrasives for many different home and auto projects at his home in Delton, MI.
Belt Packs Made For Knife Makers
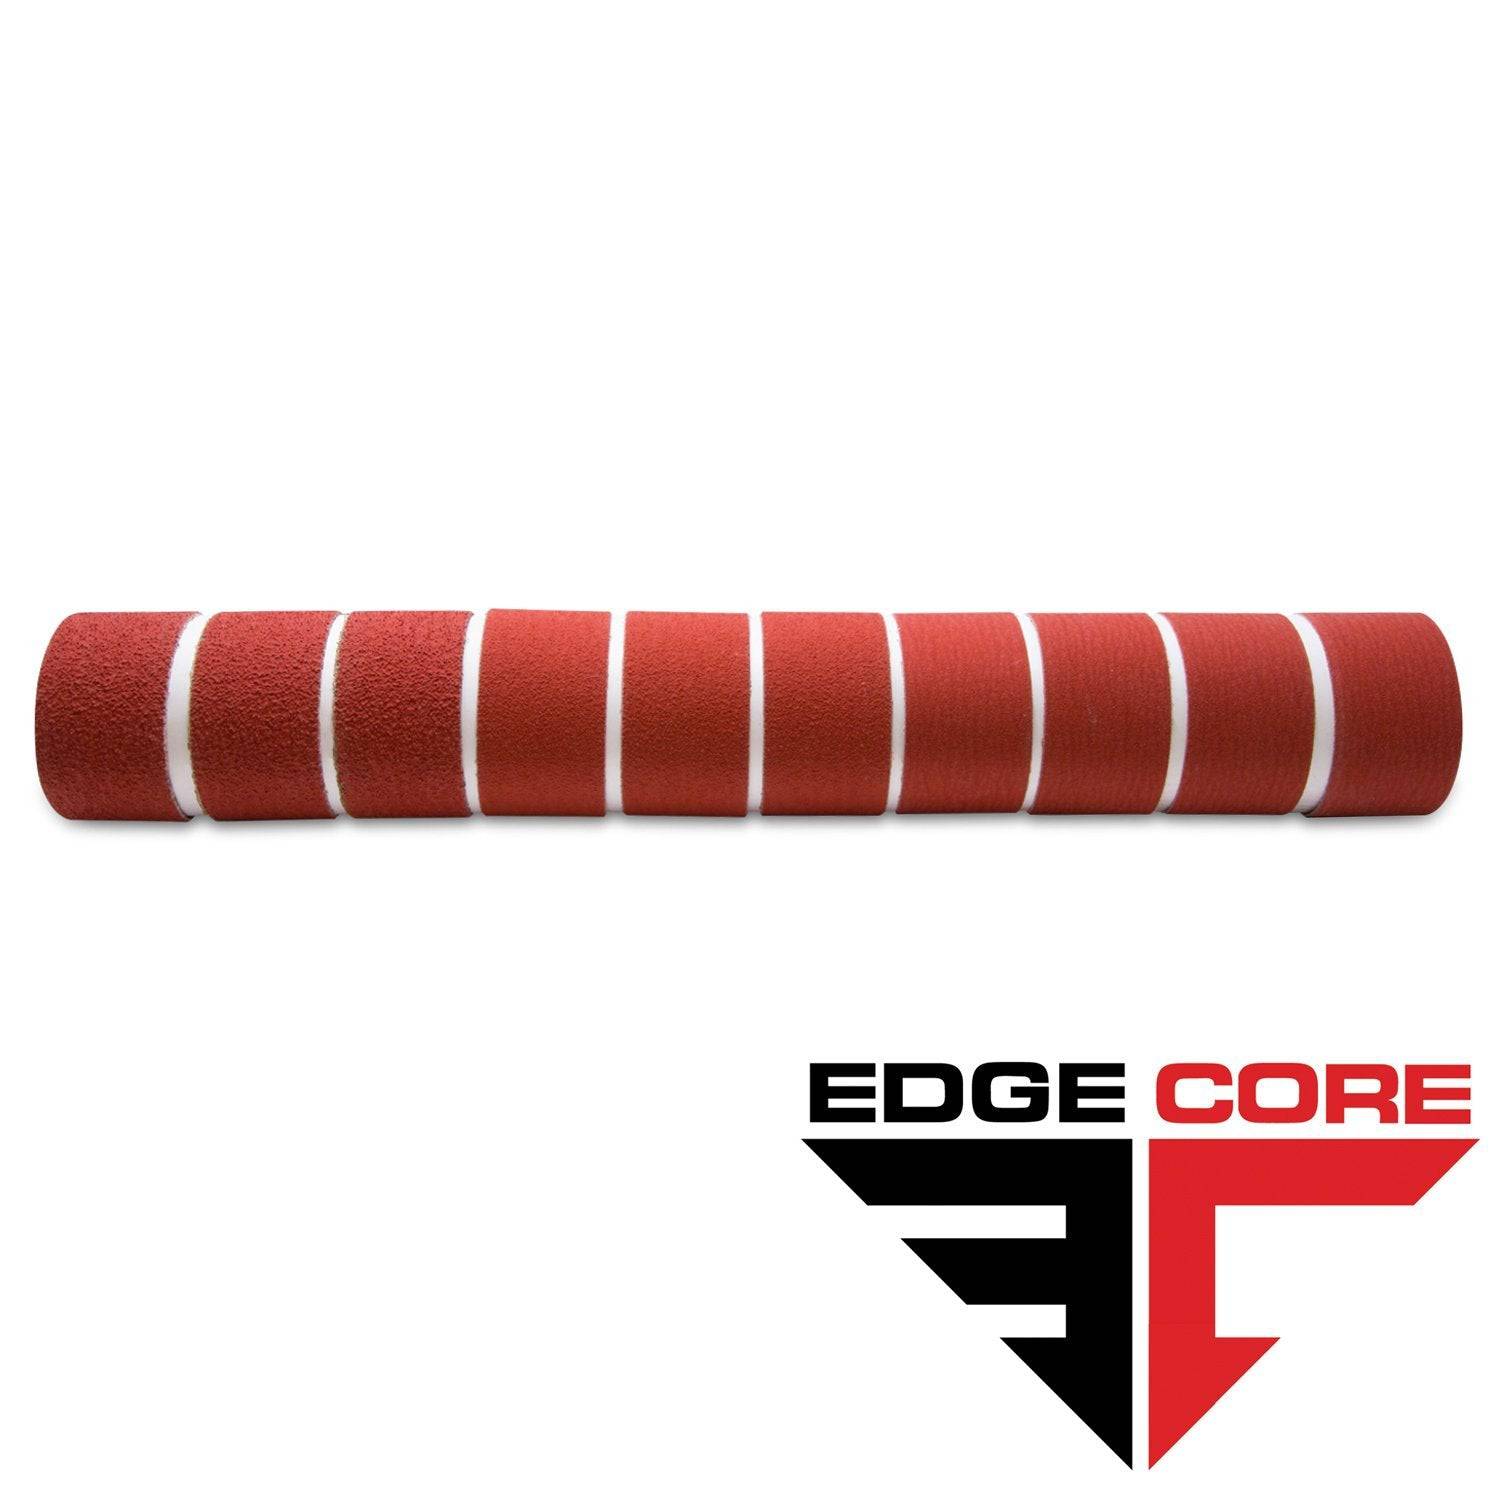
2 X 72 Inch Knife Makers Sanding Belts Assortment
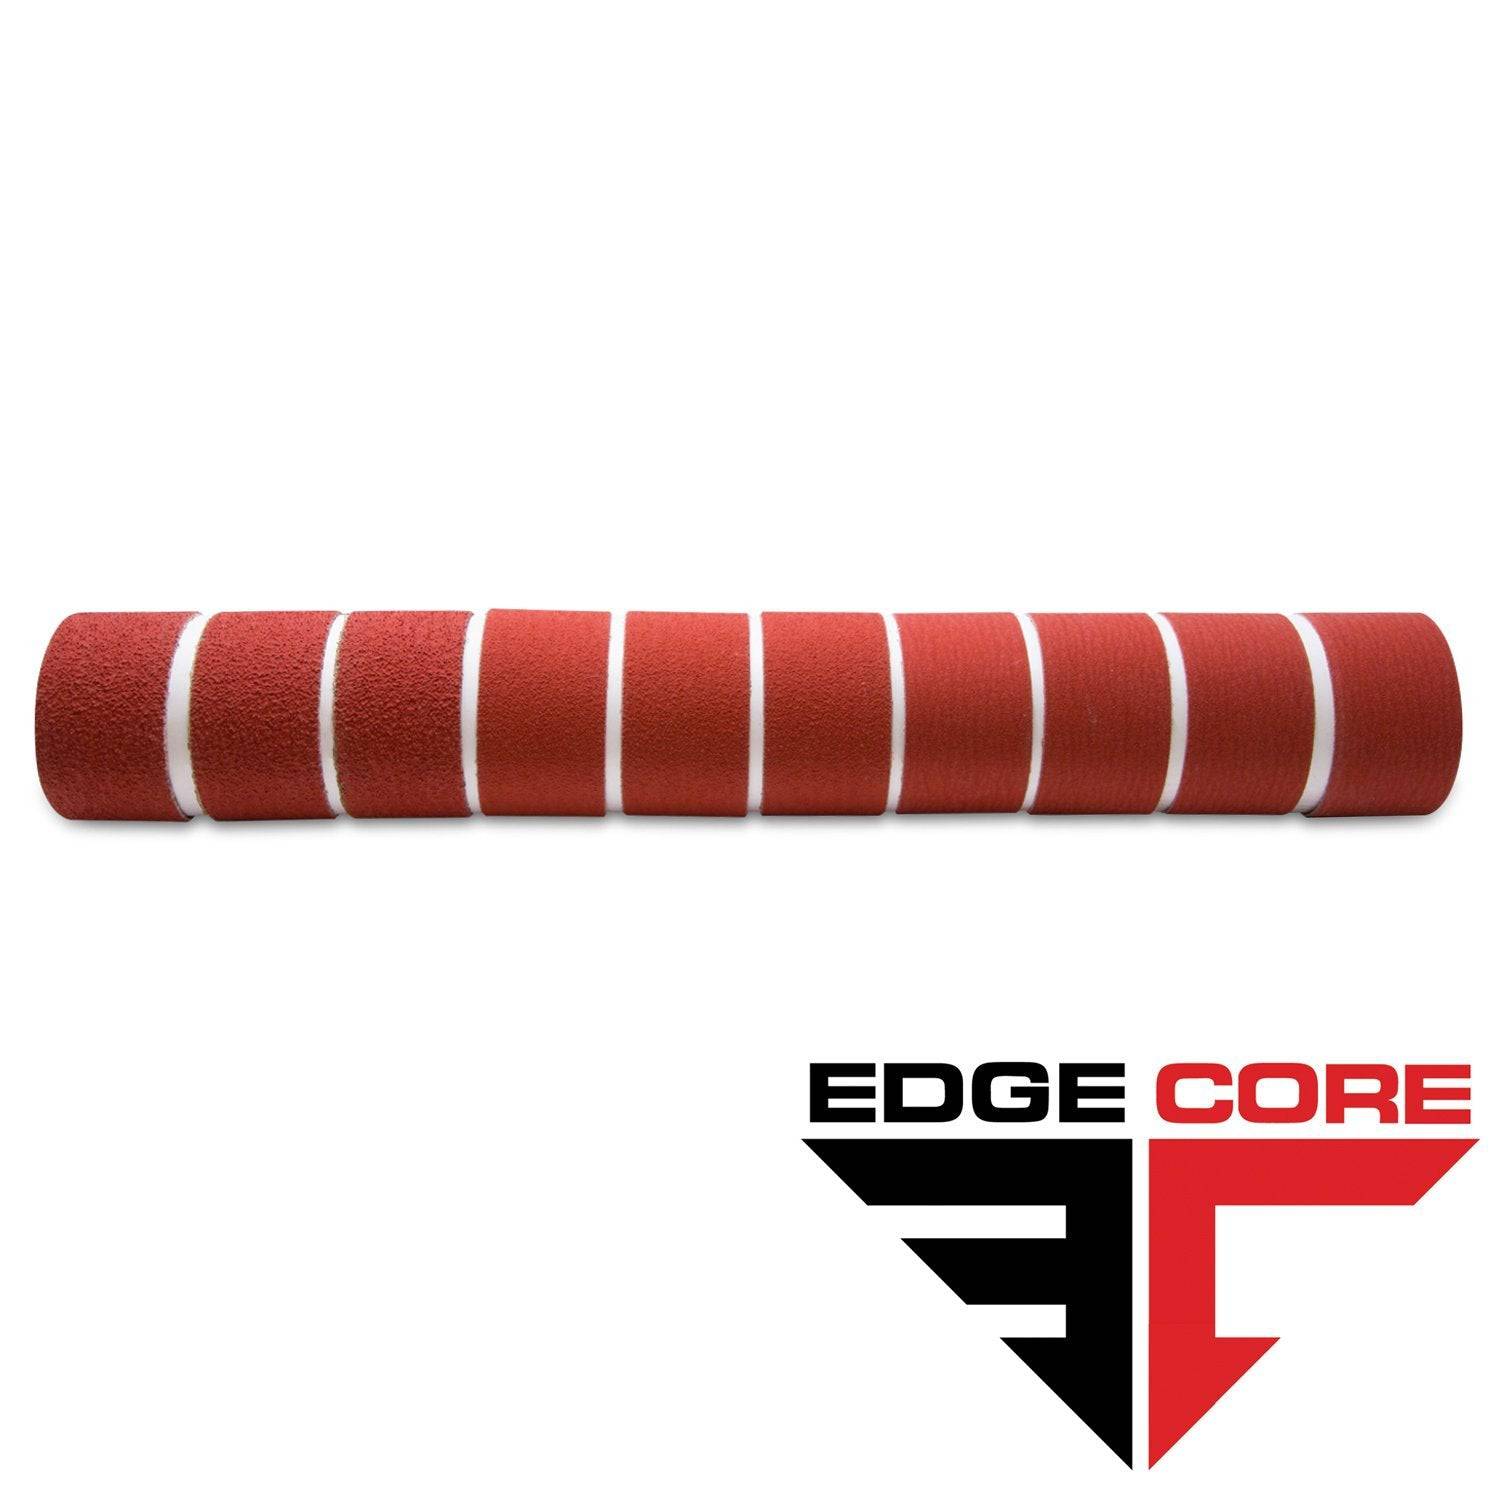
2 X 60 Inch Knife Makers Sanding Belts Assortment
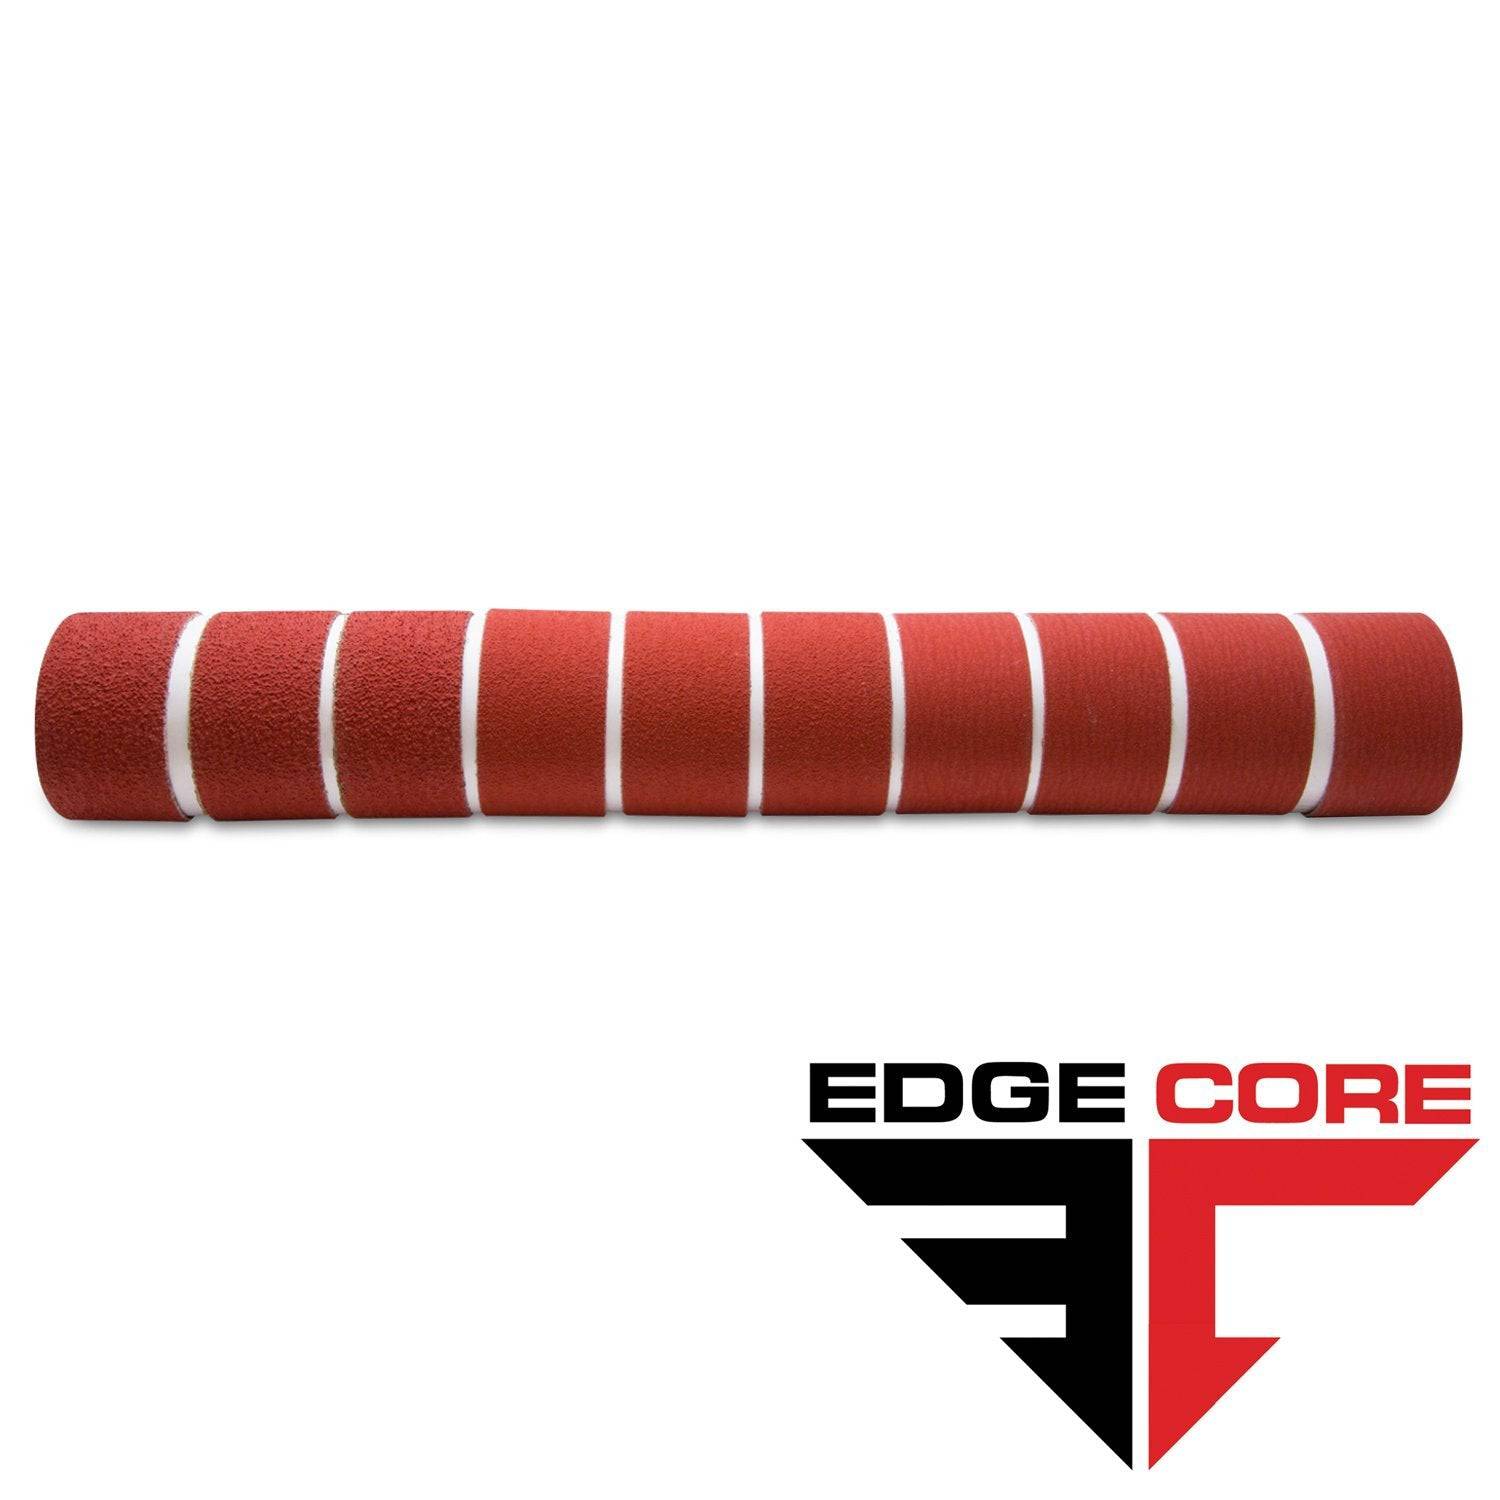
2 X 48 Inch Knife Makers Sanding Belts Assortment
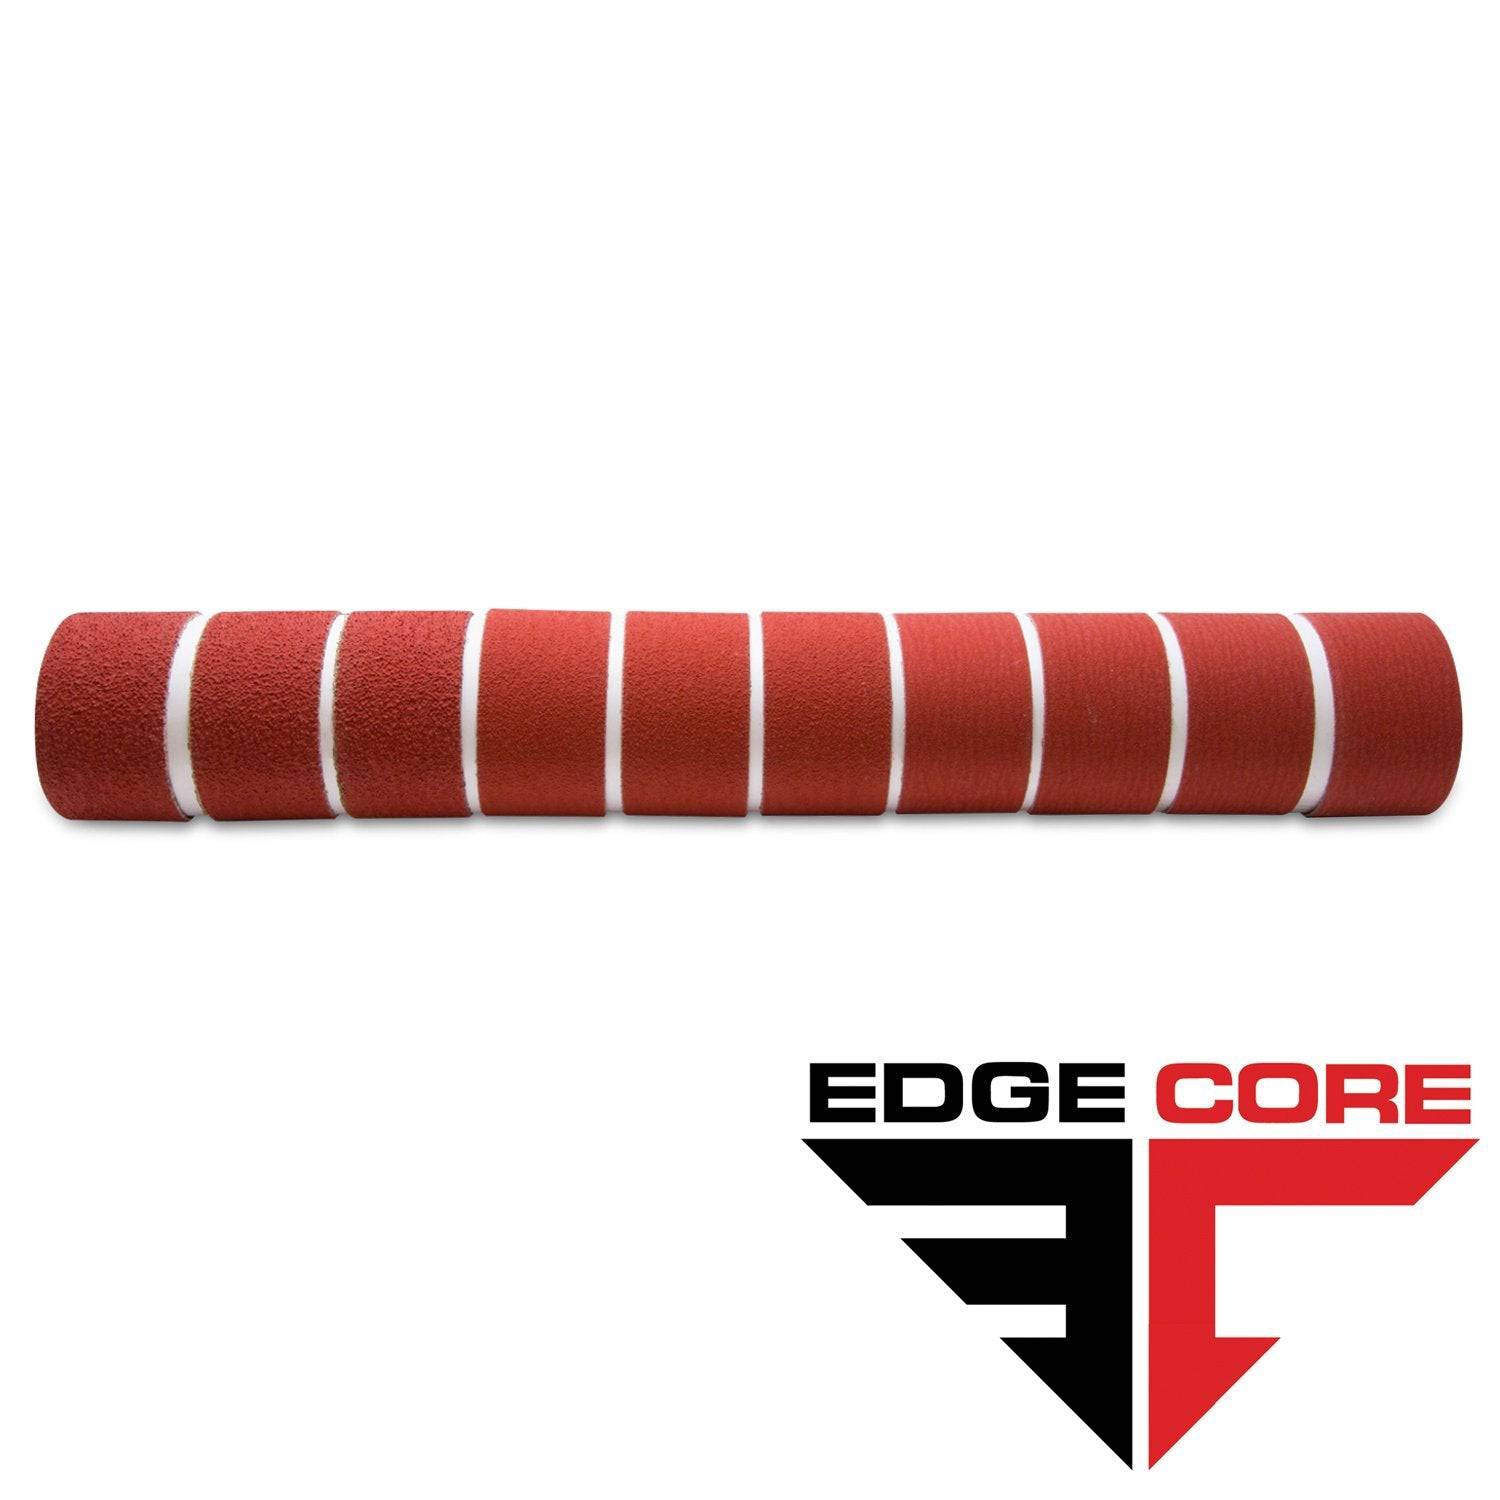
2 X 36 Inch Knife Makers Sanding Belt Assortment
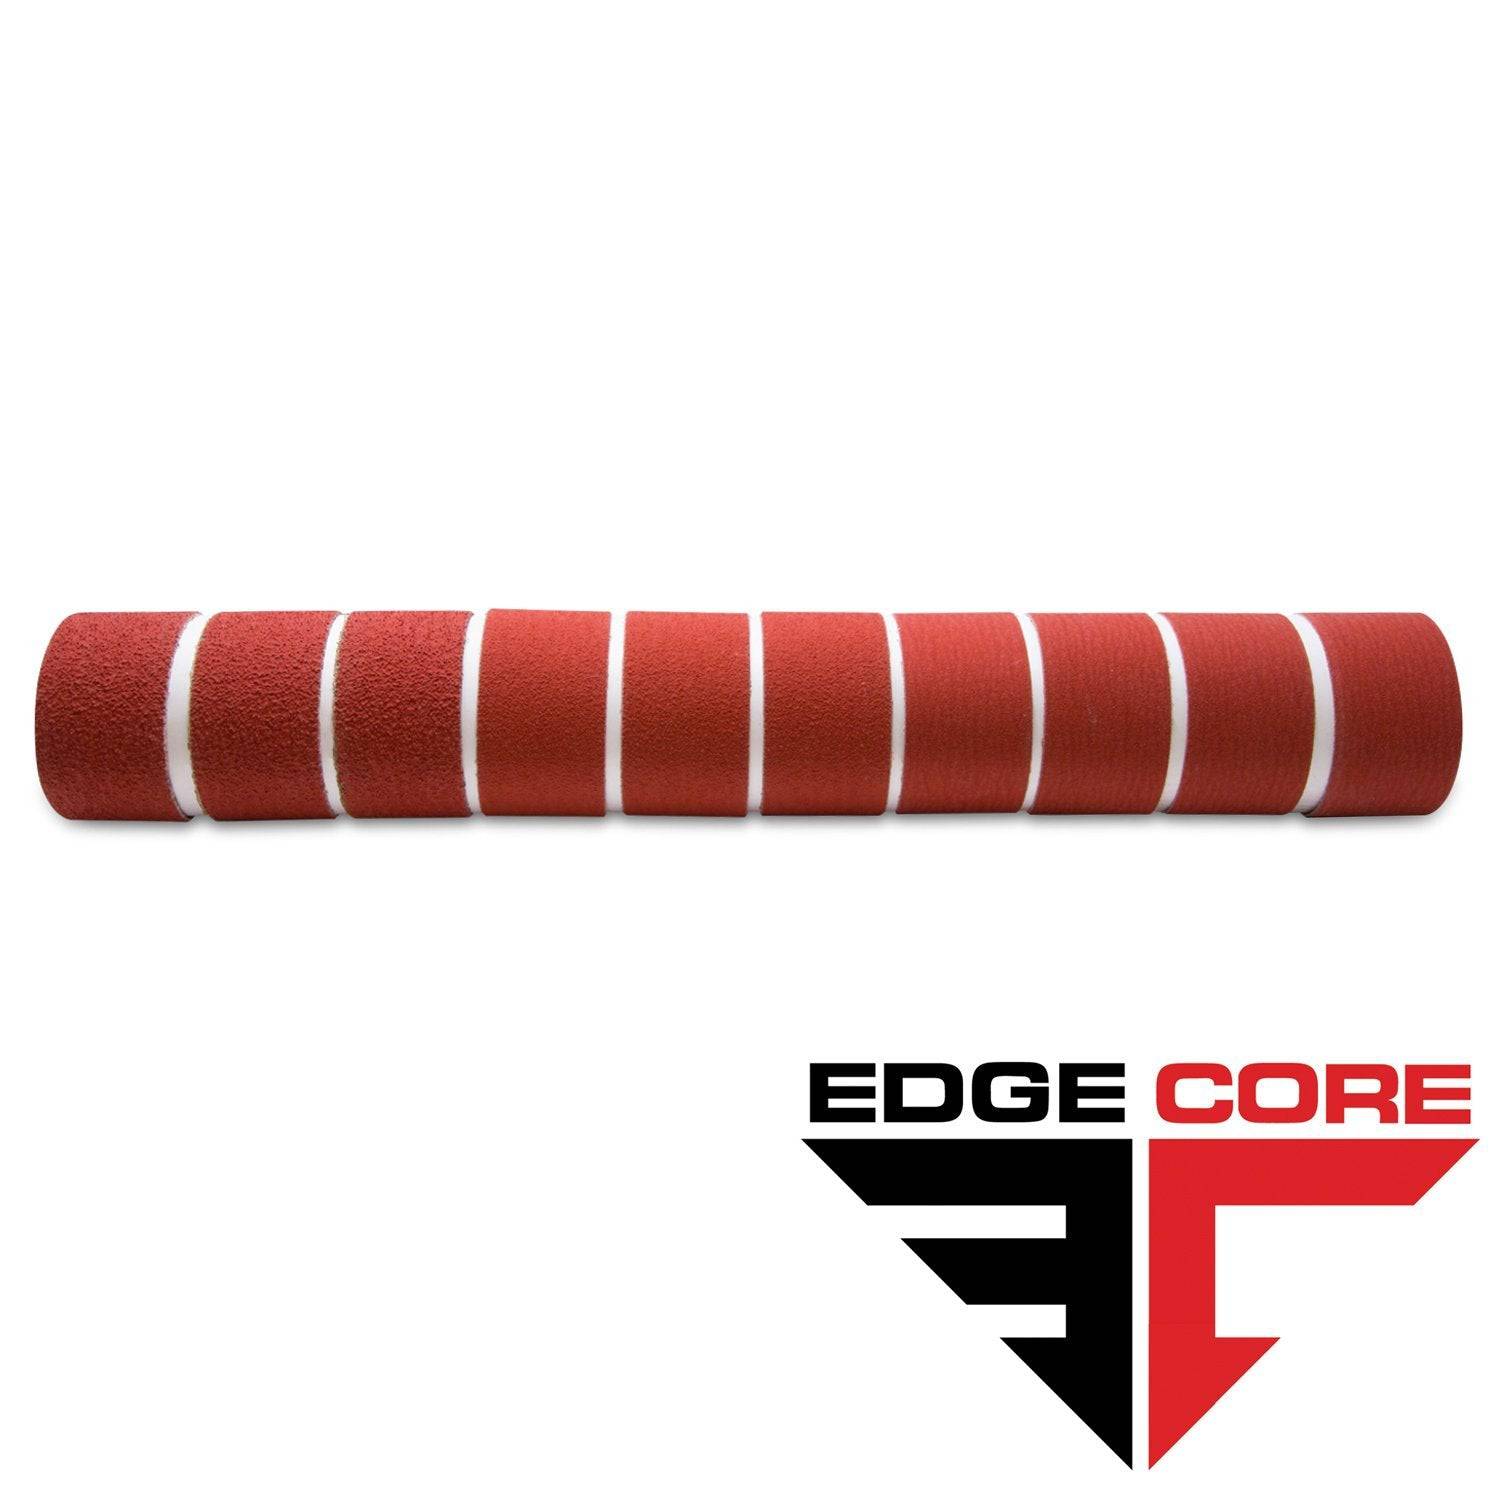
2 X 42 Inch Knife Makers Sanding Belts Assortment
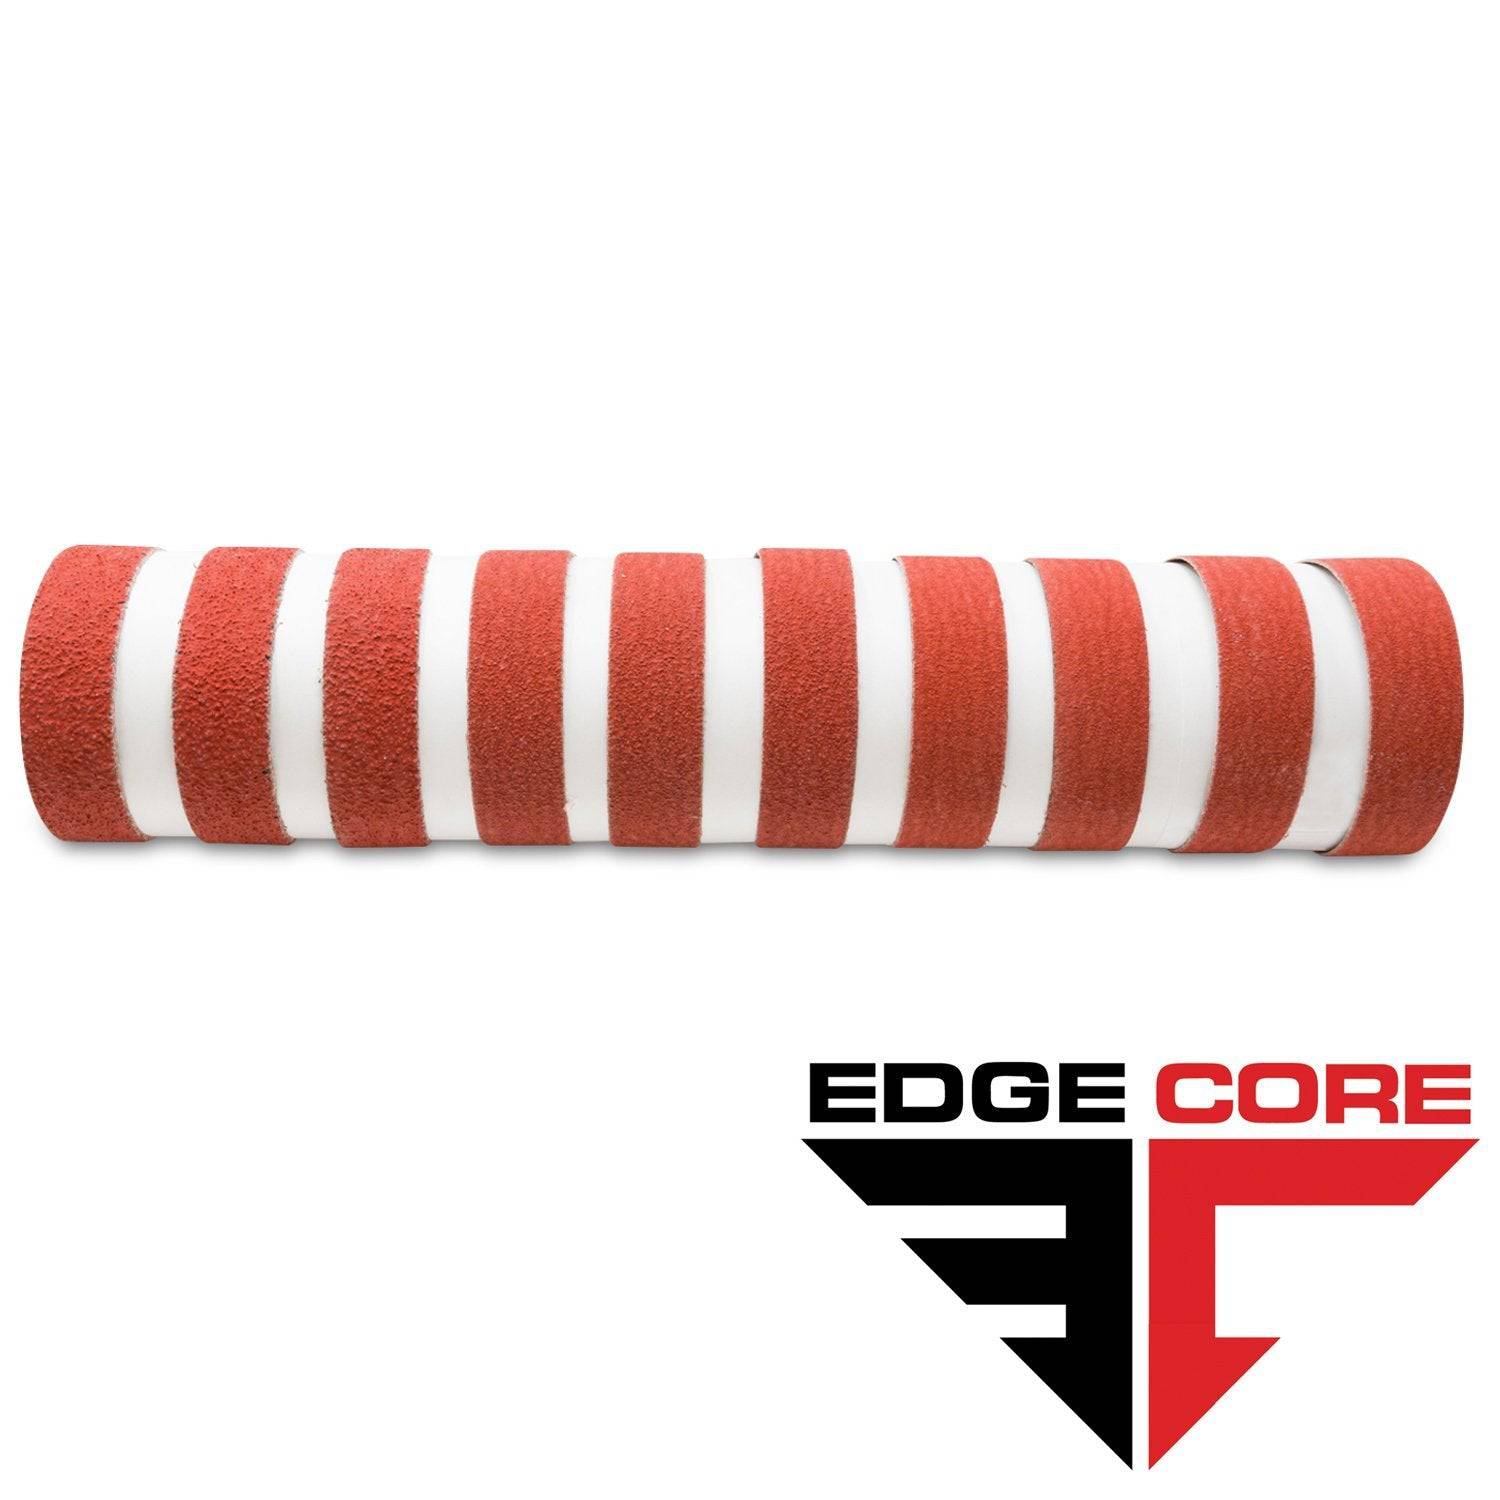
1 X 30 Inch Knife Makers Sanding Belts Assortment
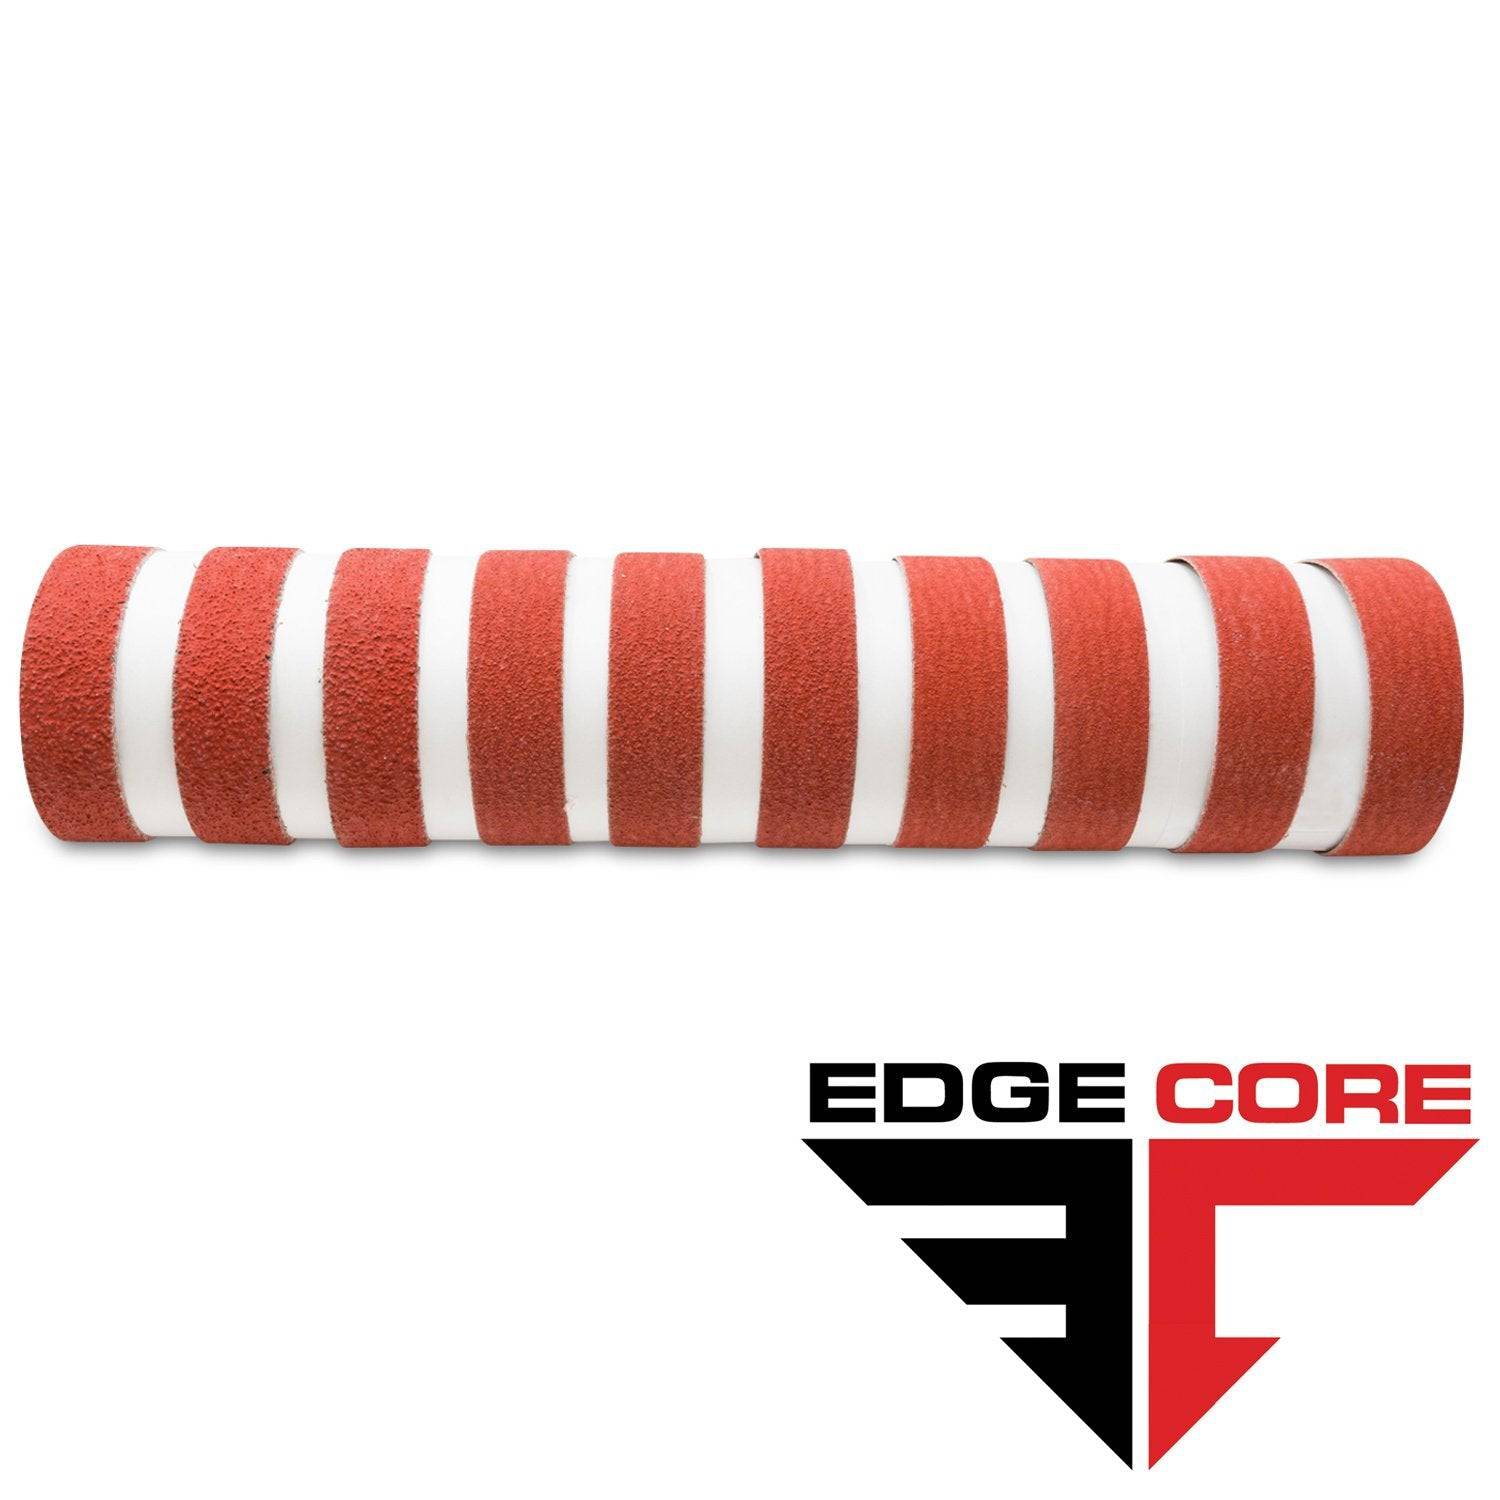
1 x 42 Inch Knife Makers Sanding Belt Assortment
Shop By Product Category


Why Choose Red Label?


