Your Cart is Empty
Free Shipping over $150 (Excludes Oversized Products)
Free Shipping over $150 (Excludes Oversized Products)
Sanding Belts
Sanding Discs

How To Strop A Knife: Step-By-Step Guide
by David Kranker 8 min read

Quick Summary
Stropping is a simple yet effective way to polish and refine the edge of a knife after sharpening, helping maintain a razor-sharp edge by removing small burrs. You’ll need a leather strop (or a non-woven alternative) and, optionally, a polishing compound to achieve a smooth finish. Hold the knife at a 15-20 degree angle, pulling it gently across the strop with the edge trailing to avoid cutting into the belt. Alternate sides to keep the edge balanced, and repeat the motion for about 10-15 strokes per side (or 2 strokes per side if using a belt sander). Stropping regularly reduces the need for frequent sharpening, making your knife last longer and perform better.
Whether you're a professional knife maker, a chef, or just someone who values a sharp knife, you'll want to keep your blades in good working order. Stropping - a technique often used after honing or sharpening - is an important part of maintaining the edge of your knife. While it may sound complicated, stropping is actually straightforward and can easily be done at home. In this guide, the team at Red Label Abrasives walks you through what stropping is, explains why it’s important, and provides a clear, step-by-step approach to help you get the best results.
What Is Stropping?
Stropping is the process of polishing the very edge of a knife blade to remove any remaining burrs (tiny imperfections) left over from sharpening. This step helps to keep the blade as sharp as possible.
Traditionally, a leather strap or paddle would be used with or without a fine polishing compound to refine the edge. There are now leather or non-woven belts you can use with a belt sander to strop a knife in less time. Although stropping is often associated with barbers sharpening razors, it’s useful for all kinds of blades, from kitchen knives to woodworking tools. You can also strop other types of blades, like pocket knives and outdoor knives, which can benefit just as much from a sharp, refined edge.
Why Should You Strop Your Knife?
After you sharpen your knife, the edge is typically left with microscopic burrs that can reduce the blade’s sharpness over time. Stropping removes these burrs and polishes the edge, giving you a smoother, sharper blade.
Regular stropping also helps extend the time between full sharpenings, meaning your knife lasts longer and performs better. A stropped knife slices cleaner, makes precise cuts, and reduces the risk of slipping, which is essential for safety. For those who rely on their knives for detailed or delicate cuts, like in food preparation or woodworking, maintaining a keen edge through stropping can make work faster, more efficient, and ultimately more satisfying.
The frequency of stropping depends on how often you use your knife. If it’s a knife you use daily, like a chef’s knife, stropping every week or two can keep it in peak condition. For knives that see less use, stropping every month or so should be sufficient. Remember, stropping is a quick way to maintain sharpness, so regular stropping can delay the need for full sharpening.
What You Need to Strop a Knife
Before we get started with the instructions, let’s go over the basic tools you’ll need.
A Strop
If you’re manually stropping, you’ll need some form of stationary strop. This could be a leather strop (the most common type), but they also come in other materials like fabric or even wood with a leather surface. Leather strops are popular because they provide a nice, smooth surface and have just enough "give" to polish the blade effectively. Some strops come mounted on paddles, which makes them more stable and easier to use, especially for beginners.
While manually stropping is still a commonly utilized method, you can save time stropping by using stropping belts with a belt sander. Power stropping requires less effort and can significantly reduce the amount of time spent stropping. Red Label Abrasives manufactures high-quality leather stropping belts and non-woven stropping belts for belt sanders. We produce stropping belts in various sizes from ¾” x 12” all the way up to 2” x 72” to fit a variety of different belt sanders.
Polishing Compound
While optional, a polishing compound is recommended if you want a really sharp, polished edge. These compounds come in various grit levels, and a fine-grit compound (often green or white) works well for most knife stropping. Using a compound can make a visible difference in the sharpness and appearance of the blade, especially if you’re aiming for a mirror finish.
A Flat, Stable Surface
Stropping requires a steady hand and a flat, stable surface to keep the strop in place while you work. This can be your countertop, workbench, or any surface that provides good stability. The more stable your setup, the more control you’ll have over the angle and pressure, both of which are key to successful stropping.
Step-By-Step Guide to Stropping a Knife
Now that you have the basics, let’s go through the process of stropping a knife.
Step 1: Prepare the Strop
First, set up your strop on a flat, stable surface. If you’re using a strop with a base, make sure it’s secure so it won’t move while you’re working. If it doesn’t have a base, you can use double-sided tape to hold it in place or grip it firmly with your hand as you strop. If you’re using a stropping belt, you only need to attach it to your belt sander. Make sure the belt is secured snuggly on your grinder.
If you’re using a compound, apply a small amount onto the strop’s surface. Rub it evenly over the leather so there’s a thin, consistent layer. A polishing compound acts like a very fine abrasive and helps achieve an ultra-sharp edge. However, if you’re going for a more traditional stropping method, you can skip the compound and use just the leather.
Step 2: Hold the Knife at the Correct Angle
Hold the knife at a shallow angle (typically around 15 to 20 degrees, depending on the knife). The goal here is to match the edge angle of your blade as closely as possible. To find the correct position, start by laying the blade flat on the strop, then tilt it slightly until only the very edge is making contact.
Maintaining the correct angle is important because one that’s too steep will blunt the edge, while too shallow of an angle won’t sharpen the edge effectively. With practice, you’ll get the feel for the right one, and it will become second nature. Some knives, such as Japanese knives, may have a different angle (closer to 10-15 degrees), so adjust accordingly if your knife is one of these specialty types.
Step 3: Draw the Knife Across the Strop
Now, with your knife at the correct angle, pull the blade across the strop with the edge trailing. In other words, the spine of the knife (the unsharpened edge) should lead the motion, and the edge should follow behind it. This ensures you’re polishing the edge without cutting into the strop.
Start at the base of the knife edge, closest to the handle, and draw it down the strop in a smooth, even motion toward the tip. Apply light, consistent pressure. Stropping requires a delicate touch, so avoid pressing down too hard - just enough to make solid contact with the leather.
If you’re using a belt sander for stropping, make sure you don’t set the speed too high. A speed of around 4 out of 10 should be sufficient. You’ll achieve better results stropping against the slack area of the grinder as opposed to stropping against the platen or wheel.
Step 4: Alternate Sides
Once you’ve completed a stroke on one side of the blade, switch to the other side. Repeat the same motion, maintaining the angle and pressure as you draw the knife down the strop.
Alternating sides is essential to keep the edge balanced and sharp on both sides. As a rule of thumb, you can start with about ten strokes on each side, then reduce to five strokes as you get closer to finishing. This alternating technique helps you achieve a consistent edge and prevents any uneven sharpening.
Step 5: Repeat as Needed
Repeat the stropping motion, alternating sides, until you’ve achieved the desired sharpness. For a typical kitchen knife, 10 to 15 strokes per side with hand stropping should be enough. However, if you’re working with a particularly dull blade, you may need to strop it for a bit longer.
If you’re power stropping with a belt sander, you’ll need fewer passes. One or two passes per side should be enough to sharpen your knife. If your knife still isn’t sharp enough after two passes on each side, you can run each side for another two passes.
You’ll know you’re finished when the blade feels noticeably sharper and the edge has a slightly reflective sheen. If you used a polishing compound, you might also notice a slight black residue on the strop - this is just metal from the blade and is perfectly normal.
Step 6: Clean Your Knife and Strop
If you used a compound, your knife might have a slight residue on the edge. A gentle wipe with a soft cloth will clean it up.
Pro Tip: To keep your leather strop in good condition, it’s also a good idea to clean it occasionally, especially if you use a compound. A soft cloth or brush can remove excess material, keeping the strop ready for future use. Avoid getting it wet, as moisture can damage it over time.
Tips for Stropping Success
Here are a few extra tips to help you get the best results when stropping your knife:
- Use Consistent Pressure: Applying even pressure throughout each stroke helps maintain a smooth, sharp edge. You don’t need to press hard - a light touch is all it takes.
- Stay Mindful of the Angle: Keeping a consistent angle is the key to effective stropping. If the angle varies too much, it can affect the sharpness of the blade, so take your time and adjust as needed.
- Don’t Overdo It: Stropping is meant to refine the edge, not reshape it. Avoid over-stropping, as this can create a burr on the edge and make the blade dull more quickly.
- Practice Regularly: Like any skill, stropping gets easier with practice. The more you strop your knives, the better feel you’ll develop for the right angle, pressure, and number of strokes.
Get Your Stropping Supplies at Red Label Abrasives
Stropping may seem like an extra step, but it’s actually an easy, effective way to keep your knives sharp and performing at their best. By following these steps and developing a feel for the right technique, you’ll be able to strop your knives with confidence.
If you’re looking for high-quality stropping belts and stropping compounds, Red Label Abrasives has you covered. We produce abrasives specifically for knife makers to handle a wide range of tasks involved in creating and maintaining blades. We even offer knife-making belt kits to provide makers with everything they may need in one kit. Whether you’re a professional or a DIY enthusiast, the right tools can help you achieve a sharp, polished edge every time. To learn more about how our products can keep your blades in prime condition, please call 844-824-1956 or fill out our contact form today. ABOUT THE AUTHOR
David Kranker is a writer and creative maker who has been covering the abrasive and knife-making industries on the Red Label Abrasives Blog since 2020. David spends his time continually researching sanding and bladesmithing to provide readers with the latest and greatest information. In his free time, David utilizes abrasives for many different home and auto projects at his home in Delton, MI.
Belt Packs Made For Knife Makers
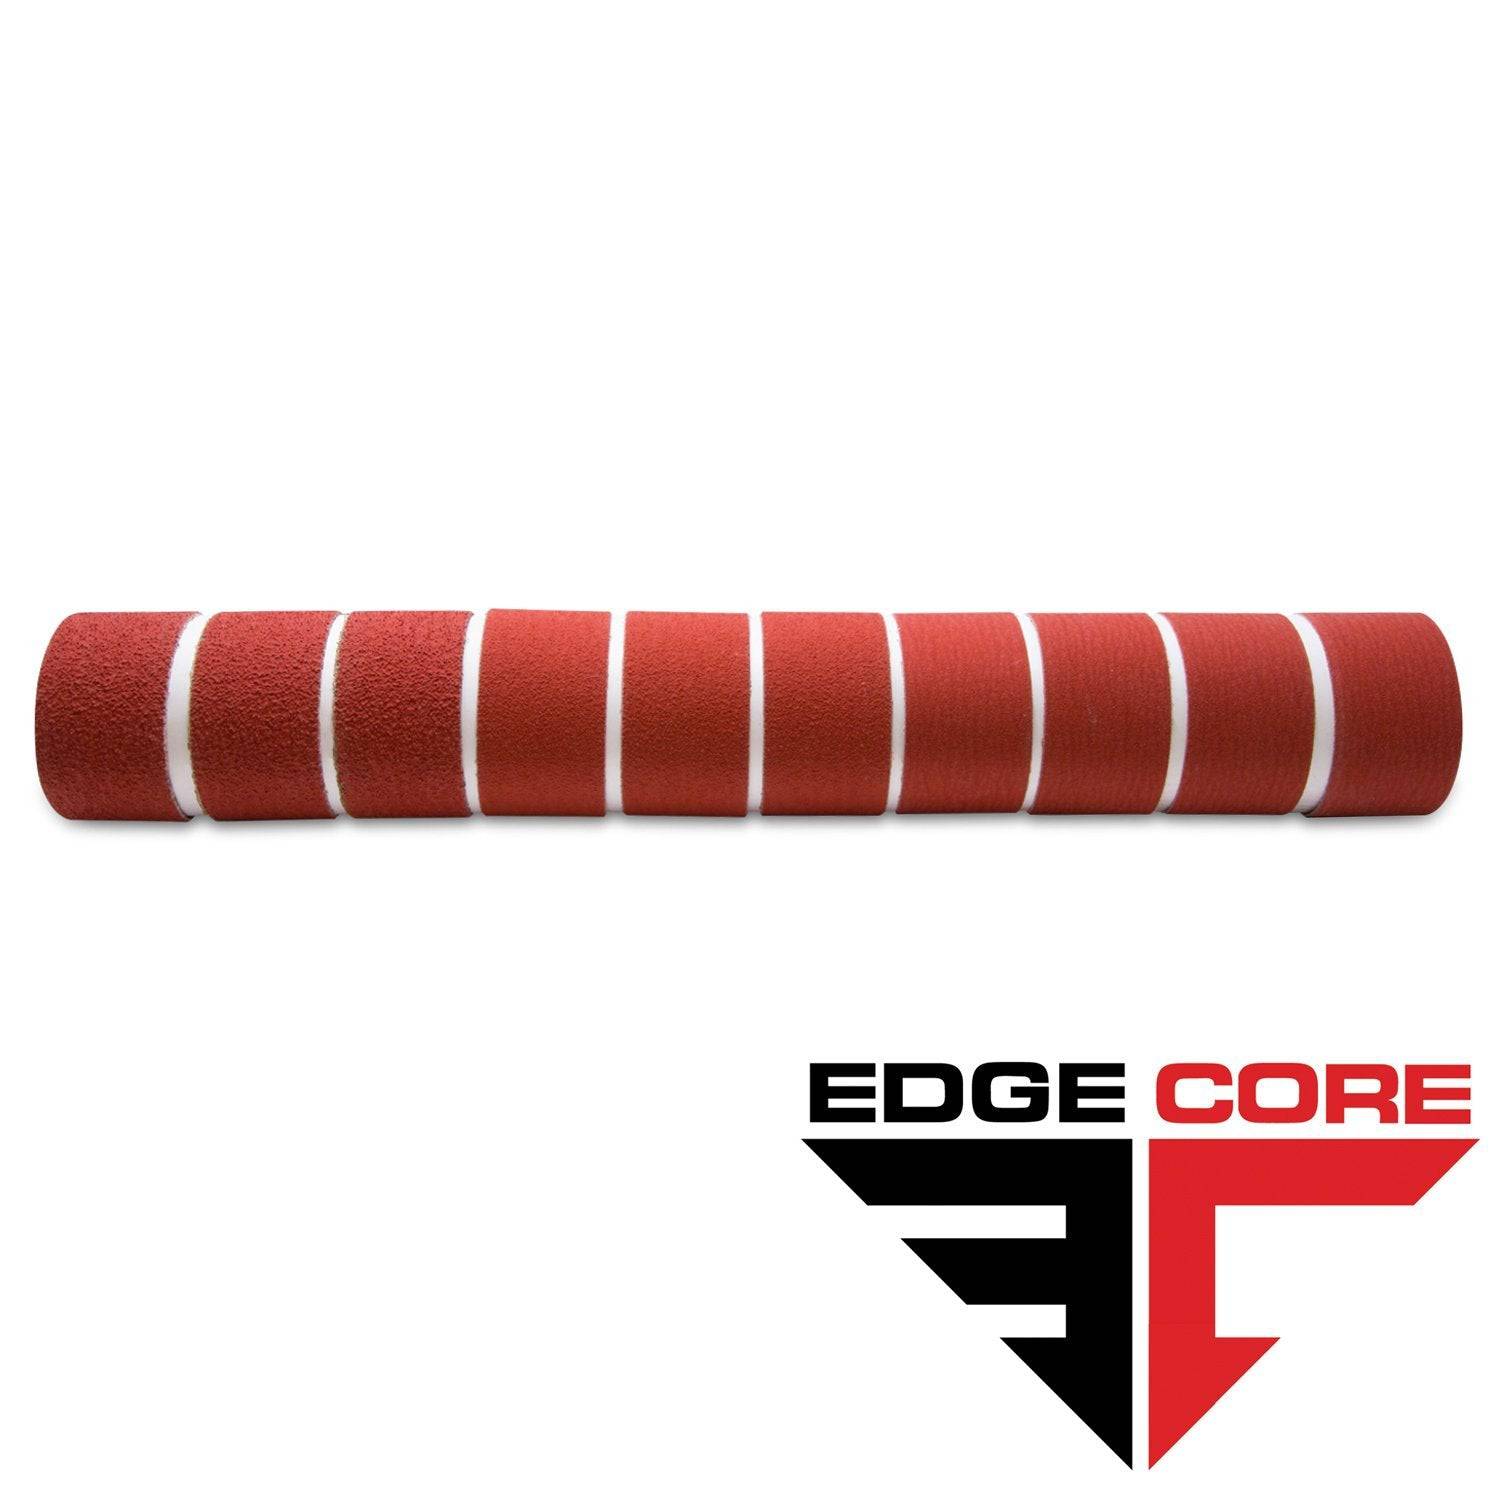
2 X 72 Inch Knife Makers Sanding Belts Assortment
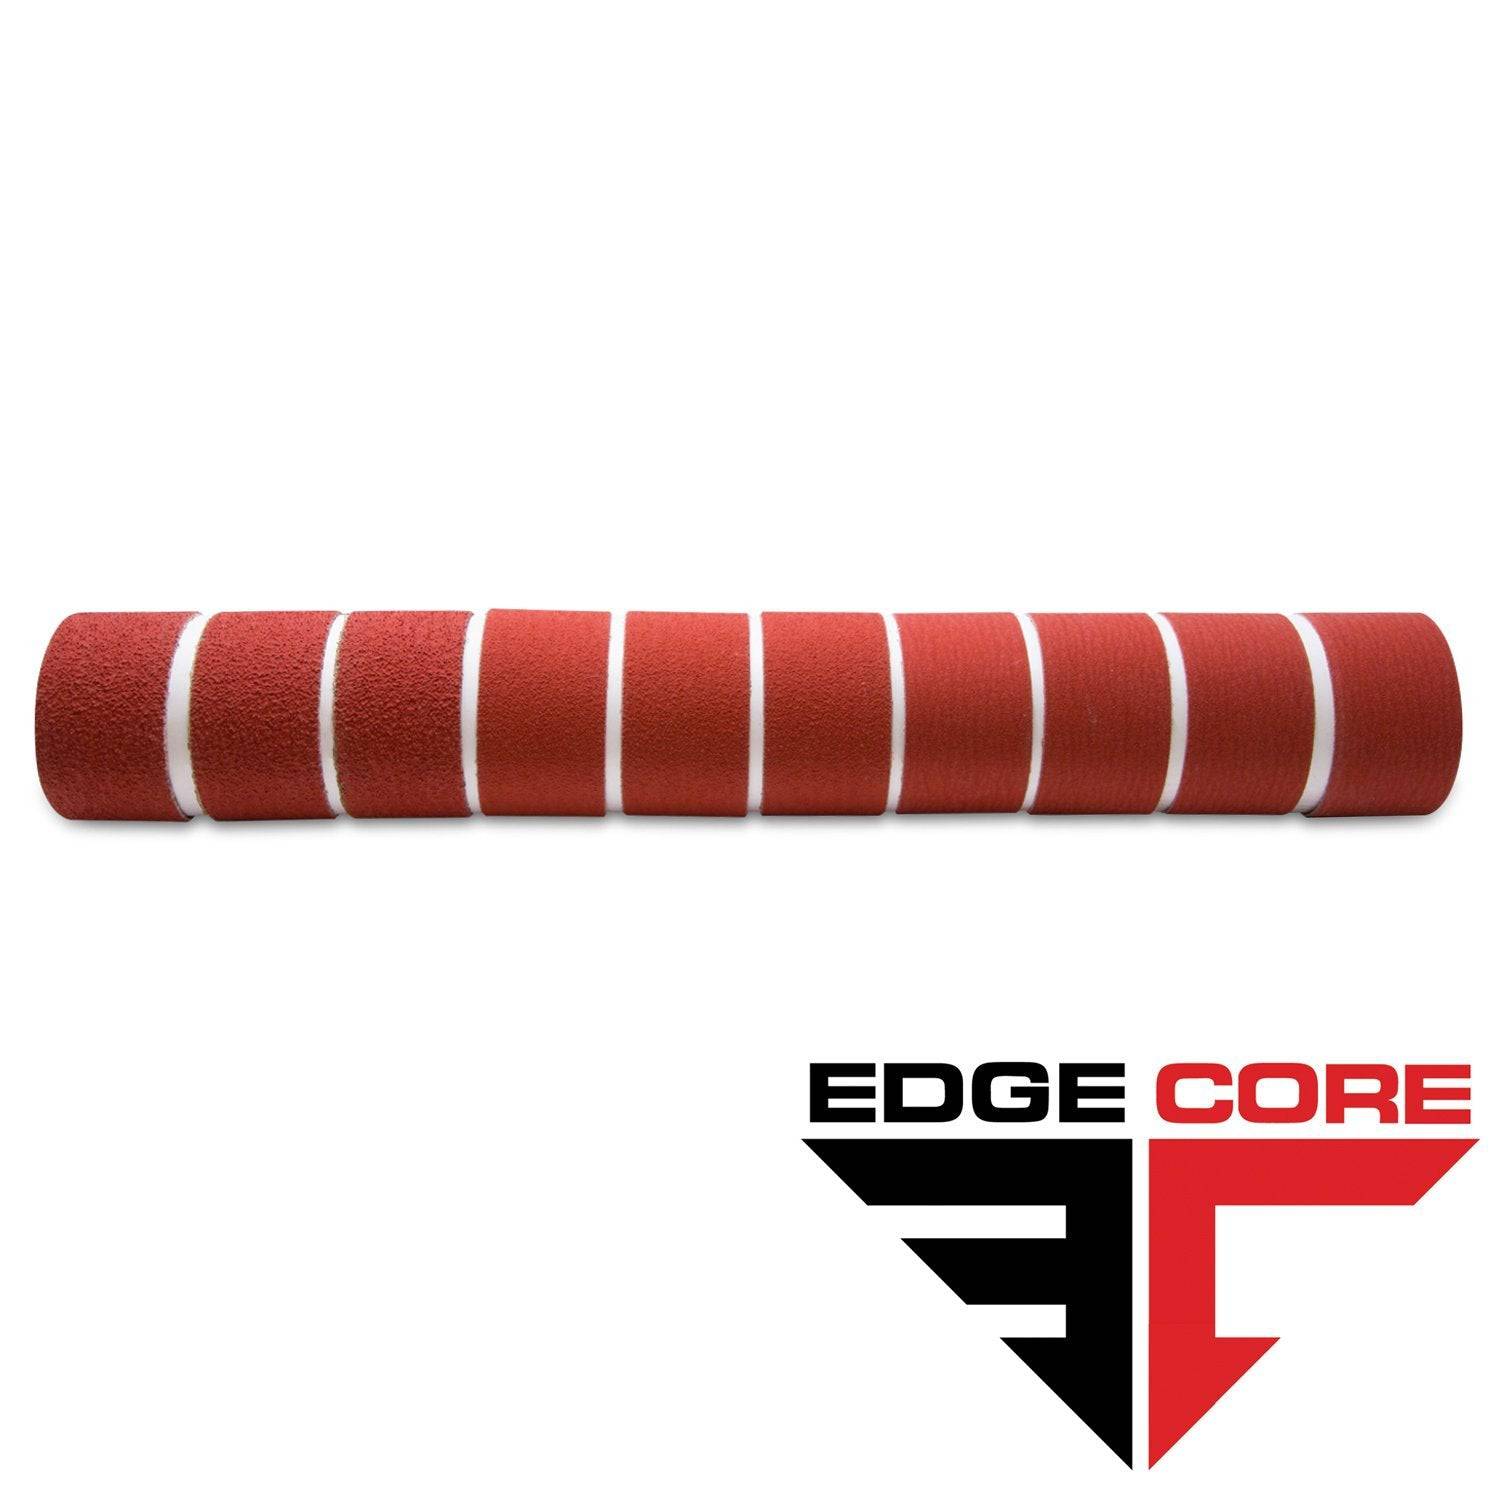
2 X 60 Inch Knife Makers Sanding Belts Assortment
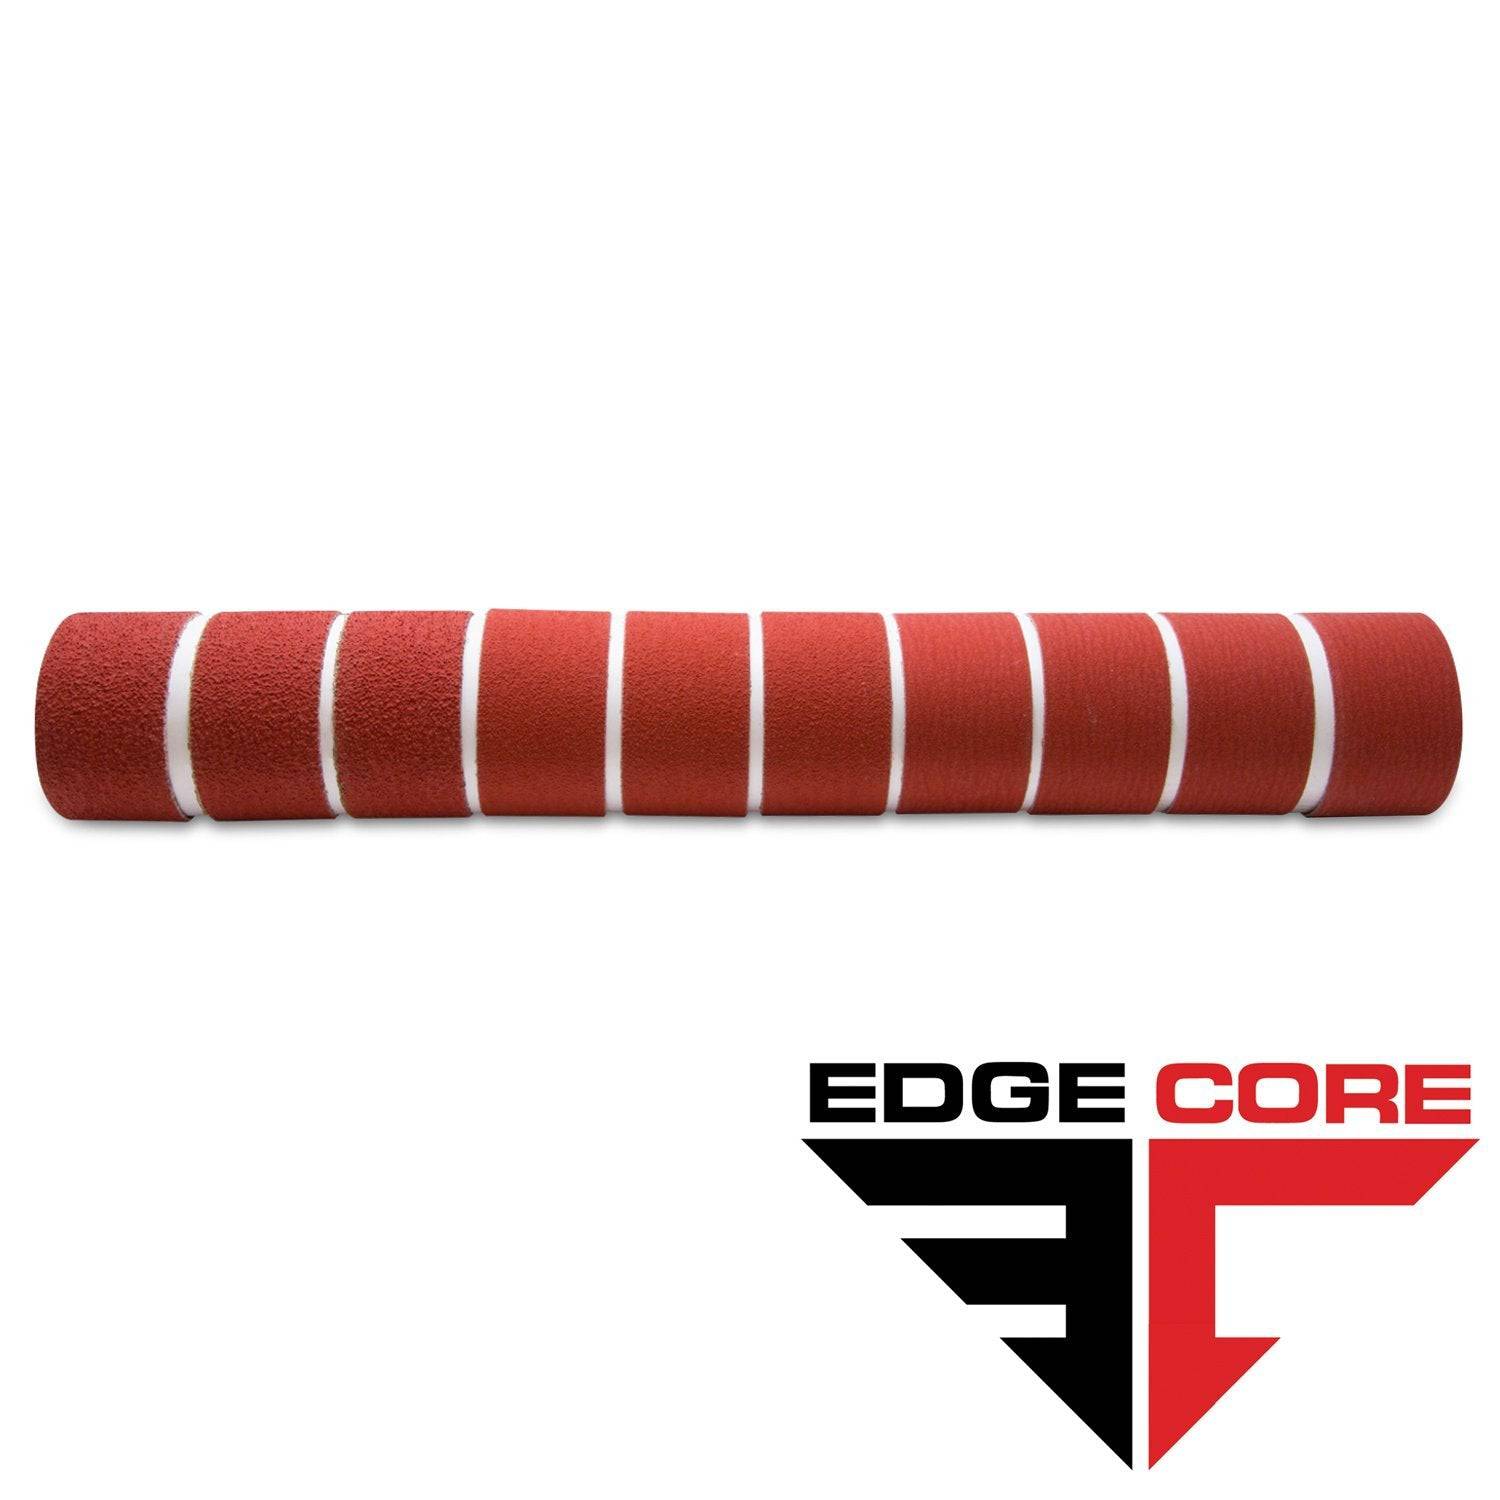
2 X 48 Inch Knife Makers Sanding Belts Assortment
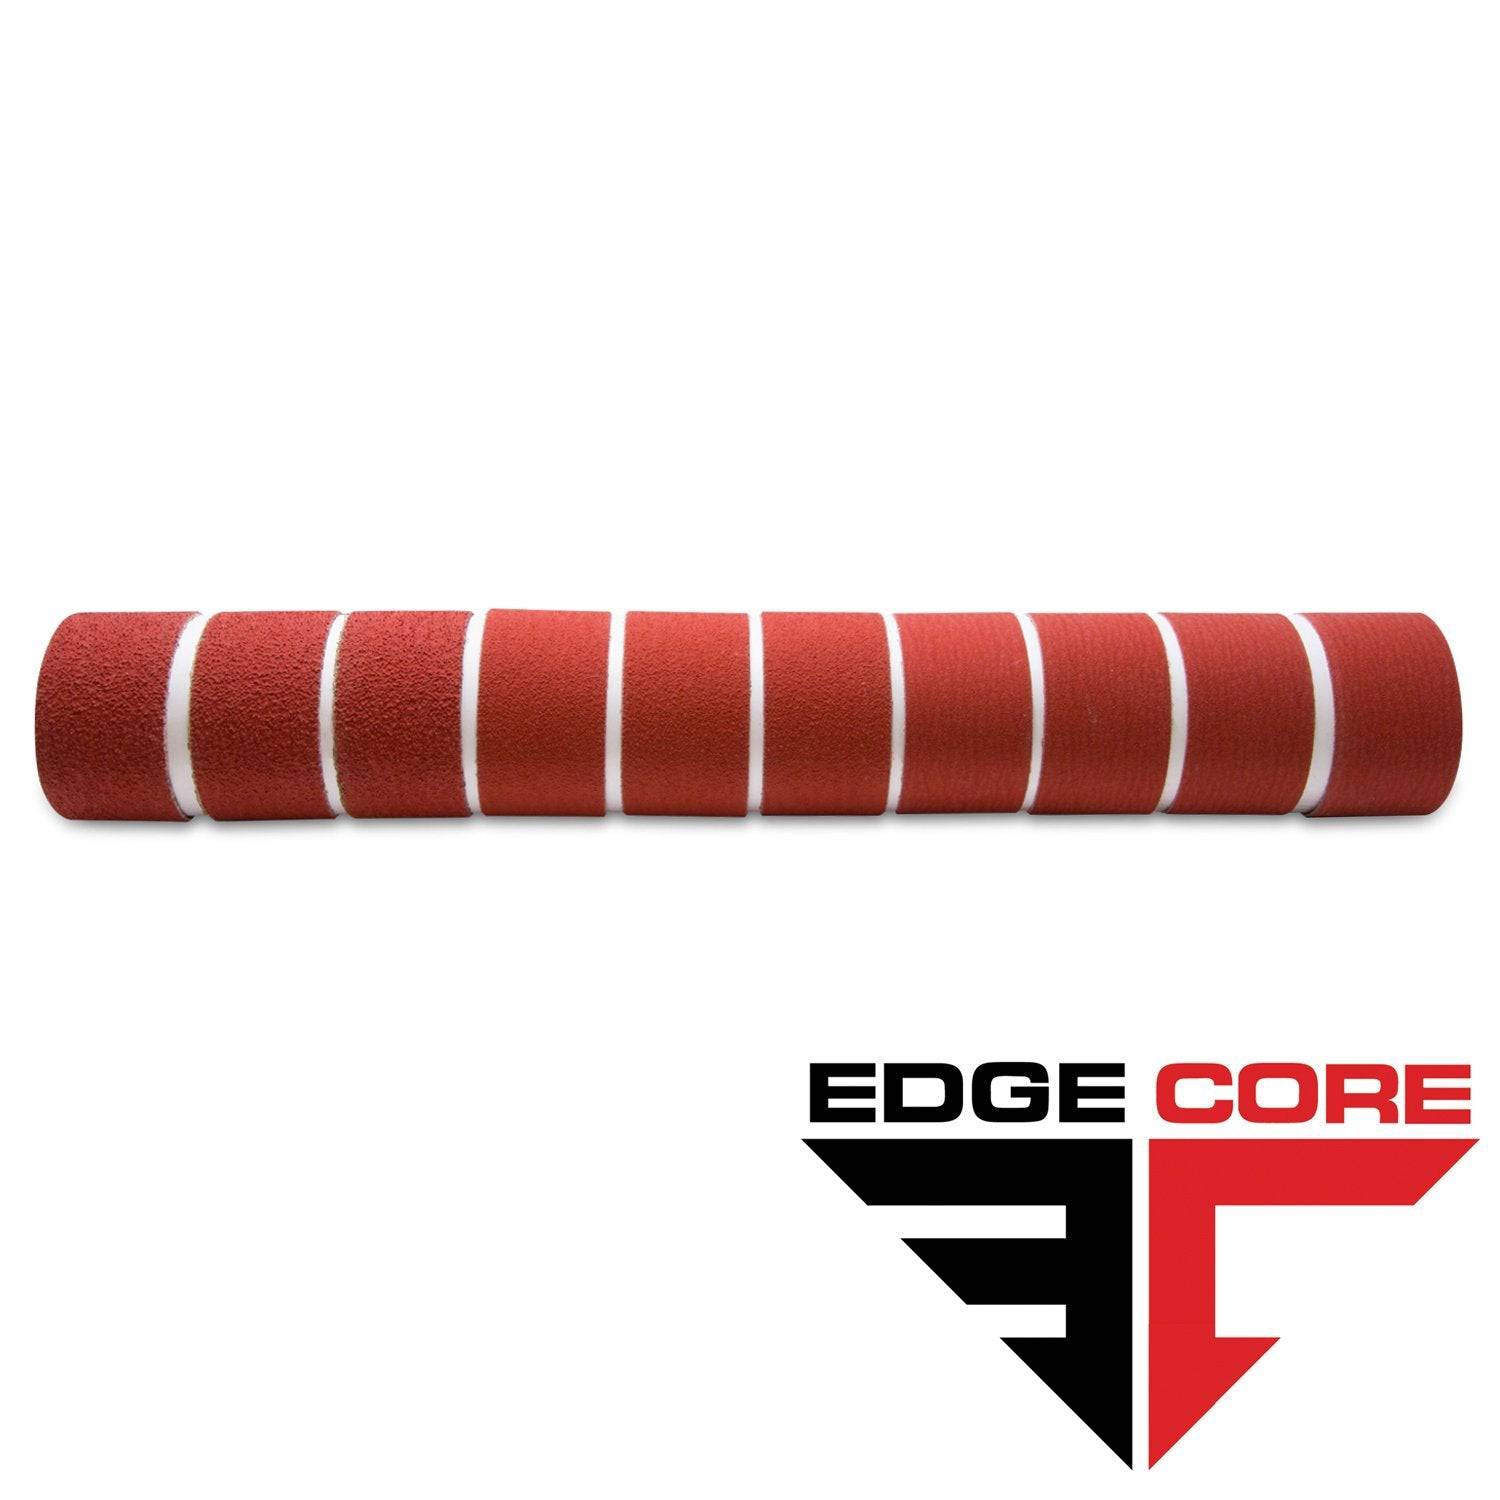
2 X 36 Inch Knife Makers Sanding Belt Assortment
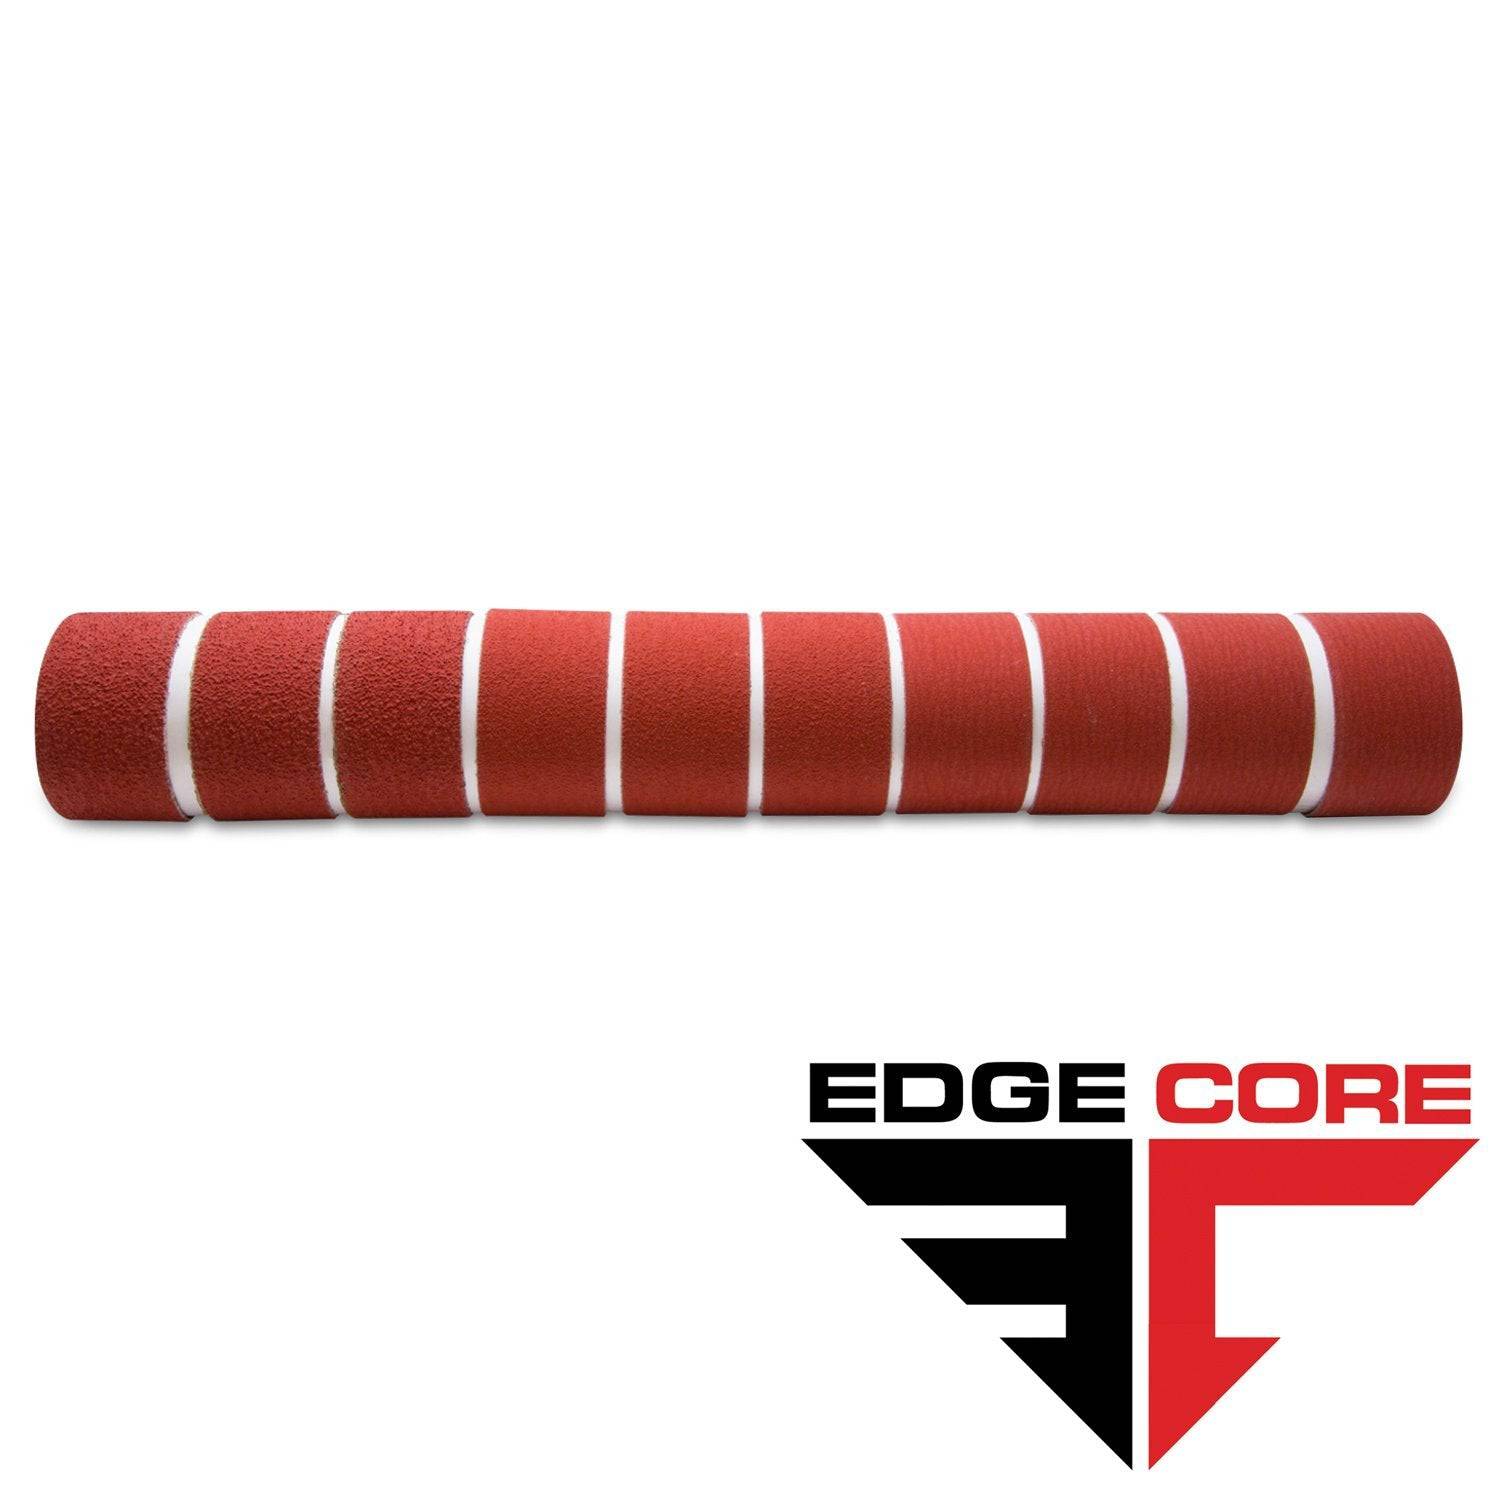
2 X 42 Inch Knife Makers Sanding Belts Assortment
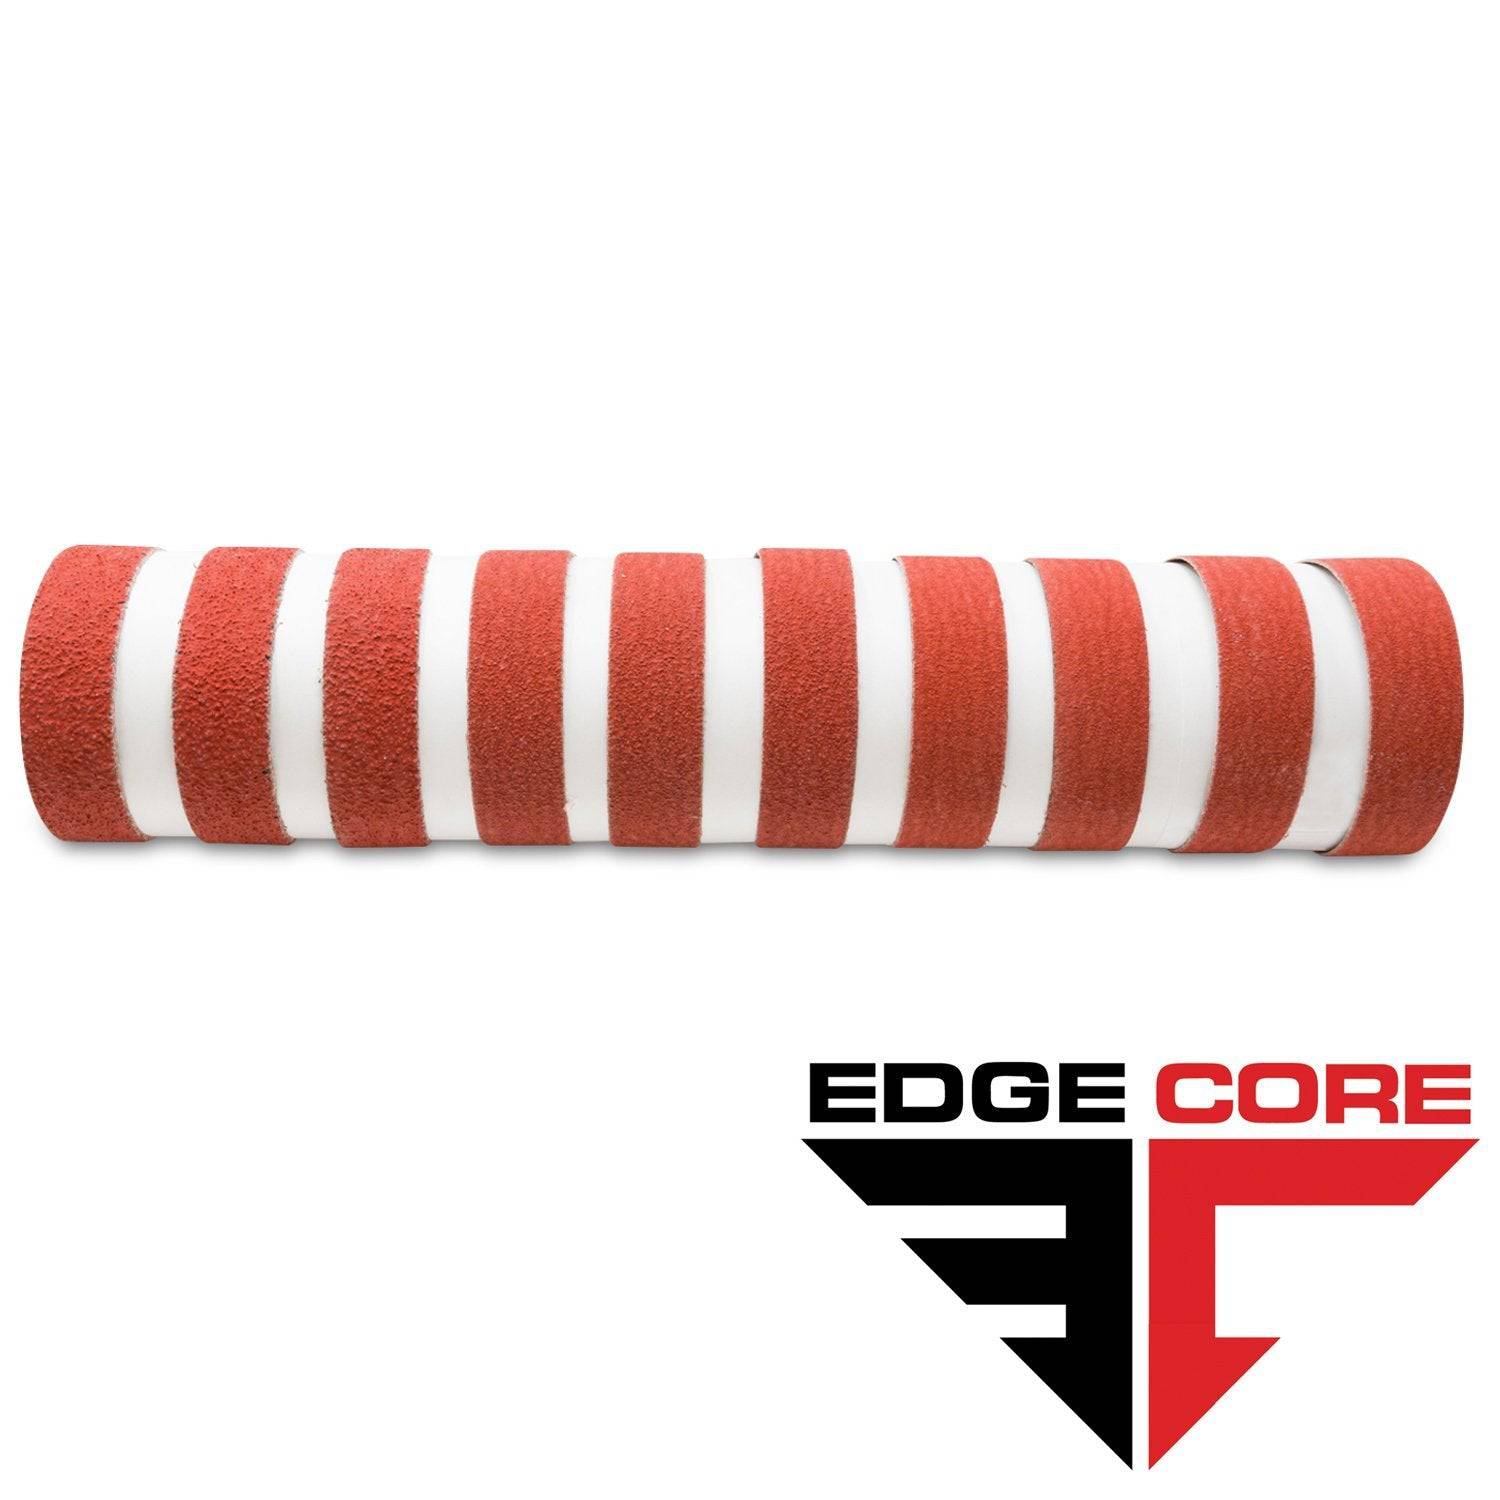
1 X 30 Inch Knife Makers Sanding Belts Assortment
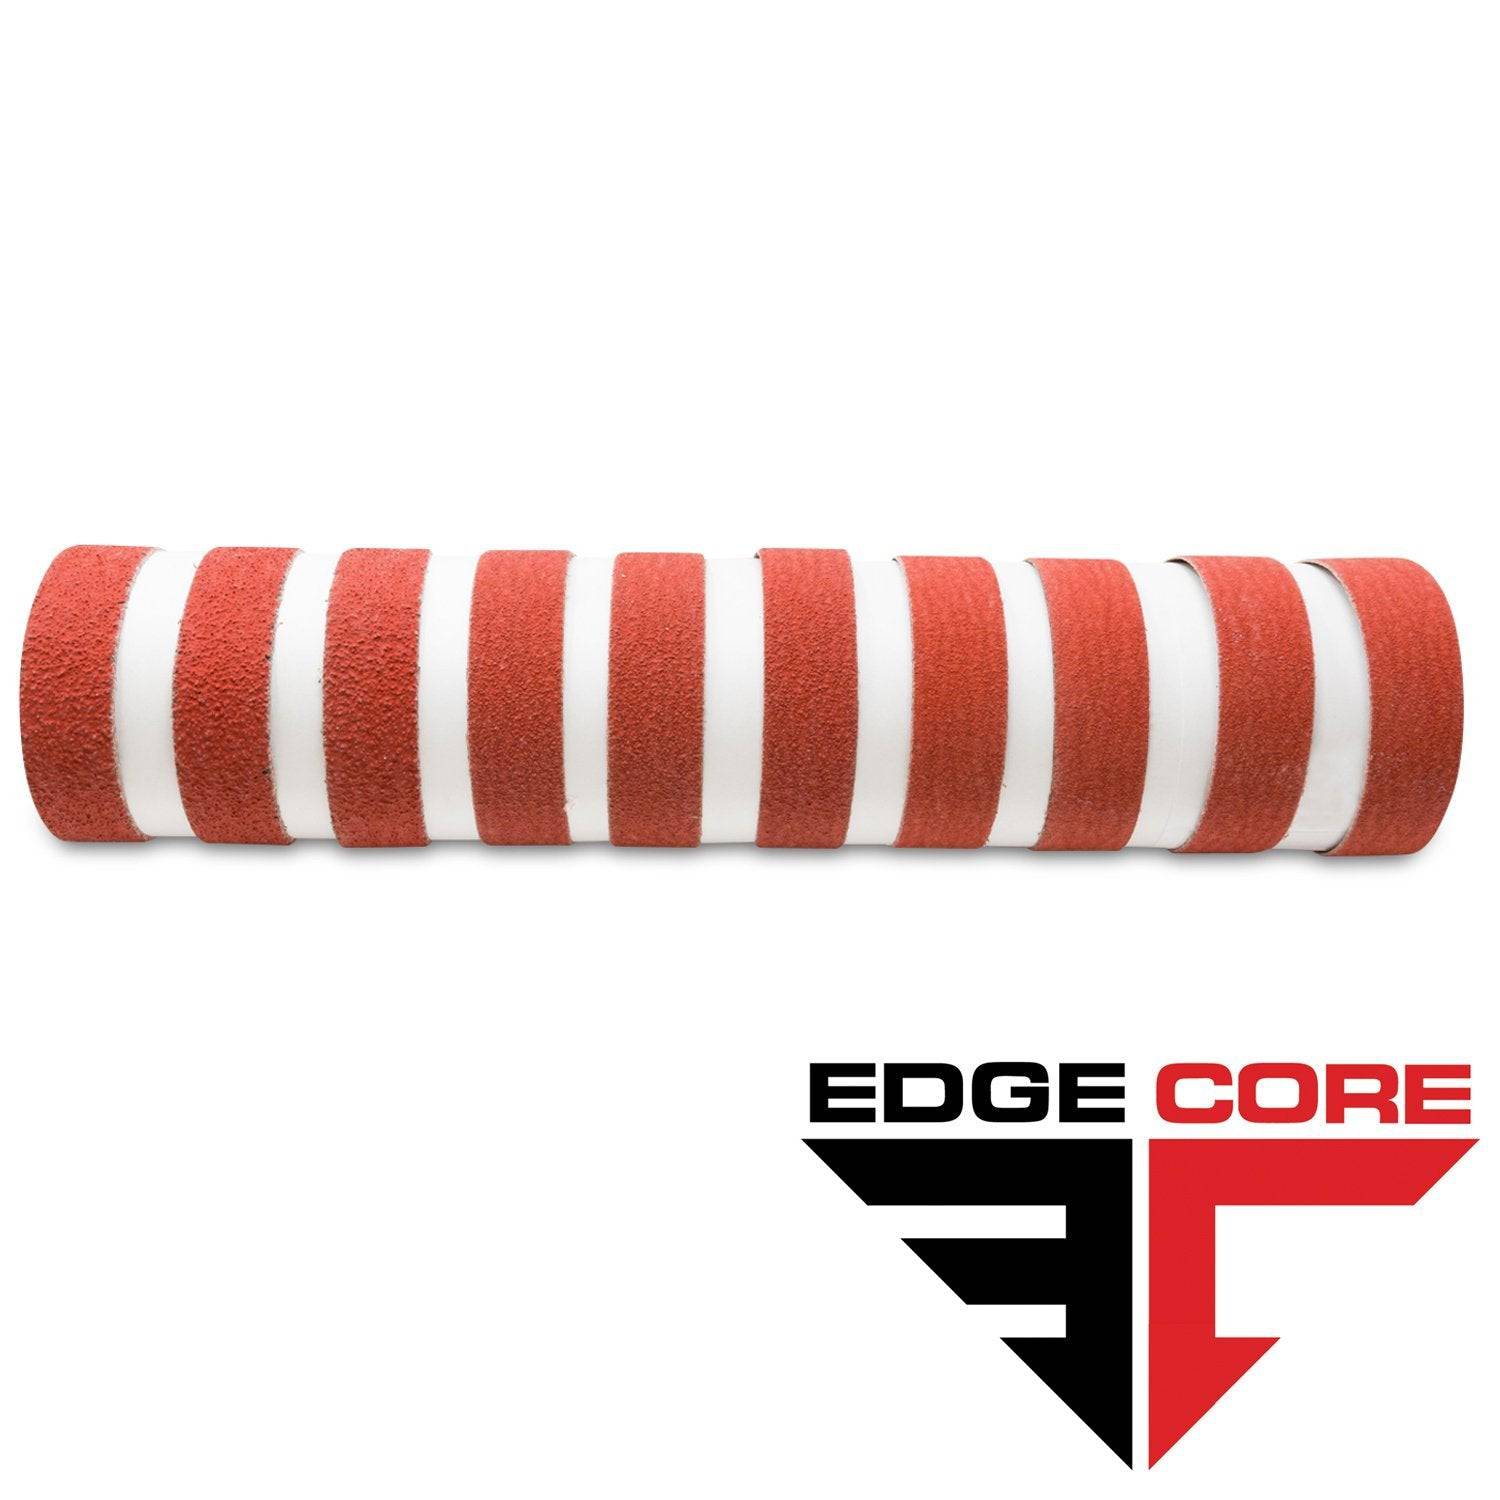
1 x 42 Inch Knife Makers Sanding Belt Assortment
Shop By Product Category


Why Choose Red Label?


