Your Cart is Empty
Free Shipping over $150 (Excludes Oversized Products)
Free Shipping over $150 (Excludes Oversized Products)
Sanding Belts
Sanding Discs

Stock Removal vs. Forging for Knifemaking
by David Kranker 5 min read

Quick Summary
While stock removal and forging both have their unique differences, the answer to which method is better is purely subjective. Both methods can create beautiful, high-quality blades that will stand the test of time.
Topics Covered
- What is stock removal?
- How is stock removal done?
- What is forging?
- How is forging done today?
- Which method is better?
- Contact an abrasive specialist
Knifemaking is an ancient art. Over the centuries, many methods have been used to produce strong, high-quality blades, but today hobbyists and professionals alike use one of two approaches: stock removal and forging. In this blog, we’ll review how each process is carried out and why knifemakers might prefer one over the other.
What is Stock Removal?
Stock removal involves using saws, belt sanders and abrasives to strip material away from a steel workpiece. Unlike forging, the blade’s length, width, and thickness are developed by removing material, not using heat to reshape it. In many ways, stock removal is a more efficient process and allows standard blade shapes to be created faster.
How is Stock Removal Done?
This guide is intended for beginners. As with any art form, there are many means to an end and this is just one of them. Stock removal starts by drawing the silhouette of your blade on paper, cutting it out, placing it on your metal sheet, and tracing the outline with a marker. You can then take the following steps:
- Create the shape: Use an angle grinder with a cut-off wheel to cut out the blade shape. Then switch to the grinding wheel and smooth the edges. To prevent chattering, make sure the grinder is securely fastened to your workbench. If you decide to use a belt grinder instead, clamp the metal firmly on a flat surface and rotate the piece while sanding along the belt.
- Shape further:Using a belt sander with a coarser-grit abrasive, grind down the edges until the marker outline disappears.
- Bevel: Some knifemakers prefer the common V bevel, in which you shape the same angle on both sides of the blade. Others opt for a chisel bevel, where you remove stock from one side of the blade until you reach the other. Both methods call for smooth and even strokes with a belt sander. Make sure you’re grinding toward the spine of the blade and not the other way around.
- Heat treatment:After drilling holes and cutting pins to anchor the handle, use a kiln or forge to get the blade to a temperature where it’s bright orange. After carefully moving the glowing metal back and forth in the heat for a couple of minutes, quench it in warm motor oil.
- Reheat and temper: Preheat an oven to 400 ℉ and let the piece heat for two hours. Let it cool to room temperature and then heat again for two more hours. After it cools, use your belt sander to eliminate any imperfections caused by the heat treatments.
- Bevel again:After attaching the handle, apply a finer abrasive to your belt sander to carefully apply a second bevel at the desired angle.
- Sharpen: Use a fine grit for a final sharpening and polishing of the blade.
Many knife makers use a 2x72 belt grinder, but there are other belt grinders that are commonly used for knife making. Red Label Abrasives sells knife making kits for several different belt sizes: 1x30, 2x42, and 2x72. With grits that range from coarse for initial stock removal to ultra-fine for sharpening and polishing, it has everything you need to produce a quality blade.
What is Forging?
Practically all bladesmiths forged their knives for centuries. Although some artisan guilds used grinding wheels that were the medieval equivalent of today’s belt sander, the most common practice was to heat the metal over a coal or charcoal forge until it was hot enough to be hammered into shape on an anvil. Today, many smiths use gas-powered forges, which make temperatures easier to control.
How is Forging Done Today?
Below is an overview of how some modern bladesmiths forge their knives. Although there may be some variations in equipment used, the overall process is the same.
- Heat the metal: Using tongs to hold the metal, heat it in a forge until the material turns yellow. The temperature at this point is around 2,100 degrees Fahrenheit.
- Shape the metal: After removing the hot steel from the forge, set it flat on an anvil and, using a hammer, shape the corner into a knife point. Make sure you taper both sides of the steel.
- Flatten the blade:Shape the bevels by hammering out the flat edge of the steel. Then flip the blade on the anvil and hammer the other side. Repeat until both sides of the blade are even.
- Heat and then cool the metal:Once the shape of the knife is created, heat it up to around 1420 degrees Fahrenheit to normalize it. Then let it air-cool until it reaches around 400 degrees Fahrenheit. Once the steel is no longer red, put it back in the forge. Repeat this process three times and then sand the blade to create smooth edges.
- Quench the blade: Quenching is the process of reheating the steel and dipping it in oil until it reaches room temperature. To ensure proper hardening, move the blade to the oil as quickly as possible and continue to move it around in the oil while it’s submerged.
- Reheat the blade:Slowly reheat the knife to a lower temperature to temper any stress and brittleness caused by the quenching process.
- Sharpen: After adding a handle to the knife, use a whetstone and fine file to carefully sharpen the blade.
Though there are more streamlined machine-driven processes used to make blades today, forging remains popular among artisan knife makers who say that no other method achieves the beautiful welding effects created by hammer and anvil. Blades with dramatic curvature, exotic shapes, or multiple angles can also be fashioned with a hammer rather than a grinding machine.
Which Method is Better?
The stock removal vs. forging question is a purely subjective one. Some knifemakers will insist that true beauty can only be accomplished by using time-honored methods like forging, while others prefer the perfect lines and precise proportions achieved by using modern equipment. Below are some pros and cons of each method.
Pros & Cons Of Stock Removal
Pros:
- Easier to learn & master
- Relatively less expensive
- Works well with every type of steel
- Requires less equipment
Cons:
- Creates a lot of dust and debris
- May take longer for more ornate designs
- Can waste more steel when compared to forging
Pros & Cons Of Forging
Pros:
- Can be performed outside in the fresh air
- Typically cleaner than stock removal with less dust production
- Faster for more ornate designs
- You can start with any type of material shape from bar stock to round rods and square bars
- Less steel is wasted when forging
Cons:
- More expensive than pure stock removal
- Harder to learn & master
- Requires more equipment than stock removal
- Certain steels are more difficult to forge than to shape via stock removal
When used properly, both approaches will create quality blades that stand the test of time. You can do no wrong by choosing to learn either method. Nevertheless, it is typically easier to start with stock removal before moving to forging.
Contact an Abrasive Specialist
If you are a hobbyist or a professional knifemaker, Red Label Abrasives manufactures sanding belts with the grits you need for each stage of the shaping, beveling, and sharpening processes. We have been in this industry for over 35 years and can help you select the right belts for your belt sander size and type. For more information, please call 844-824-1956 or fill out our contact form. ABOUT THE AUTHOR
David Kranker is a writer and creative maker who has been covering the abrasive and knife-making industries on the Red Label Abrasives Blog since 2020. David spends his time continually researching sanding and bladesmithing to provide readers with the latest and greatest information. In his free time, David utilizes abrasives for many different home and auto projects at his home in Delton, MI.
Belt Packs Made For Knife Makers
2 X 72 Inch Knife Makers Sanding Belts Assortment
2 X 60 Inch Knife Makers Sanding Belts Assortment
2 X 48 Inch Knife Makers Sanding Belts Assortment
2 X 36 Inch Knife Makers Sanding Belt Assortment
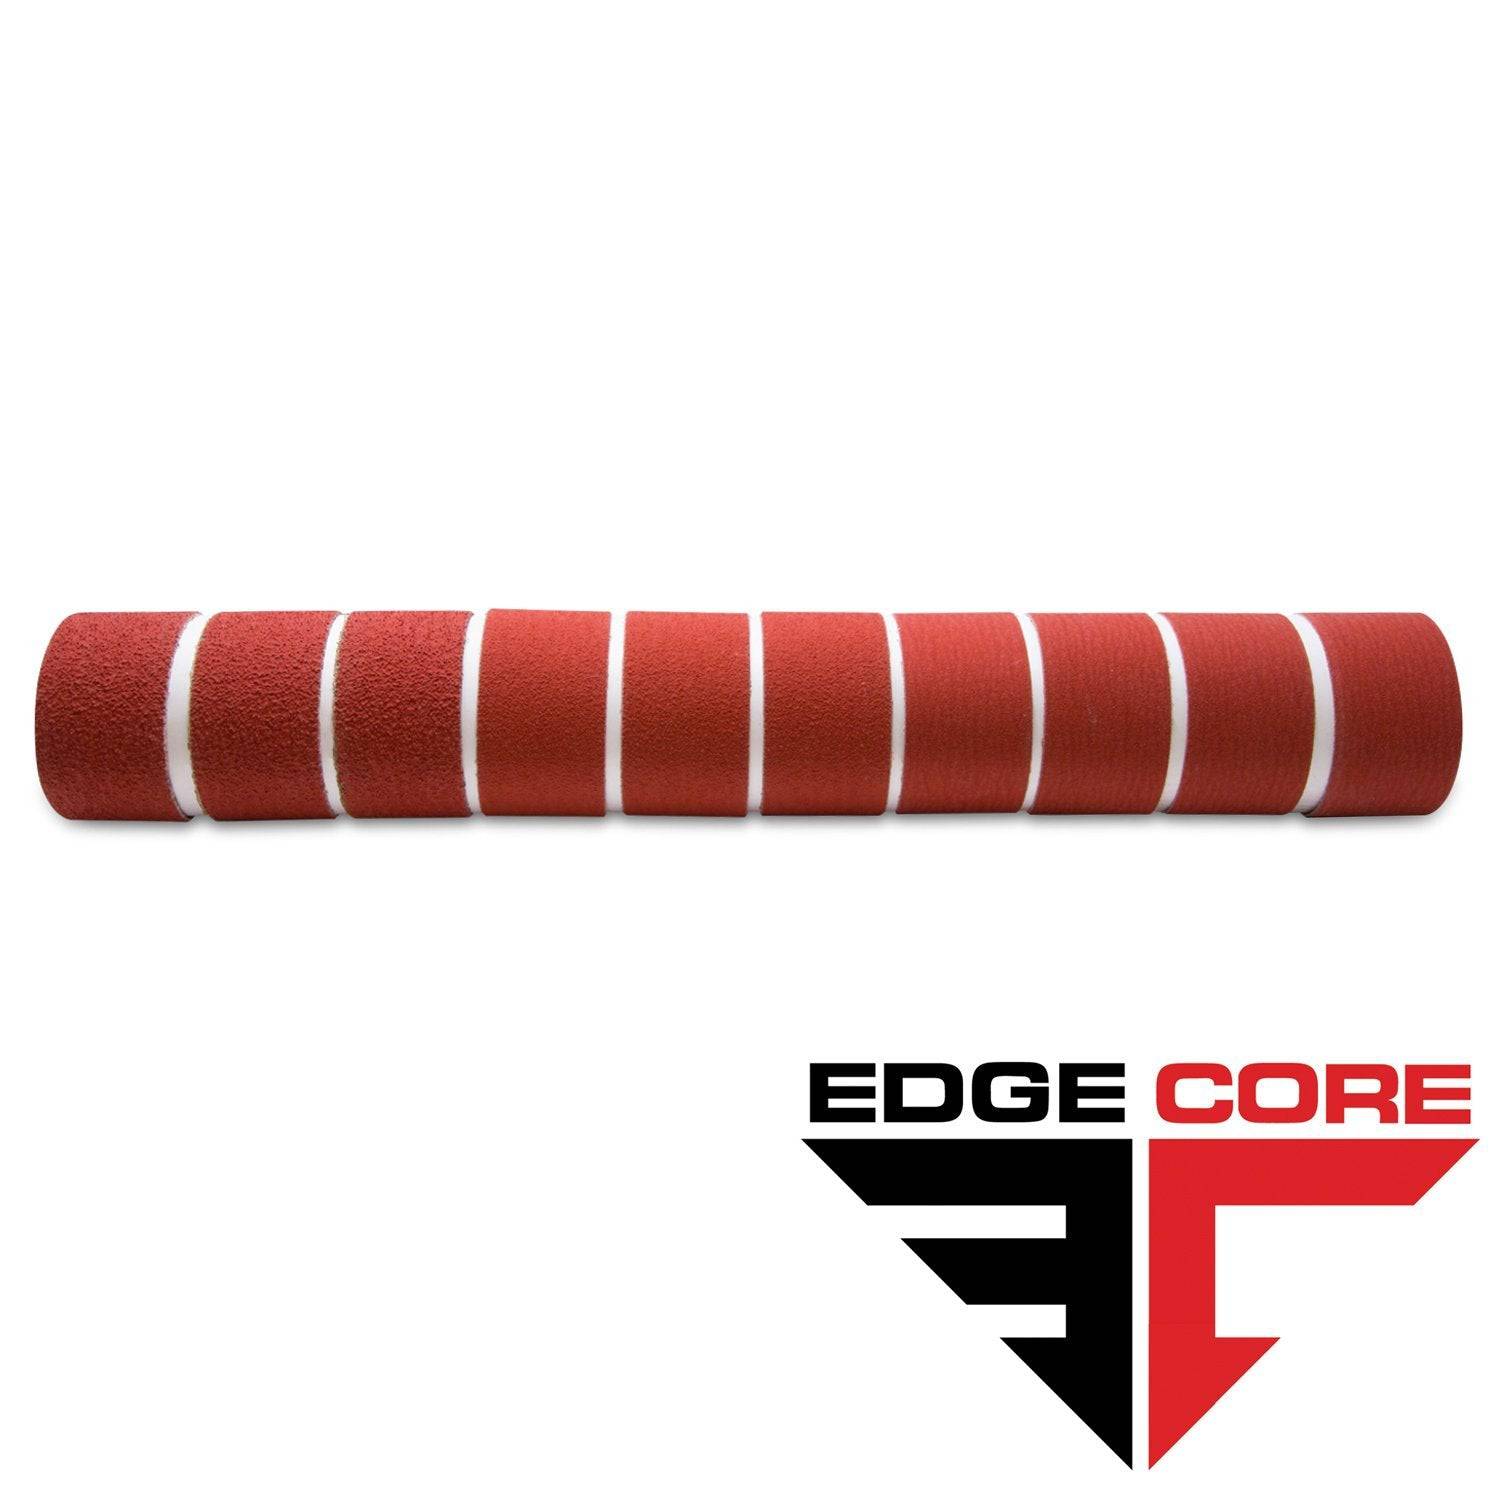
2 X 42 Inch Knife Makers Sanding Belts Assortment
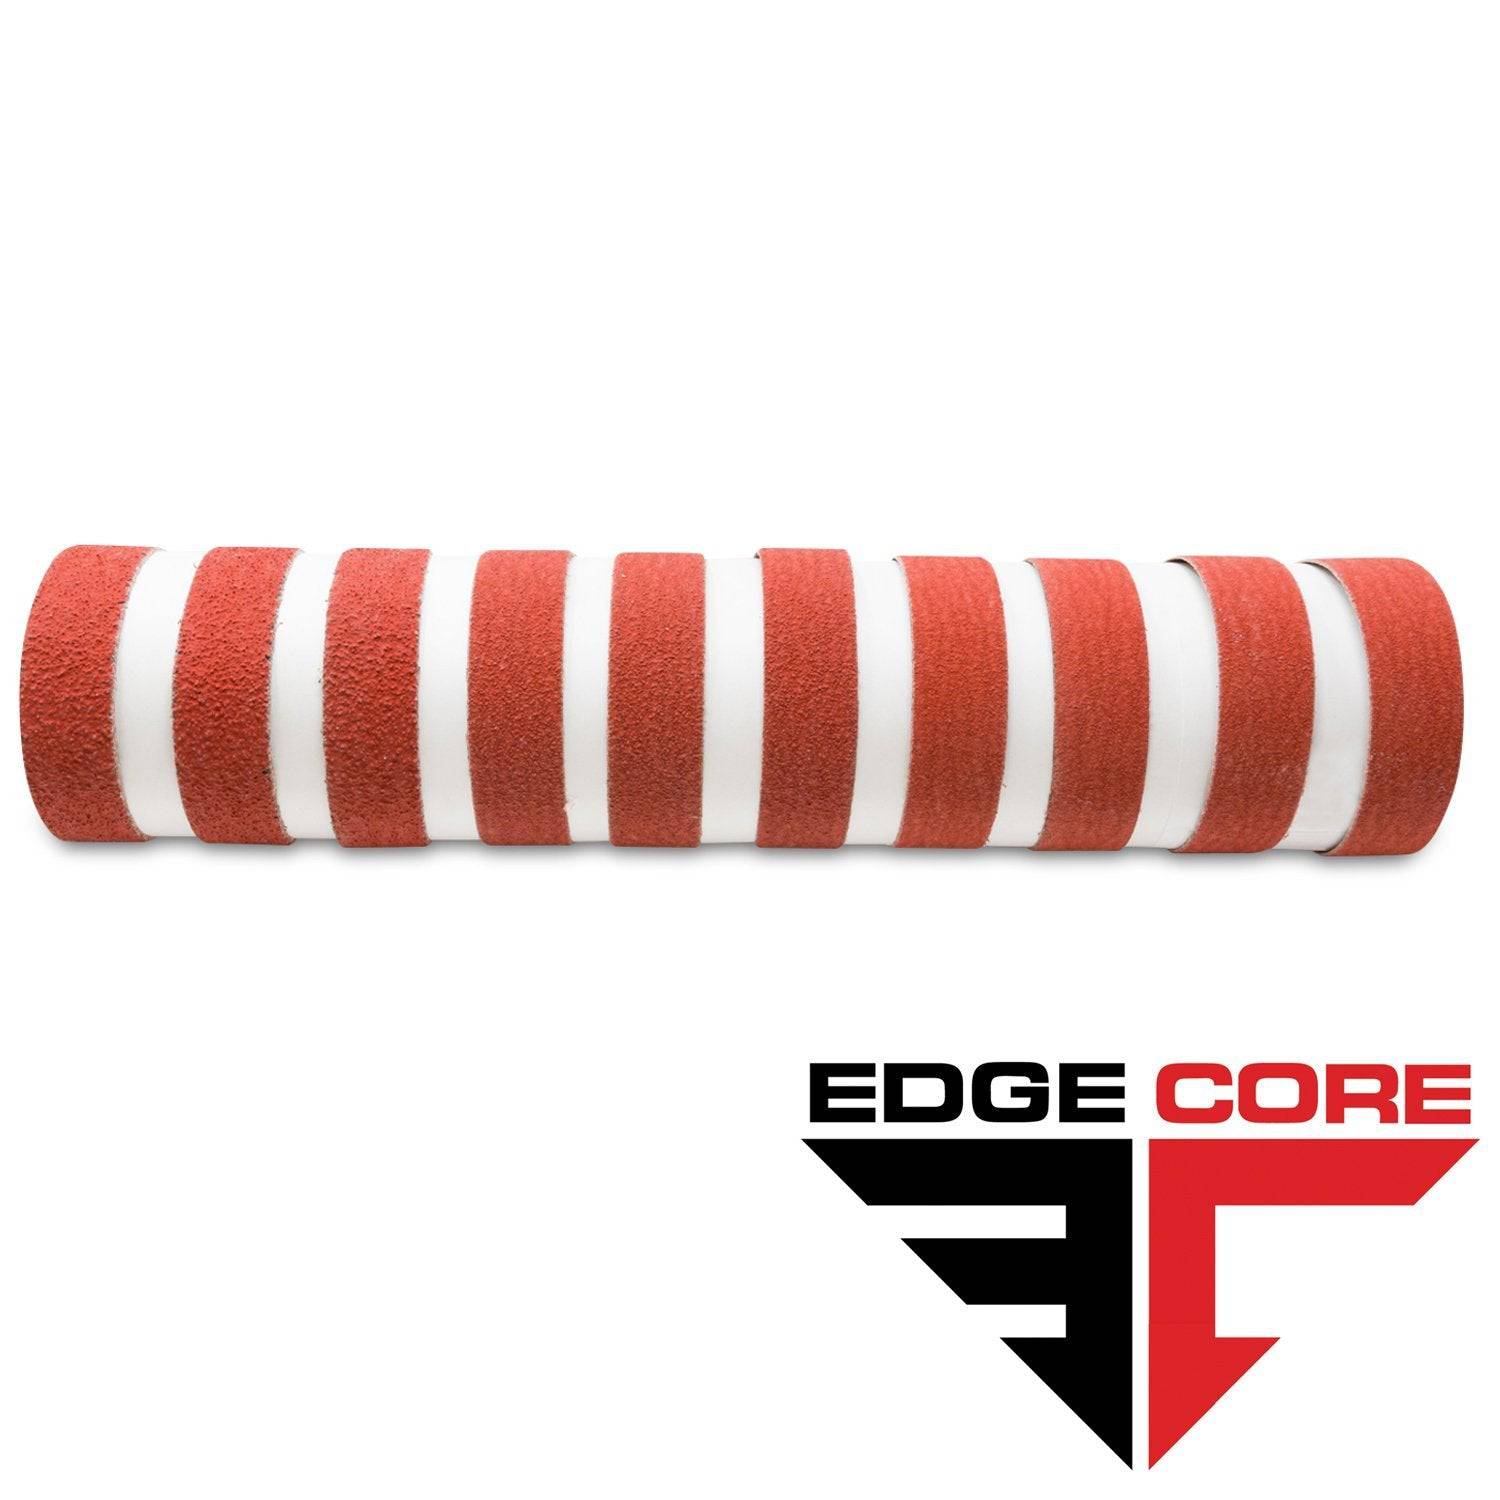
1 X 30 Inch Knife Makers Sanding Belts Assortment
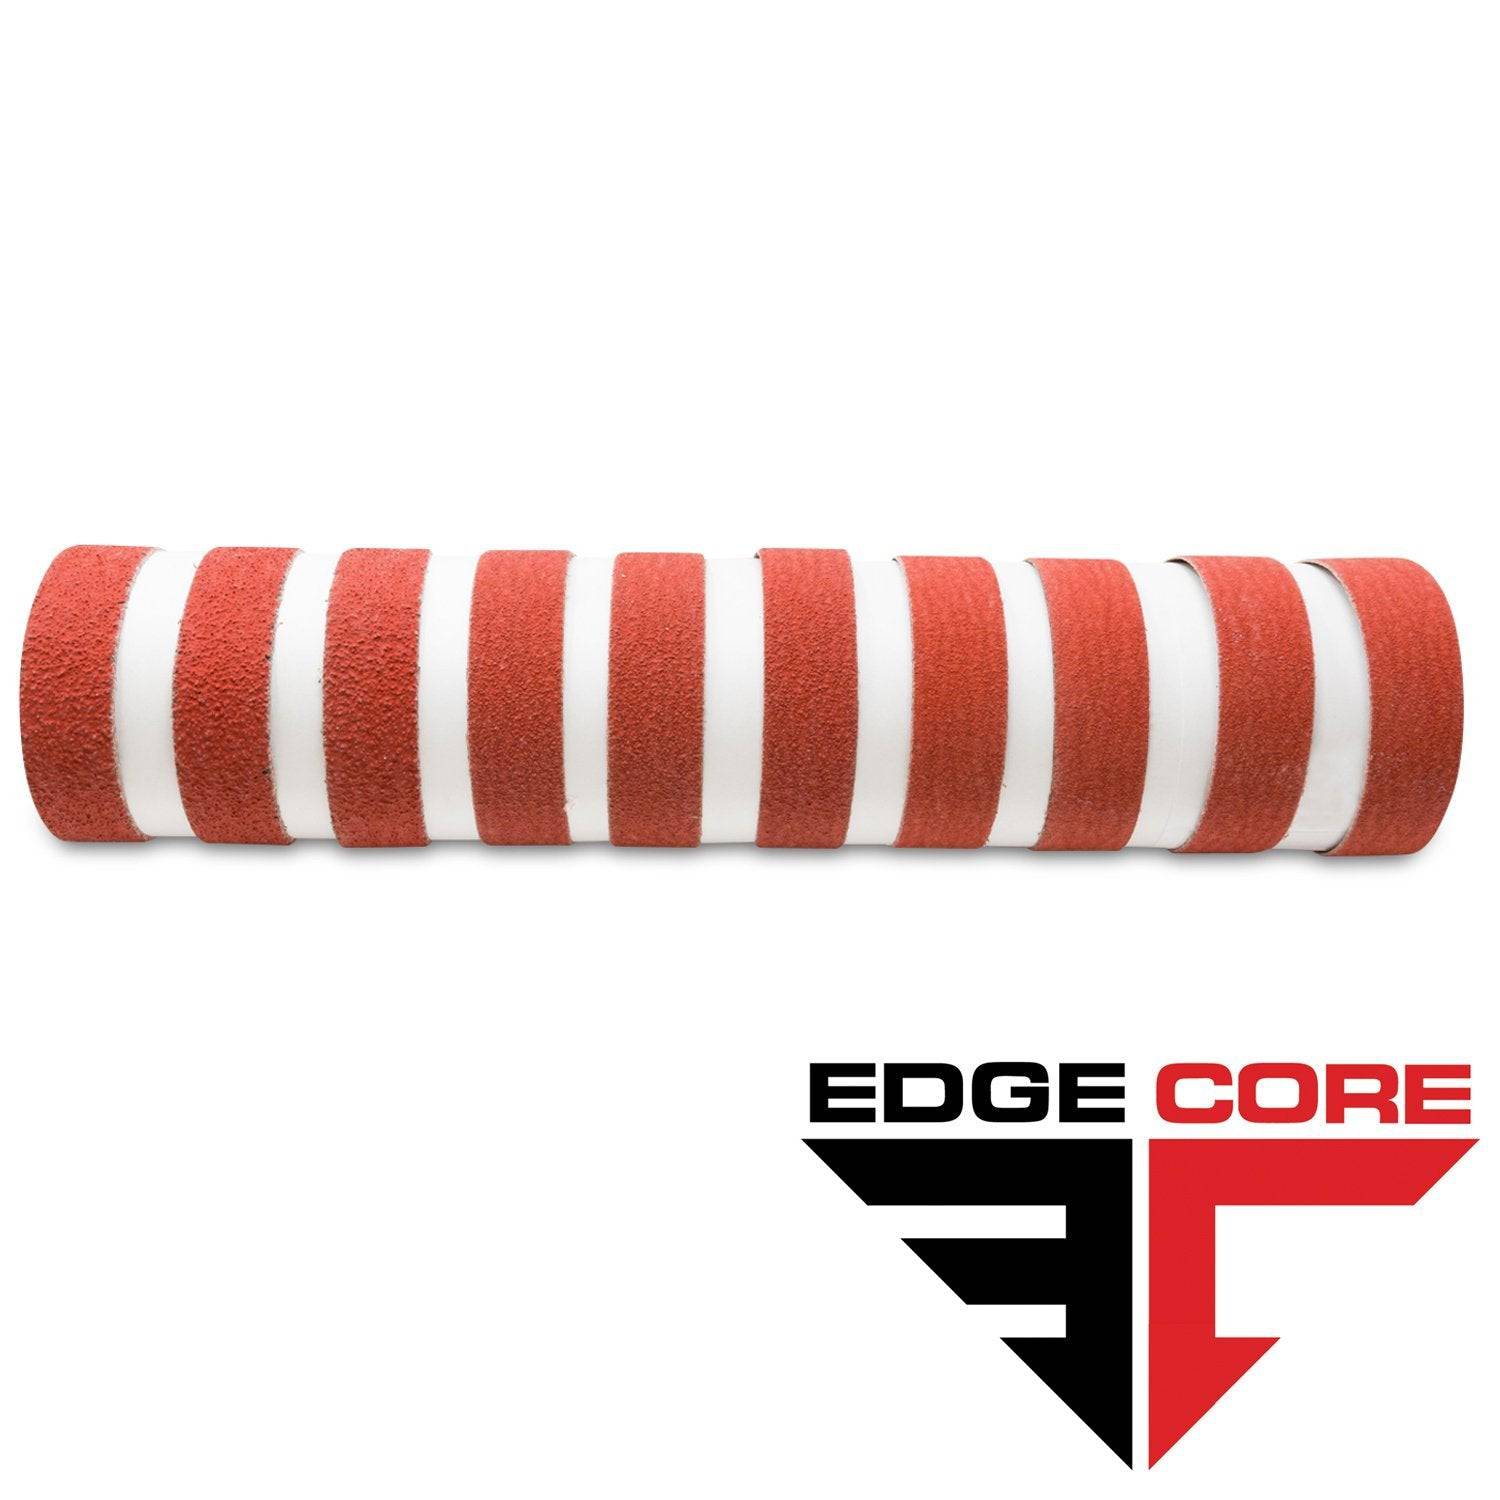
1 x 42 Inch Knife Makers Sanding Belt Assortment
Shop By Product Category


Why Choose Red Label?


