Your Cart is Empty
Free Shipping over $150 (Excludes Oversized Products)
Free Shipping over $150 (Excludes Oversized Products)
Sanding Belts
Sanding Discs

Stripping Vs. Sanding Wood: Which Is Better?
by David Kranker 6 min read

When you want to make old doors or wood furniture look new again, few strategies are more effective than removing old and scuffed-up paint and/or varnish. There are two ways to do this project- stripping and sanding. The main difference between stripping and sanding is that the former completely eliminates any old finish while the latter usually primes the surface for a new coat, although you can use it to completely remove paint as well.
So which one is better? It’s a good question, so we’ve dedicated this blog to the answer. We’ll look at both methods and when you might want to choose one over the other to make your workpiece showroom-worthy again.
Everything You Need to Know About Stripping Wood
If you don't plan to repaint the object and instead want to show off the wood grain underneath, you'll have to remove every last drop of old paint. It would be better to use a paint stripper in this case rather than sanding.
The Pros Of Stripping
-
Stripping saves time and effort: Paint stripper can be applied to a surface quickly and easily. Once you apply the stripper you simply have to wait for the solution to split the bond between the surface and the paint and then scrape off the paint. It can often be more time consuming and labor intensive to take multiple passes sanding a surface.
-
The finished product is raw wood:Stripper helps you get to the bare wood of the surface without damaging the wood grains. You can still achieve this with sanding, but it’s harder to reach the grain with sanding and it’s easier to damage the wood in the process.
-
Works well in tight spaces:Hand sanding allows you to sand smaller spaces with more precision, but there are certain pieces with corners so tight that even hand sanding doesn’t work as well. Strippers can easily work their way into tight corners.
-
Less dust production:Strippers can still create a mess, but it's often easier to control and clean up. Sanding can produce a lot of dust, which is especially true for larger workpieces.
The Cons Of Stripping
-
Strippers often contain harsh chemicals:You can buy non-toxic paint strippers, but these often don’t work as well as their toxic counterparts. Most of the very effective paint strippers will include caustic chemicals that produce strong fumes. You’ll need to be extremely careful when handling paint strippers.
-
Sticky residue:Strippers don’t produce dust, but they can leave a sticky residue behind, which still isn’t fun to clean up.
-
Sanding may still be required:Paint strippers work well, but there are cases where you may end up spending a significant amount of time sanding after stripping to finish cleaning the wood surface.
-
More expensive than sanding:Sandpaper is reusable and you can extend the life of your abrasives with tools likesanding eraser sticks. Stripper can only be used once and you’ll need to buy more once you use what you have. This can make stripping more expensive than sanding, especially if you’re removing paint regularly.
How To Strip Wood
Supplies
-
Paint stripper
-
Rags
-
Steel wool
-
Plastic or metal scraper
-
Metal or aluminum bowl
-
Thick rubber gloves
-
Drop cloth
-
Safety glasses and respiratory protection
-
Paintbrush
-
Medium grit aluminum oxide sandpaper
-
Fine grit aluminum oxide sandpaper
-
Electric hand sander
Step #1: Apply the Stripper
Move everything to a well-ventilated area. Don protective gloves and a face mask, then fill the metal or aluminum bowl with the paint stripper. Take the paint brush, dip it in the stipper, and begin to rub it over the old paint. You can paint it on just like regular paint, working on small sections at a time so that the paint is evenly stripped.
Step #2: Let It Soak
For best results, let the stripper soak for 15 to 20 minutes. For specific timing instructions, you should read the label on your stain stripper. Make sure you check it every few minutes. Apply more stripper if you notice any dry areas.
Step #3: Scrape the Stripper Off the Wood
Scrape the varnish and stain/paint with a plastic scraper. Begin at the edge of the wood and gently scrape across it in a straight line. Remove the debris, and repeat the process in a different location. Continue scraping the wood until all the stain / paint stripper is removed.
Step #4: Wipe Off the Wood Surface
Wipe down the surface with a steel-wool pad dipped in stripper. Make sure you follow the grain. Wipe down the wood surface with a wet rag after removing all the protective coating. The wood should then be allowed to dry for 24 hours.
Step #5: Sand the Surface
Sand the wood with medium-grit sandpaper once it has dried. If working on a large area like a door or tabletop, use a handheld belt sander. Sand until all traces of varnish and stain are removed. Use fine-grit sandpaper to smooth out any scratches caused by the coarse sandpaper. Afterwards, wipe the surface with a damp rag to remove the dust. A new stain and protective finish can now be applied to the piece of wood.
Everything You Need to Know About Sanding Wood
If you plan to paint over the surface anyway, sanding will do the job. The goal of sanding in this case isn't to remove the paint entirely; it's just to get the surface scuffed up enough that new paint will stick.
The Pros Of Sanding
-
Can be quicker if you intend to just repaint:If you’re not trying to get to bare wood, it is much faster to sand to prime the surface for a new coat.
-
Odorless & chemical-free:Sanding doesn’t require any chemicals and you also don’t have to deal with the fumes that strippers produce.
-
Cheaper than stripping:Again, sandpaper can be reused, which often makes sanding the more economical choice.
The Cons Of Sanding
-
Produces a lot of dust:Many sanding tools have dust collection systems, but there’s still a lot of dust produced that these systems don’t collect. You’ll have dust to clean after you finish sanding your workpiece.
-
Easy to over-sand:You can produce scuffs or dips in the surface from oversanding, or using the wrong grit progression. You’re less likely to damage the wood with a paint stripper.
-
Paint clogging can occur:Paint can be sticky and can often clog your sandpaper. Sanding can take more time if you have to clean the paint from your abrasives.
-
Hard to reach tight spaces:It can be hard to reach tight spaces - even when hand sanding. This is problematic if you’re trying to completely strip paint in a tight corner. Paint stripper often works better for tight spaces.
How To Sand Wood
Supplies
-
180-grit aluminum oxide sandpaper
-
80-grit aluminum oxide sandpaper
-
40-60 grit aluminum oxide sandpaper (optional)
-
80-120 grit aluminum oxide sandpaper (optional)
-
Sanding block or small handheld belt sander
-
Sanding attachment for multipurpose tool (optional)
-
Tack cloth
-
Safety glasses
-
Face mask
Step #1: Clean the Wood Surface
Clean the woodwork with soap and water before starting. You want to clear away as much caked-on dirt and buildup as possible, so that it doesn’t cause your sandpaper to become unnecessarily clogged.
Step #2: Sand the Surface (to Prime the Surface)
You can use a handheld belt sander or a sanding block to sand. (Generally speaking, larger areas should be tackled with a belt sander. Using 180-grit sandpaper, tackle the paint until it becomes dull. If there are globs of dried paint from the previous sanding job, use a coarser 80-grit sandpaper. After the top layer of paint has been removed, wipe away the dust. Priming and painting can be done as long as the surface is rough rather than smooth.
Step #3: Sand the Surface (to Completely Remove Paint)
Attach 40- to 60-grit sandpaper to your sanding block or handheld belt sander to remove paint. Using too much pressure can damage the wood with this coarse grit range, so go carefully. To remove the old paint, rub the sandpaper over the wood with the grain. Paper should be changed as needed. If you can't reach certain areas with the palm sander, use an attachment for a multipurpose tool.
Once you’ve been all over the surface, switch to 80- to 120-grit sandpaper. With this medium-grit paper, remove any remaining paint and work out any scratches on the wood. Next, switch to 150- to 180-grit sandpaper. When you are finished sanding the wood, it should be smooth and ready to be finished. To remove any remaining dust, wipe the wood with a tack cloth.
Important Note:
If the wood was painted before 1978, the paint may contain lead. Sanding this type of paint is not recommended. Lead-based paint must be removed by a professional or sealed permanently..
Questions About Maintaining Your Abrasive Equipment?
When you’re stripping or sanding wood, the right abrasive material and grit are key to getting the best results. At Red Label Abrasives, we sellsanding belts andsanding discs designed specifically for woodworking. When you buy from us, you can count on getting expertly engineered products that are used in some of the largest industrial woodworking facilities in the nation. Should you need a custom solution, Red Label can also manufacture tailor-made products. To speak with an abrasive technician or place an order, pleasecontact us by filling out a contact form or calling 844-824-1956. ABOUT THE AUTHOR
David Kranker is a writer and creative maker who has been covering the abrasive and woodworking industries on the Red Label Abrasives Blog since 2020. David spends his time continually researching sanding and woodworking to provide readers with the latest and greatest information. In his free time, David utilizes abrasives for many different home and auto projects at his home in Delton, MI.
Our Most Popular Abrasives For Woodworkers
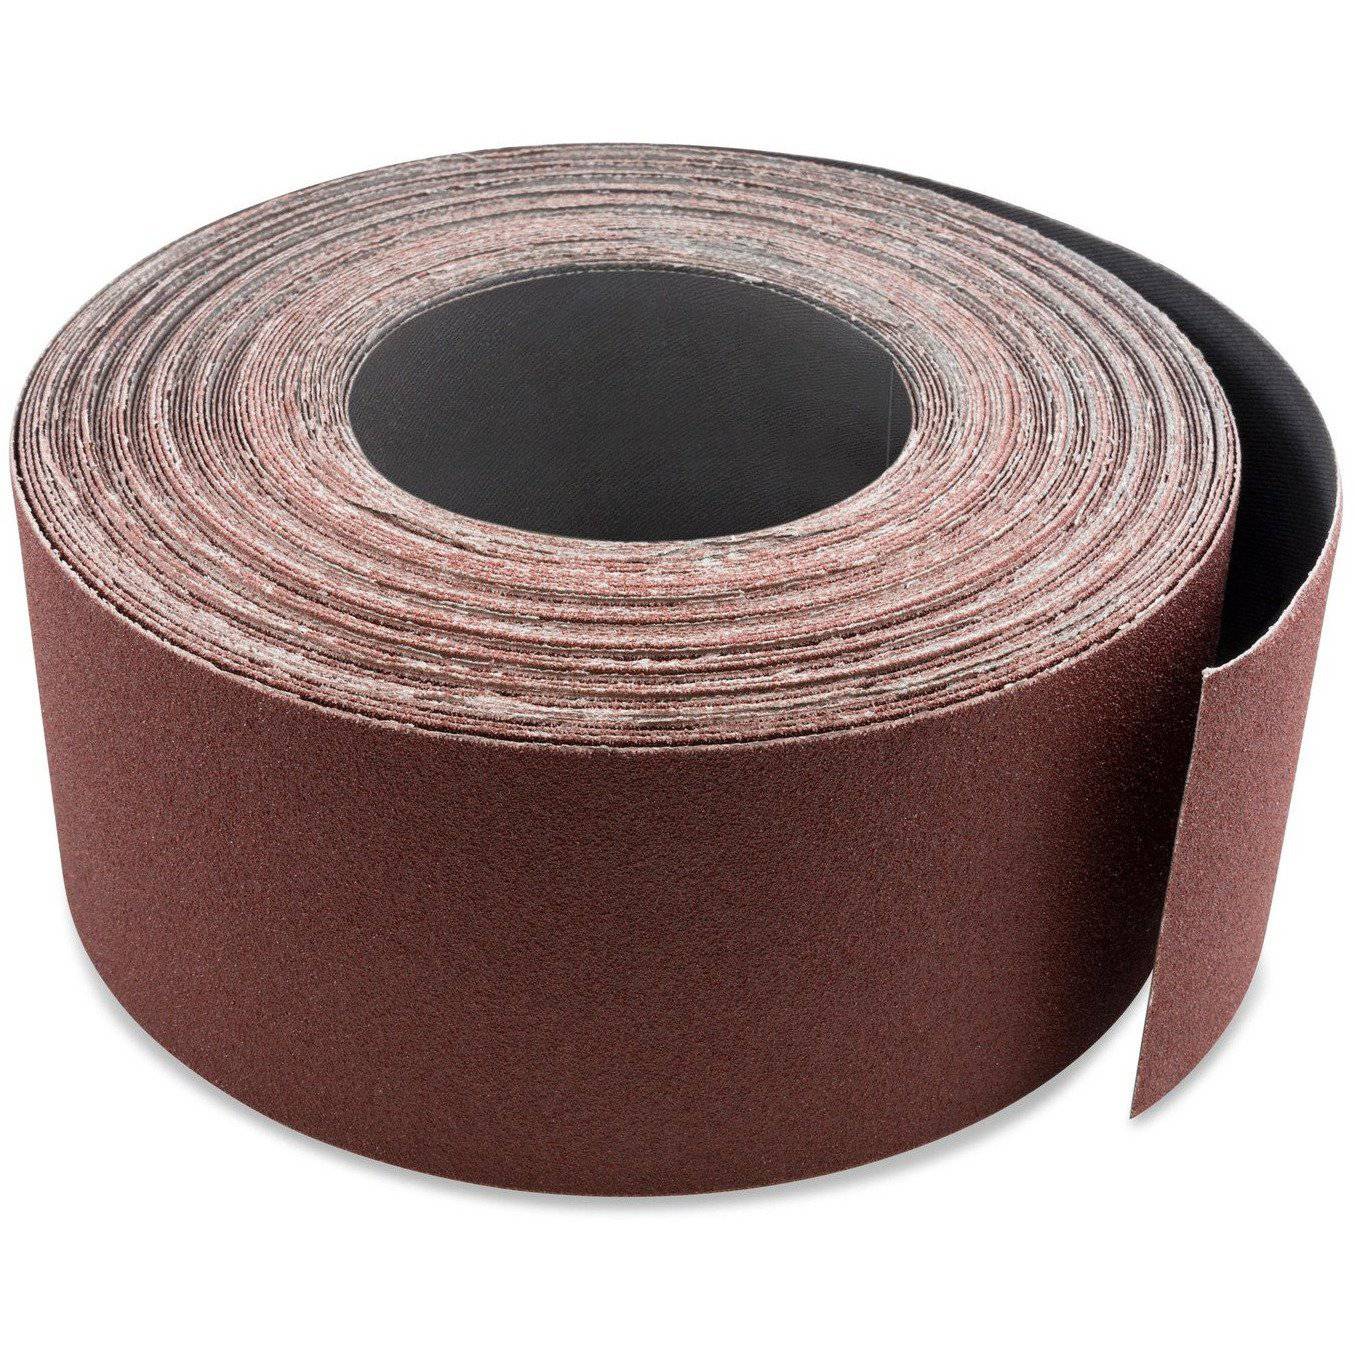
3 inch X 70 FT Woodworking Aluminum Oxide Cloth Drum Sander Strip Roll
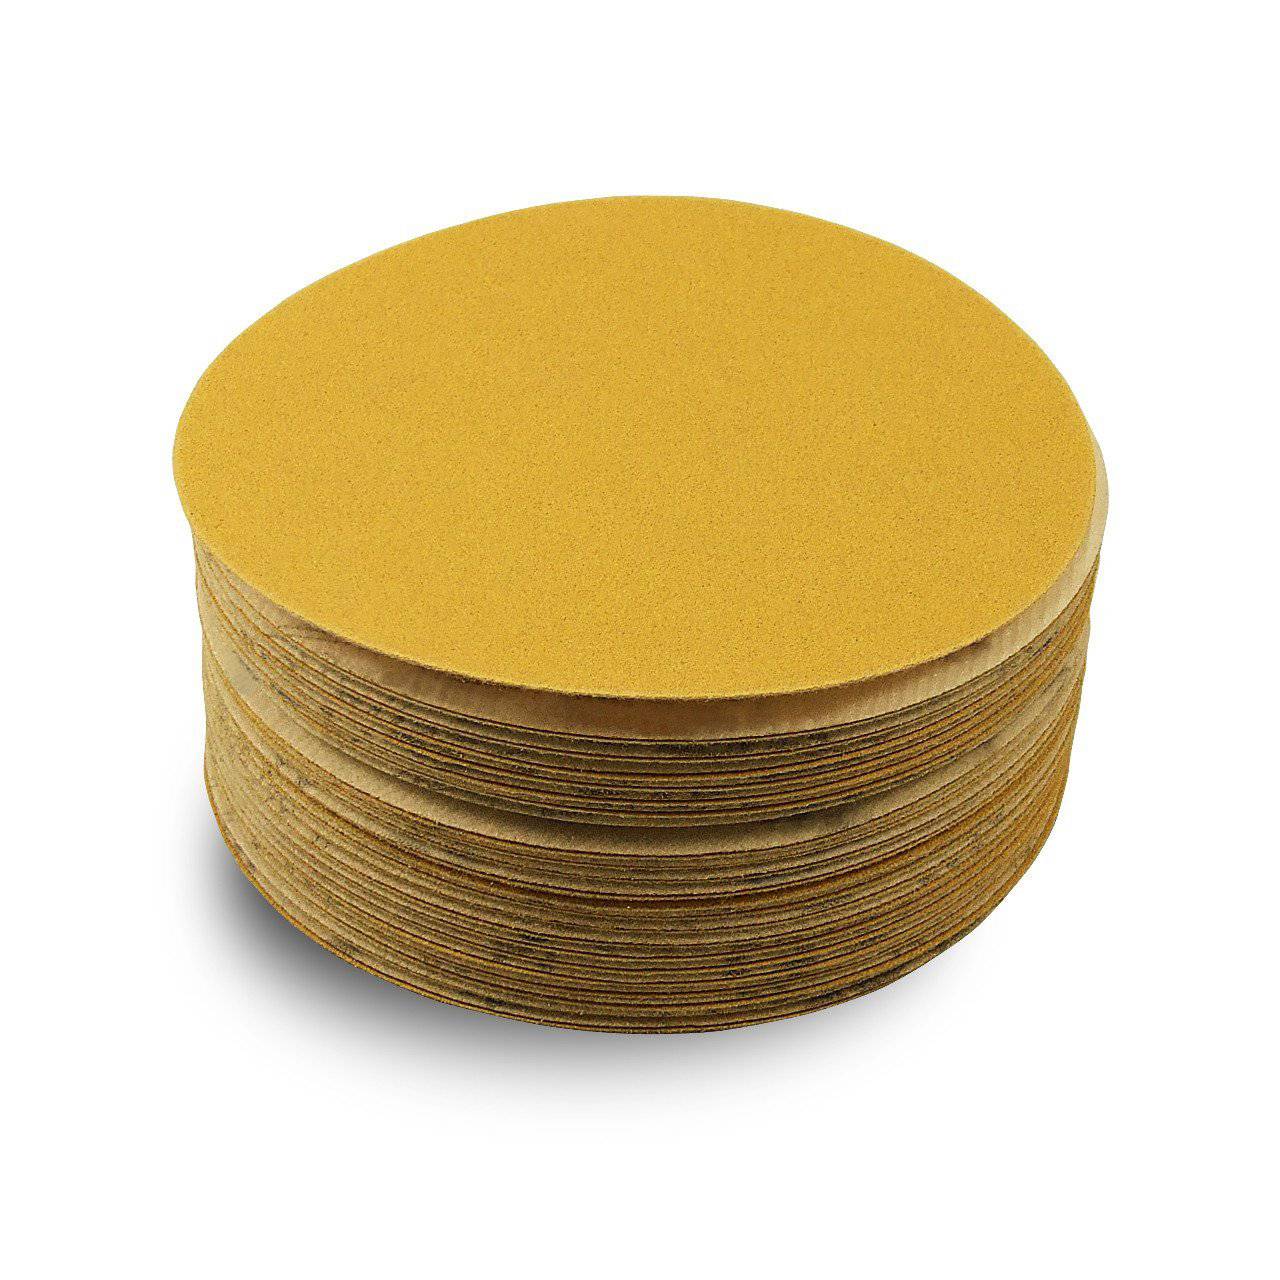
5 Inch Hook and Loop Gold Sanding Discs, 50 Pack
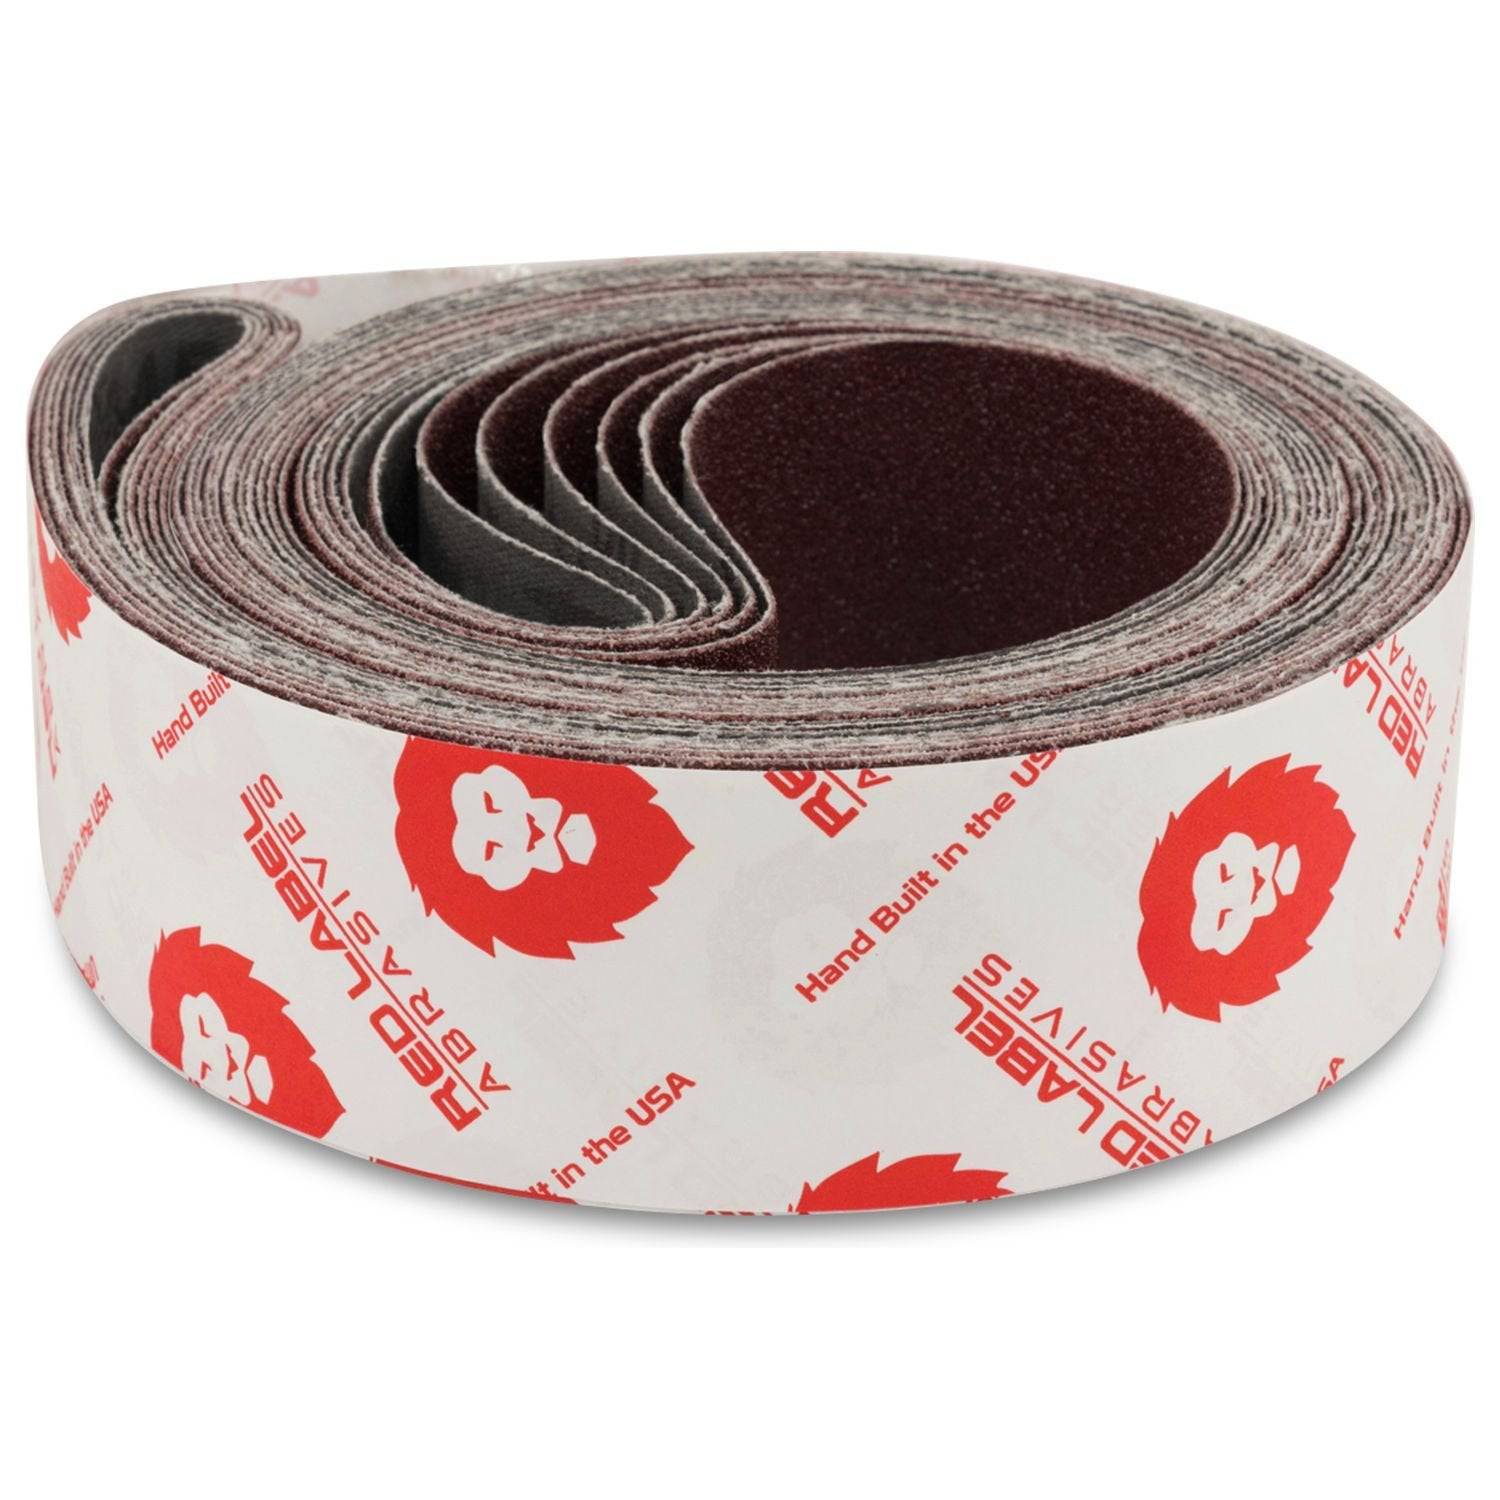
2 X 72 Inch Multipurpose Sanding Belts, 6 Pack
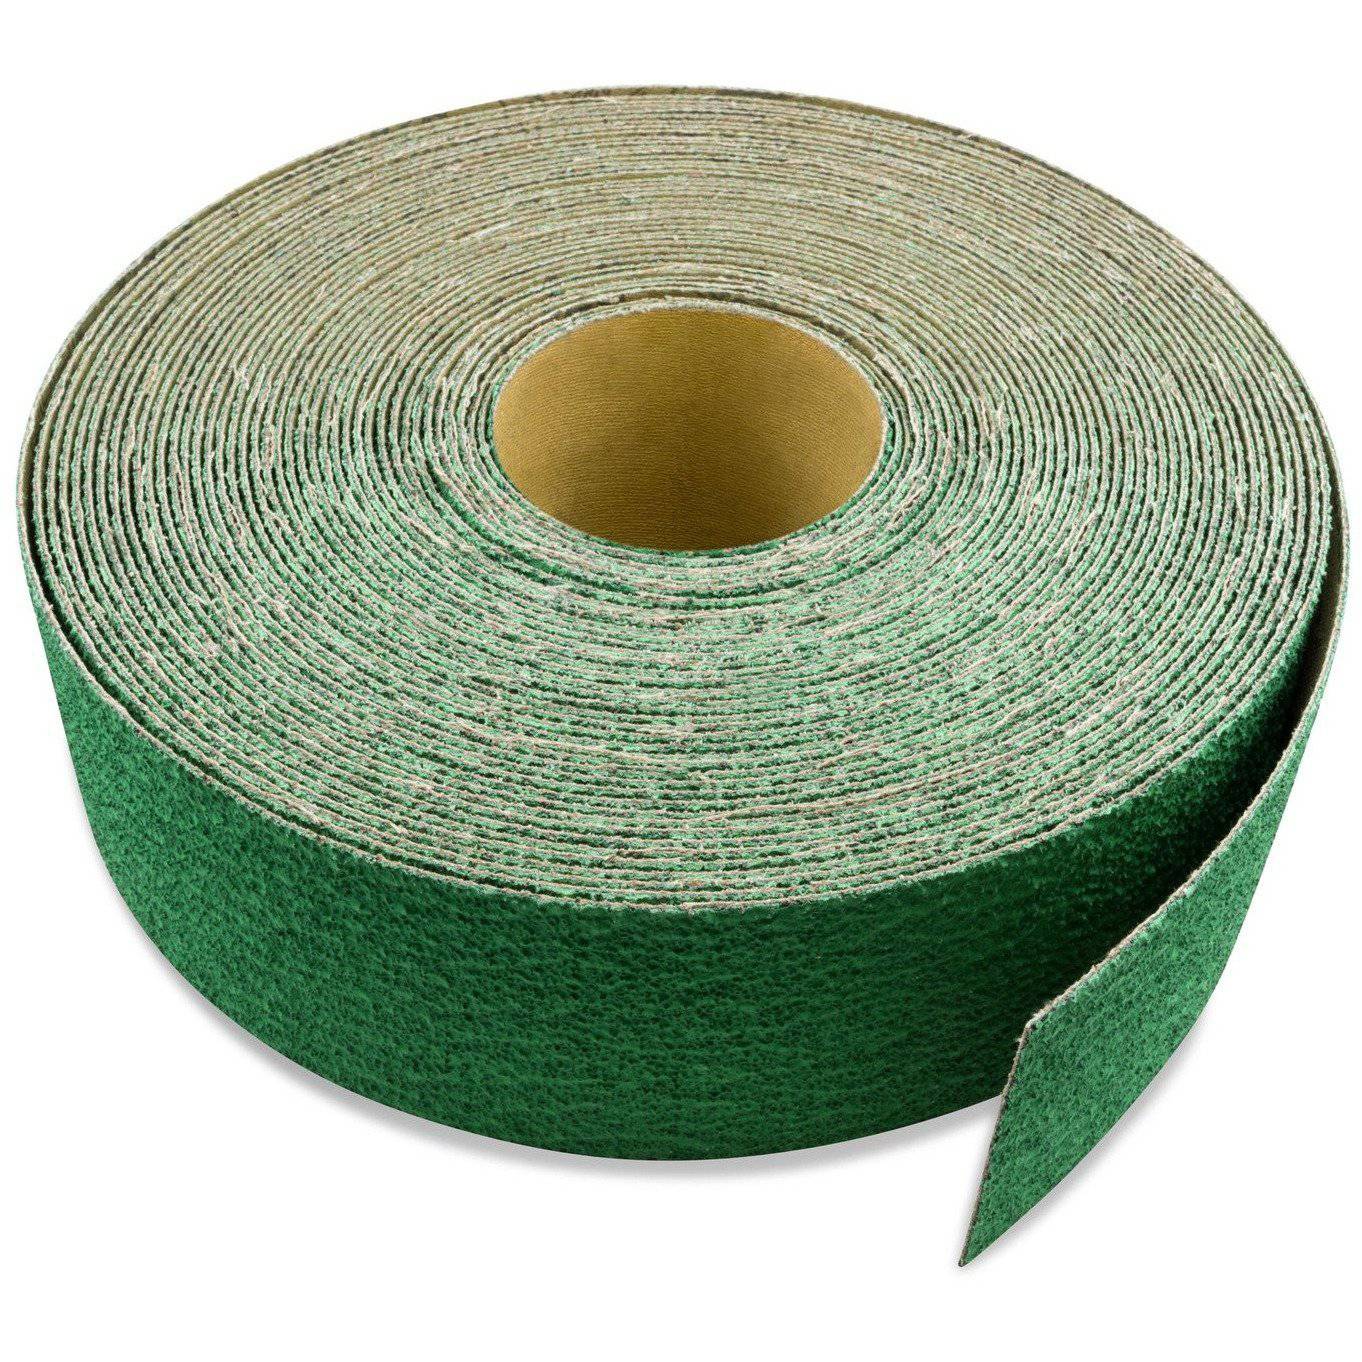
3 inch X 70 FT Premium Zirconia Woodworking Drum Sander Roll
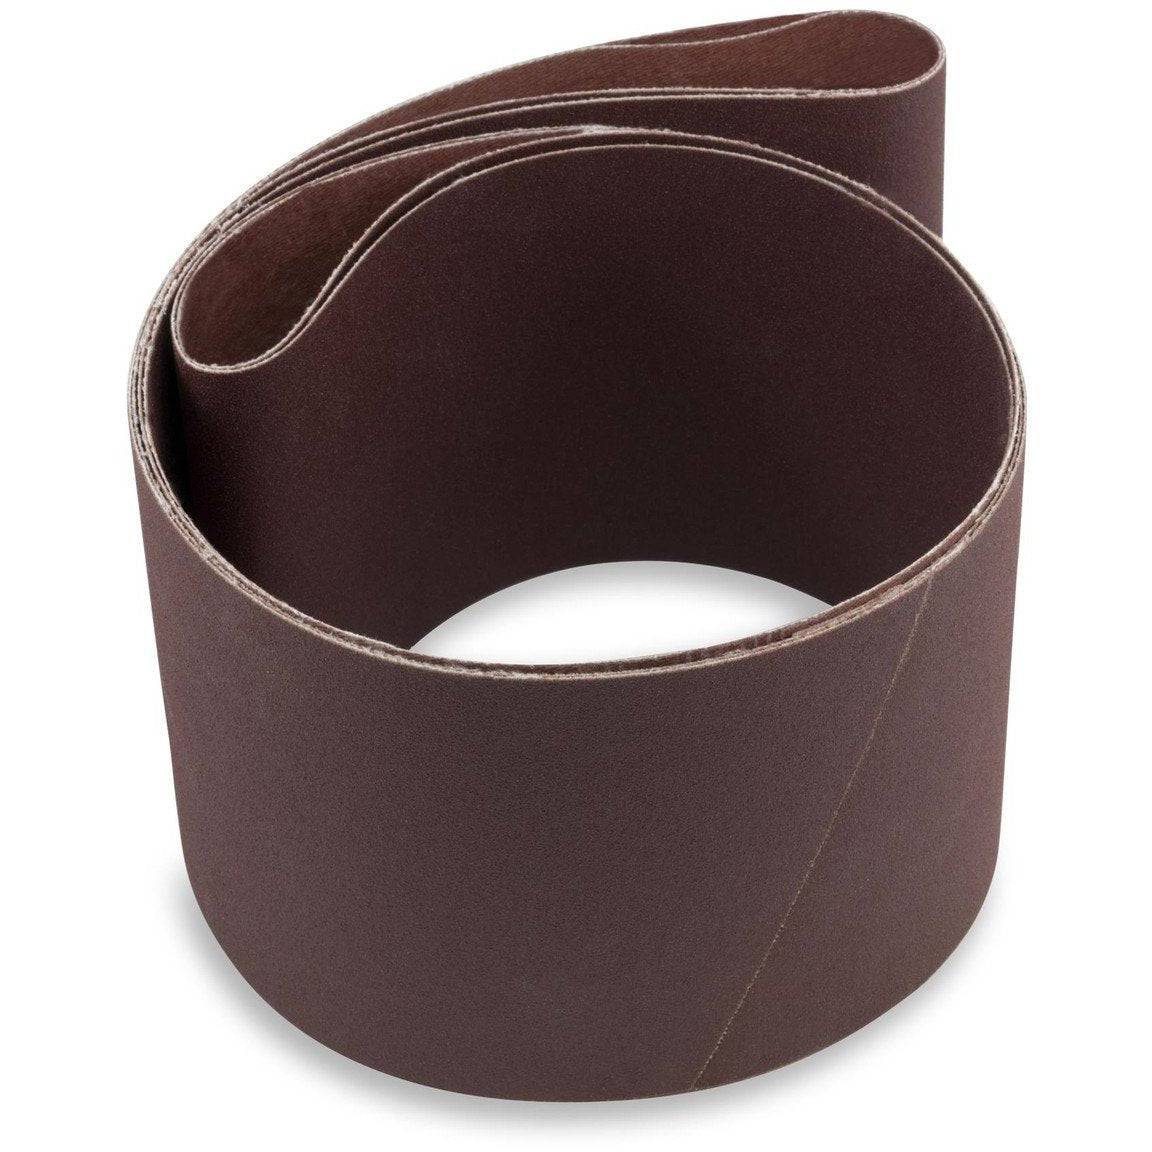
6 X 48 Inch Aluminum Oxide Wood & Non-Ferrous Sanding Belts, 2 Pack
Shop By Product Category


Why Choose Red Label?


