Your Cart is Empty
Free Shipping over $150 (Excludes Oversized Products)
Free Shipping over $150 (Excludes Oversized Products)
Sanding Belts
Sanding Discs

The Best Ways To Test The Sharpness Of A Knife
by David Kranker 10 min read

Quick Summary
Knives need to be regularly maintained for improved performance and safety. Fortunately, there are various tests available, such as the visual inspection, paper test, vegetable or fruit test, shaving test, arm hair test, and tomato test, to accurately assess a knife's cutting ability. Other factors affecting knife sharpness and maintenance include blade material, angle, and edge geometry.
Dull knives don’t always look different from sharp ones but when it comes to performance, there’s no comparison. If they manage to cut at all, it takes longer and your wrist muscles do most of the work.
It’s best to routinely assess the sharpness of your blades and sharpen them when needed. In this blog, the team at Red Label Abrasives outlines the best ways to test the sharpness of a knife, as well as, how you can keep it in fine cutting form moving forward.
Is It Risky to Use a Dull Knife?
When a knife lacks sharpness, it becomes increasingly challenging to maintain control while cutting. As a result, more force is required, increasing the likelihood of accidents and cuts. Dull knives also tend to yield uneven and messy cuts, negatively impacting the overall presentation and aesthetics of the prepared food.
The limitations of a dull knife extend beyond the realm of cooking. For various outdoor activities such as camping, gardening, or DIY projects, a sharp knife is indispensable for achieving efficient and safe results. Whether you need to slice through a rope, trim plants, or handle intricate tasks, a well-maintained sharp knife is essential.
Factors Affecting Knife Sharpness
In a sharp knife, the edge is finely honed to a thin, pointed line, enabling clean and precise cuts. There are various factors that affect the sharpness of your blades, including:
- Blade Material:A knife's blade's material significantly influences its sharpness. High-quality knives are often made from premium steel alloys, which can hold a razor-sharp edge for an extended period. The composition and hardness of the blade material determine how well it can be sharpened and how long the sharpness will last before requiring maintenance.
- Angle of the Edge: The angle at which the blade is ground directly impacts its sharpness and durability. A smaller angle, such as 15 to 20 degrees, results in a sharper edge, ideal for precise tasks like slicing vegetables and fruits. On the other hand, a larger angle, around 20 to 30 degrees, creates a more robust edge suitable for heavy-duty cutting like carving meat or chopping dense materials.
- Edge Geometry: The shape and design of the blade's edge geometry play a crucial role in its sharpness. Common edge designs include straight, serrated, and compound (combination of straight and serrated). Each geometry has its advantages and applications. For instance, a straight edge excels in clean cuts, while serrated edges are more effective for sawing through tough materials.
By understanding these aspects of knife sharpness, you can reasonably assess the condition of your knives. The tests below can help you confirm whether sharpening is necessary.
Methods For Testing Knife Sharpness
Visual Inspection of the Blade
Start by examining the entire length of the blade, paying close attention to the cutting edge. Look for any visible nicks, chips, or deformities along the edge or surface. Nicks and chips can occur due to accidental impacts with hard surfaces or improper cutting techniques. Deformities, on the other hand, might arise from poor knife maintenance or exposure to excessive heat.
Next, focus on the cutting edge of the blade. A sharp knife should have a smooth and even edge without any irregularities or notches. Run your finger gently along the edge to check for any rough spots or inconsistencies. These imperfections can negatively impact the knife's cutting performance and lead to uneven and less precise cuts.
Lastly, inspect the entire blade, including the non-cutting areas, for any signs of discoloration or corrosion. Discoloration or dark spots on the blade's surface could be indicative of rust or corrosion, which can significantly degrade the blade's performance and hygiene.
Regular maintenance and prompt addressing of any issues will help preserve your knives' longevity and performance, ensuring they remain ready to tackle any cutting task with efficiency and precision.
The Paper Test
The paper test is a quick and effective way to assess the sharpness of your knife. This method involves slicing through a piece of paper to gauge the blade's cutting ability. When a knife is sharp, it should glide effortlessly through the paper, creating a clean and precise cut. On the other hand, a dull knife will struggle to cut the paper cleanly, leaving ragged edges and indicating the need for sharpening.
To perform the paper test, follow these simple steps:
- Obtain a piece of standard printer paper or any thin, non-glossy paper.
- Hold the knife securely in your dominant hand, maintaining a comfortable and stable grip. Keep your fingers away from the cutting edge to avoid accidental injuries.
- Position the blade's edge at the top edge of the paper, aligning it perpendicular to the paper's surface.
- With a smooth and controlled motion, draw the knife downwards through the paper, from the top edge to the bottom edge. The motion should be steady and continuous.
- Observe the cut that the knife made on the paper. A sharp knife will produce a clean, straight cut with minimal effort. In contrast, a dull knife will struggle to slice through smoothly, resulting in a torn or jagged cut.
Vegetable or Fruit Test
Opt for a vegetable or fruit with a relatively firm texture, such as a carrot, cucumber, or bell pepper. The chosen item should offer enough resistance to provide a clear indication of the knife's cutting ability. Once you have the suitable produce, follow these steps to perform the test:
- Wash and dry the selected vegetable or fruit thoroughly. This ensures a clean surface for testing and removes any dirt or residue that could affect the results.
- Ensure your cutting area is stable and clutter-free to prevent accidents during the test.
- Grip the knife firmly with your dominant hand, placing your thumb and index finger on the blade's base, known as the bolster. Your other fingers should wrap around the handle for added control.
- Position the blade's edge at the top of the vegetable or fruit, making sure it is perpendicular to the surface. Apply gentle, downward pressure as you draw the knife through the produce in a single, fluid motion.
A sharp knife will effortlessly slice through the produce, leaving behind a clean and smooth cut surface. The blade should glide through the item with minimal resistance, showcasing the knife's cutting prowess.If the knife struggles to cut through the produce smoothly, causing jagged or torn edges, it indicates that the blade is dull and in need of sharpening.
Shaving Test
Safety precautions must be taken before you attempt the shaving test to check the sharpness of your knife:
- Ensure the knife's blade is clean and dry before conducting the test. Any moisture or residue on the blade could affect the results or lead to slipping during the test.
- Always handle the knife with care, keeping your fingers away from the blade's edge to prevent accidental cuts. A firm grip on the handle and proper cutting technique are essential for safety.
When you’re ready, follow these steps:
- Find a well-lit and secure area to perform the test. A bathroom or an area with a mirror can be suitable, allowing you to observe the shaving results closely.
- Ensure the area you plan to shave is clean and dry. Ideally, use a small patch of hair, such as on your forearm, as the testing area.
- Hold the knife at a slight angle (approximately 30 degrees) to the surface of the hair. The blade's edge should make contact with the hair while maintaining a safe distance from your skin.
- With a controlled and gentle motion, draw the blade along the hair in the direction of hair growth. Observe how the blade interacts with the hair and its ability to shave cleanly.
A successful shaving test, where the knife effortlessly shaves the hair, indicates a sharp and well-maintained blade. If the knife struggles to shave the hair or only manages to pull and snag the hair without a clean cut, it suggests that the blade may be dull and in need of sharpening.
Tomato Test
The tomato test is an excellent real-world evaluation of a knife's sharpness, specifically in culinary settings. Tomatoes possess a unique combination of soft flesh and delicate skin, making them a challenging material to cut without causing damage. Conducting the tomato test allows you to gauge your knife's sharpness by observing how effectively it can slice through this tricky produce.
To conduct the tomato test accurately, follow these steps:
- Choose a ripe, firm tomato for the test. The tomato should not be overly soft or unripe, as extreme textures can affect the results.
- Wash and dry the tomato thoroughly to remove any dirt or debris. Ensure the tomato is stable on the cutting surface before proceeding.
- Grip the knife firmly with your dominant hand, placing your thumb and index finger on the bolster (the area between the blade and handle). Wrap your other fingers around the handle for added control.
- Position the blade's edge at the top of the tomato, aligning it with the desired cutting angle. The knife should be perpendicular to the tomato's surface.
- With a controlled motion, draw the knife downward through the tomato in a gentle and fluid movement. The blade should slice smoothly through the tomato without crushing it.
A sharp knife will effortlessly glide through the tomato, creating clean and smooth cuts. In contrast, a dull knife will struggle to slice cleanly, affecting the tomato's appearance and indicating the need for sharpening or honing.
Hanging Paper Test
This test involves suspending a piece of paper and cutting through it, allowing the knife's performance to be assessed based on the clean and effortless cuts it produces. To conduct the hanging paper test, follow these steps:
- Choose a piece of paper with a standard size, such as letter or A4 size. The paper should be thin and non-glossy for accurate results. You may use regular printer paper or similar materials.
- Find a safe and stable area to conduct the test. Use tape or clips to suspend the top edge of the paper, allowing it to hang freely. Ensure the paper is taut and securely held in place.
- Hold the knife with a secure grip, placing your thumb and index finger on the bolster (the area between the blade and handle). Position the blade's edge at the bottom of the suspended paper, ensuring it is perpendicular to the paper's surface.
- With a smooth and controlled motion, draw the knife upwards through the paper, from the bottom to the top edge. The blade should effortlessly cut through the paper without any tearing or resistance.
A sharp knife will create a clean, precise cut through the suspended paper with minimal effort. If the knife struggles to cut through the paper, resulting in ragged or torn edges, it indicates that the blade may be dull and requires sharpening.
Arm Hair Test
This test is similar to the shaving test described above, only it focuses on arm hair. Before attempting it, it's essential to take the following precautions:
- Hold the knife securely and maintain a firm grip with your dominant hand. Ensure that your fingers are positioned away from the blade's edge to avoid accidental cuts.
- Conduct the test in a well-lit and distraction-free area. Choose a location where you can comfortably observe the results without any hindrance.
- Exercise caution and mindfulness throughout the test. Move the knife in a controlled manner to prevent any mishaps or injuries.
- If you are uncertain about the knife's sharpness, start with a gentle and light touch to your arm hair before proceeding with more pressure.
When you’re ready, follow these steps to perform the arm hair test safely:
- Position your clean and dry forearm in a relaxed and comfortable position, ensuring it is away from any obstructions.
- Hold the knife with a secure grip, placing your thumb and index finger on the bolster. Keep the blade's edge away from your skin initially to avoid accidental cuts.
- Gently touch the blade's edge to a small patch of arm hair on your forearm. Apply minimal pressure to gauge the knife's initial cutting ability.
- If the initial touch does not yield results, gradually increase the pressure while maintaining control and observing how the knife interacts with the arm hair.
A sharp knife will effortlessly shave off arm hair with a smooth and precise cut. The blade should glide through the hair without any pulling or tugging sensation. If the knife struggles to cut the arm hair and causes pulling or tugging, it suggests that the blade may be dull and requires sharpening.
Maintaining Knife Sharpness
Keeping your knives sharp through regular maintenance is essential for optimal performance, efficiency, and safety in the kitchen. A sharp knife ensures smooth and precise cuts, minimizing the risk of accidents associated with using a dull blade. Regular maintenance also extends the lifespan of your knives, preventing premature wear and damage that can occur with neglect.
There are several methods to sharpen a knife, each requiring different tools and techniques. Here are some tips for sharpening your knife effectively:
- Sandpaper:Sandpaper is an affordable and accessible method for sharpening knives. Start with a coarser grit (e.g., 400) and progress to finer grits (e.g., 1000 or higher) for a polished edge. Place the sandpaper on a flat surface, dampen it slightly, and hold the knife at the desired angle. Draw the blade across the sandpaper, applying gentle pressure in a consistent motion. Be sure to sharpen both sides evenly.
- Honing Rod: Regularly use a honing rod to realign the knife's edge and maintain its sharpness. Honing doesn't actually remove metal but straightens the blade. Hold the rod at a 15 to 20-degree angle to the knife, and gently draw the blade towards you, from the heel to the tip, using consistent pressure. Repeat on the other side.
- Whetstones: Whetstones are ideal for more extensive sharpening. Begin by soaking the stone in water for the recommended time. Hold the knife at the desired angle (usually 15 to 20 degrees) and draw it across the stone in a smooth motion, maintaining consistent pressure. Alternate sides after each stroke to achieve an even edge. Use a finer grit stone for a polished finish.
- Electric Knife Sharpener:Electric sharpeners are user-friendly and efficient. Simply place the knife in the designated slot and let the machine do the work. Follow the manufacturer's instructions for the best results, as different sharpeners may have varying settings.
Sharpen Your Knives With Sharpening Belts & Sheets From Red Label Abrasives
Understanding the sharpness of your knife is vital for safe, efficient, and precise cutting tasks, whether in the kitchen or beyond. By employing various testing methods, you can accurately assess your knife's edge and determine whether it requires sharpening or honing to maintain optimal performance.
At Red Label Abrasives, we manufacture high-quality sanding sheets and sharpening belts that you can use to sharpen your knives and restore their cutting edge to pristine conditions. Our abrasive products provide a convenient and affordable solution to keep your knives in top-notch shape, allowing you to enjoy a seamless cutting and slicing experience.
We've been producing abrasives for knife makers for over 35 years. Our sanding belts (especially our 2 x 72 inch sanding belts) have become the preferred belts of the industry. If you have questions or would like to place an order, call 844-824-1956 or fill out our contact form today!
ABOUT THE AUTHOR
David Kranker is a writer and creative maker who has been covering the abrasive and knife-making industries on the Red Label Abrasives Blog since 2020. David spends his time continually researching sanding and bladesmithing to provide readers with the latest and greatest information. In his free time, David utilizes abrasives for many different home and auto projects at his home in Delton, MI.
Belt Packs Made For Knife Makers
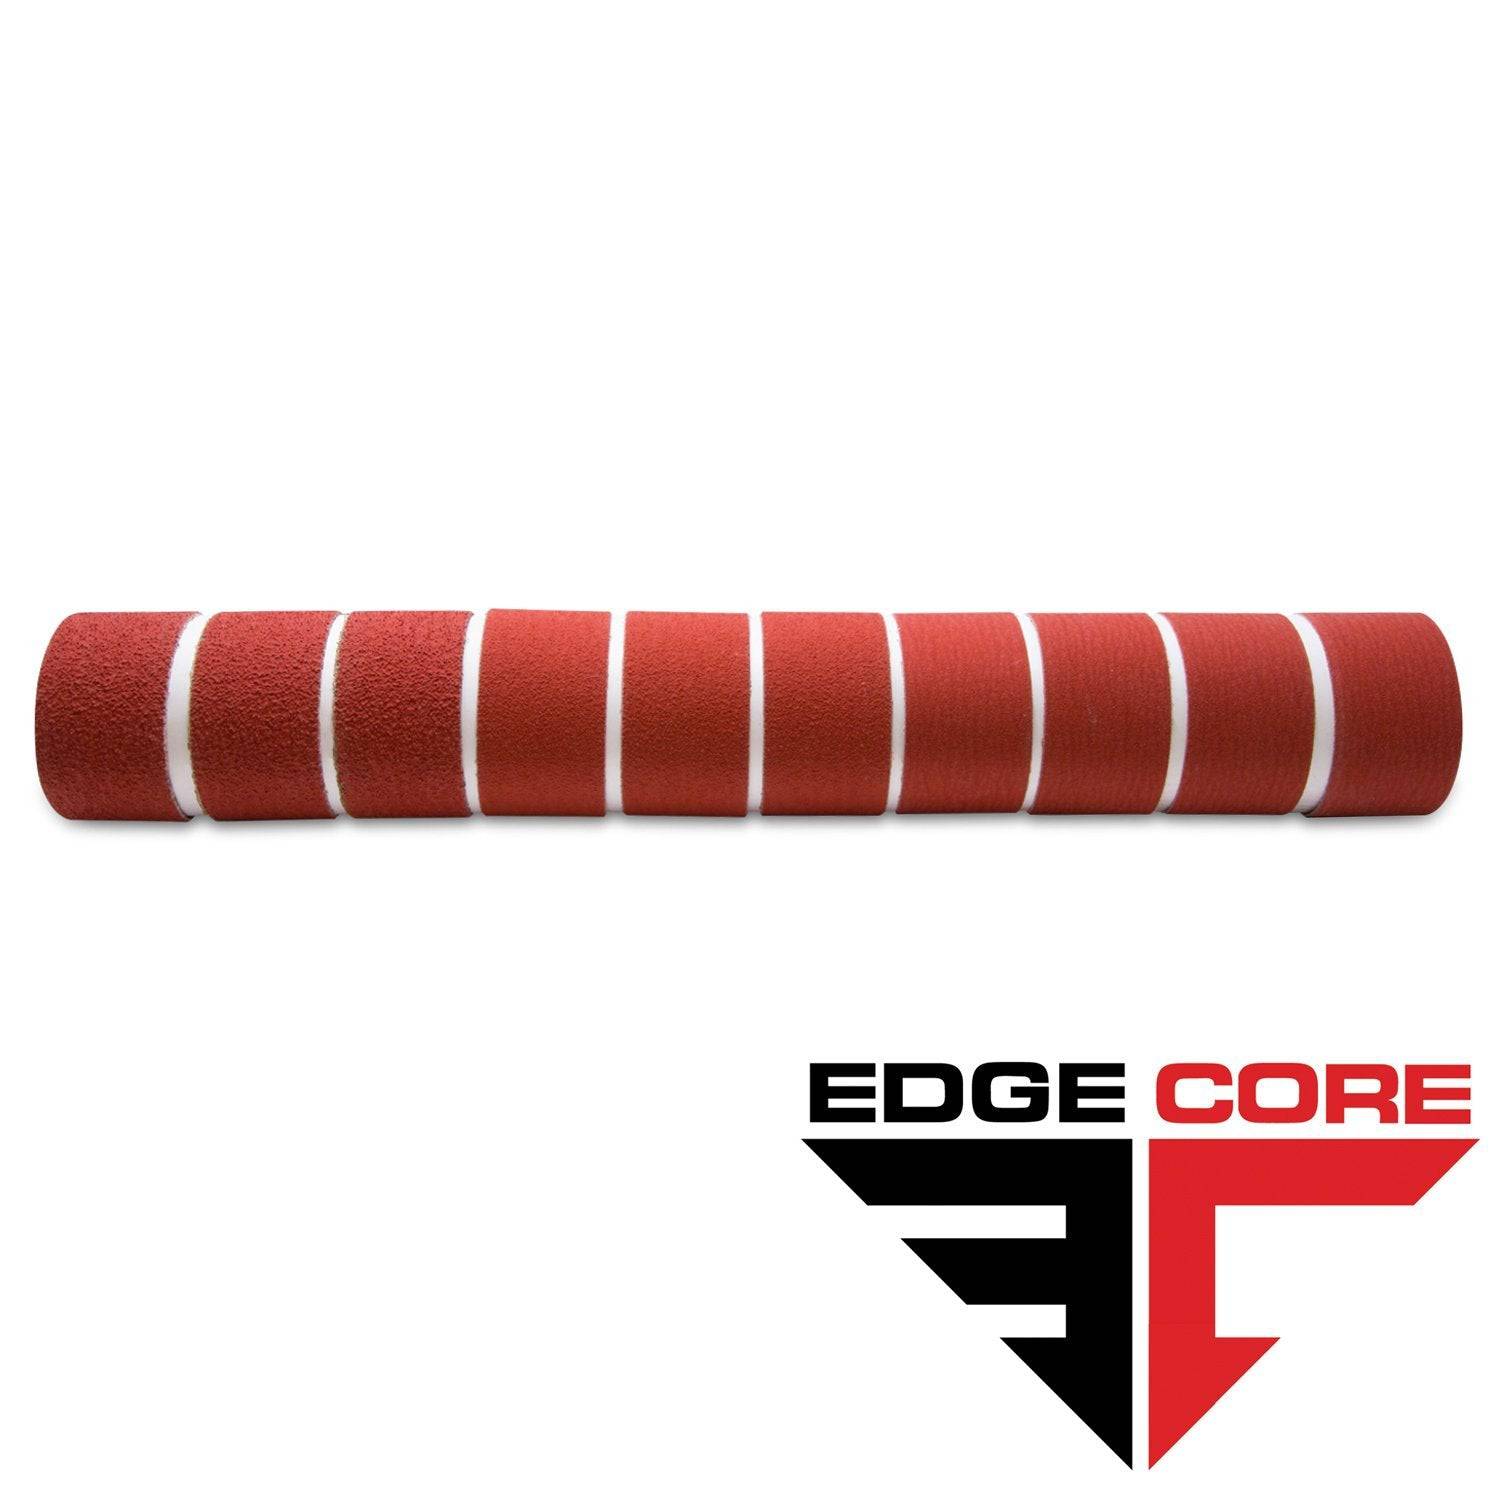
2 X 72 Inch Knife Makers Sanding Belts Assortment
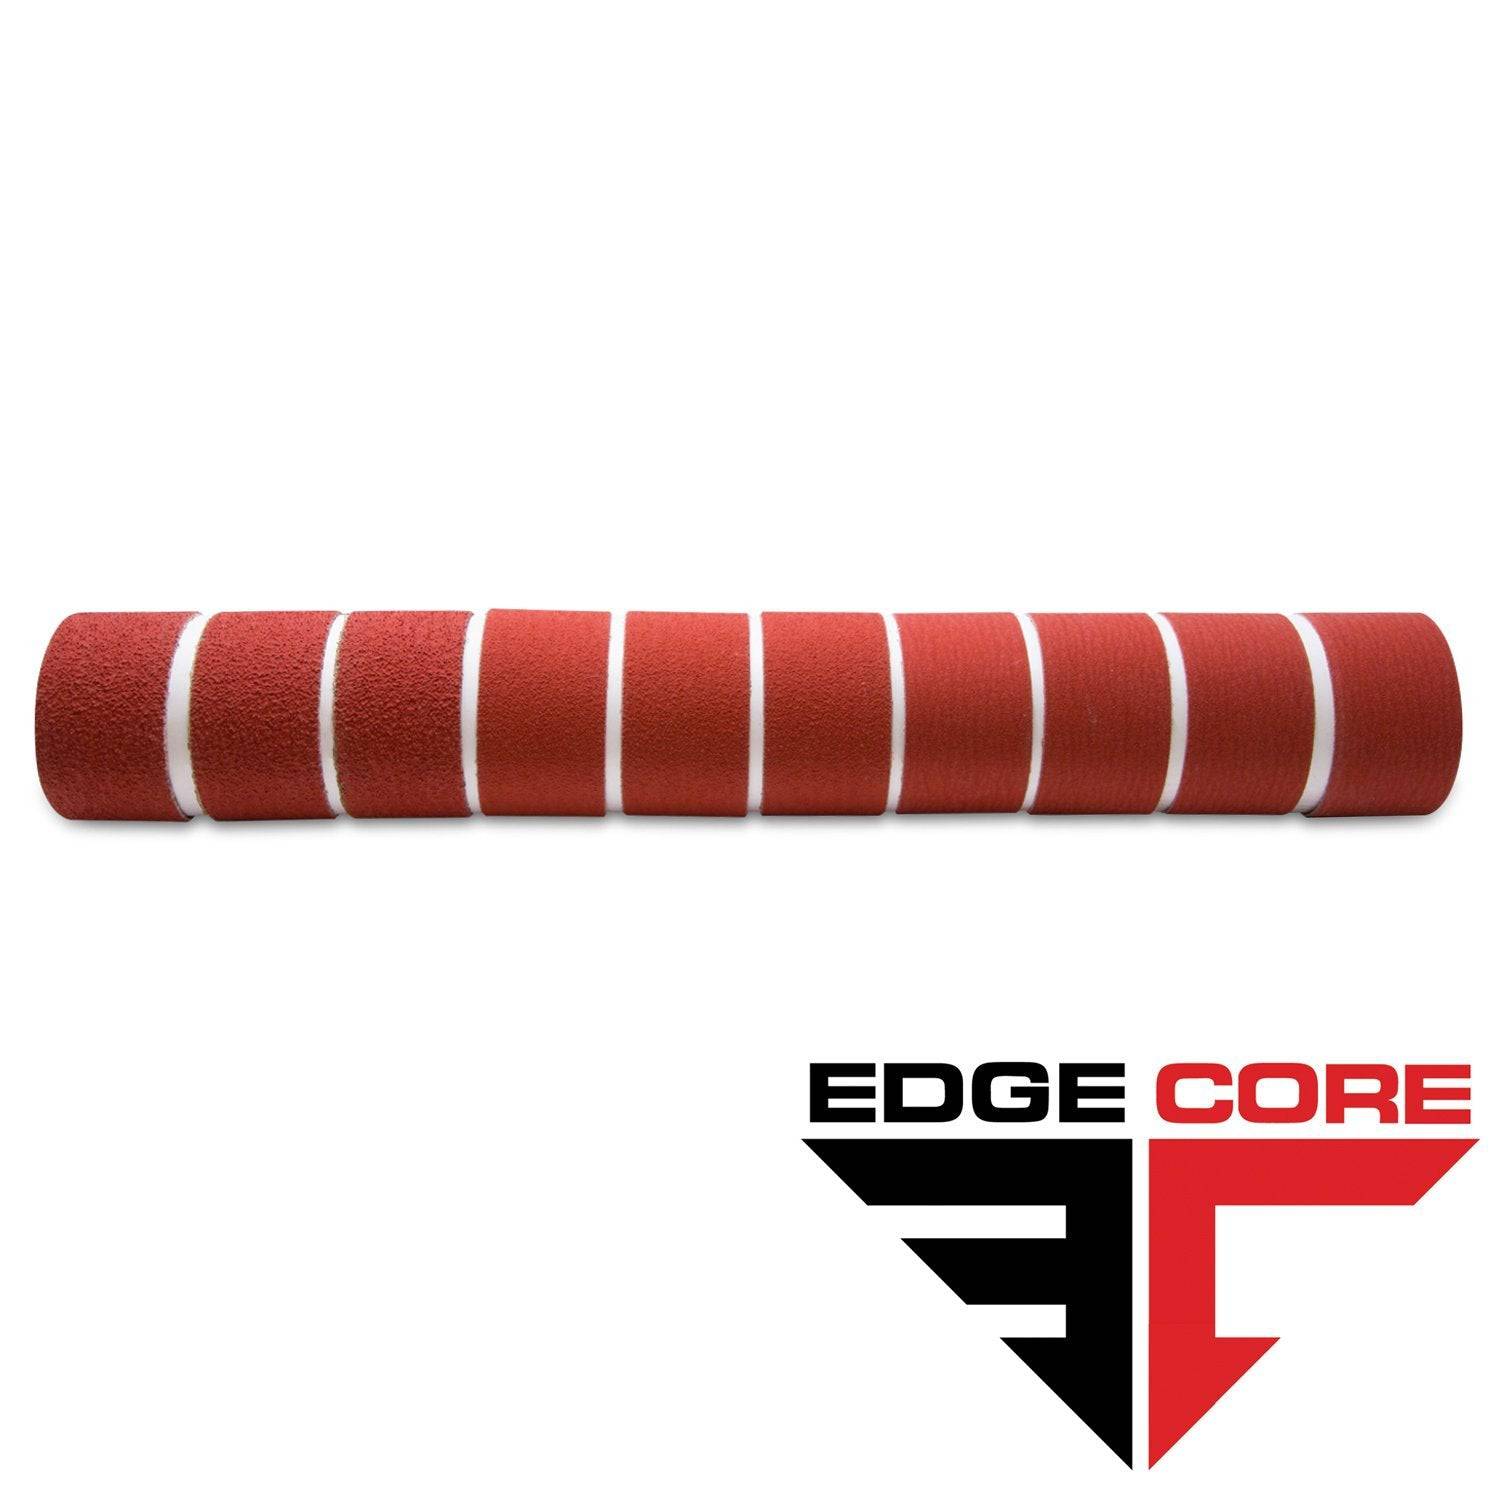
2 X 60 Inch Knife Makers Sanding Belts Assortment
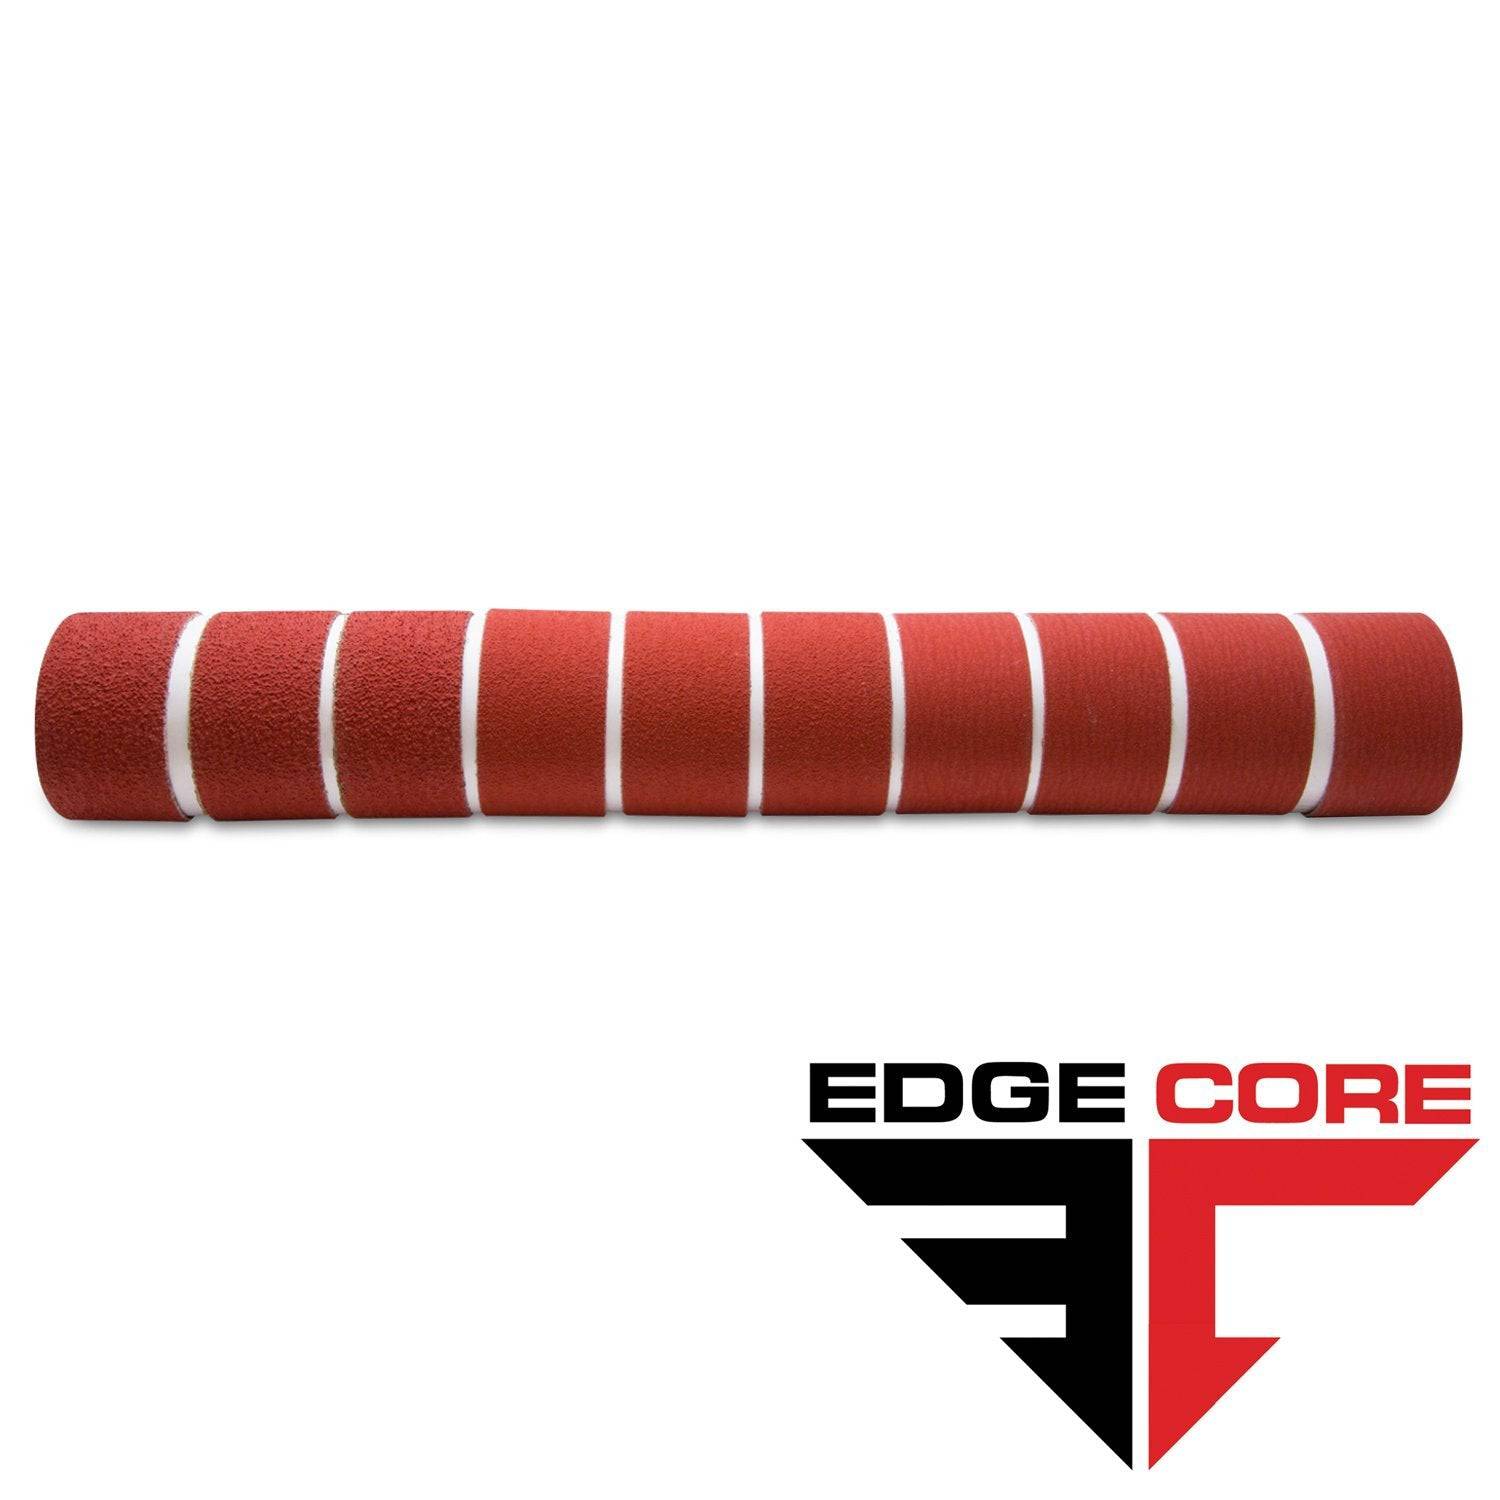
2 X 48 Inch Knife Makers Sanding Belts Assortment
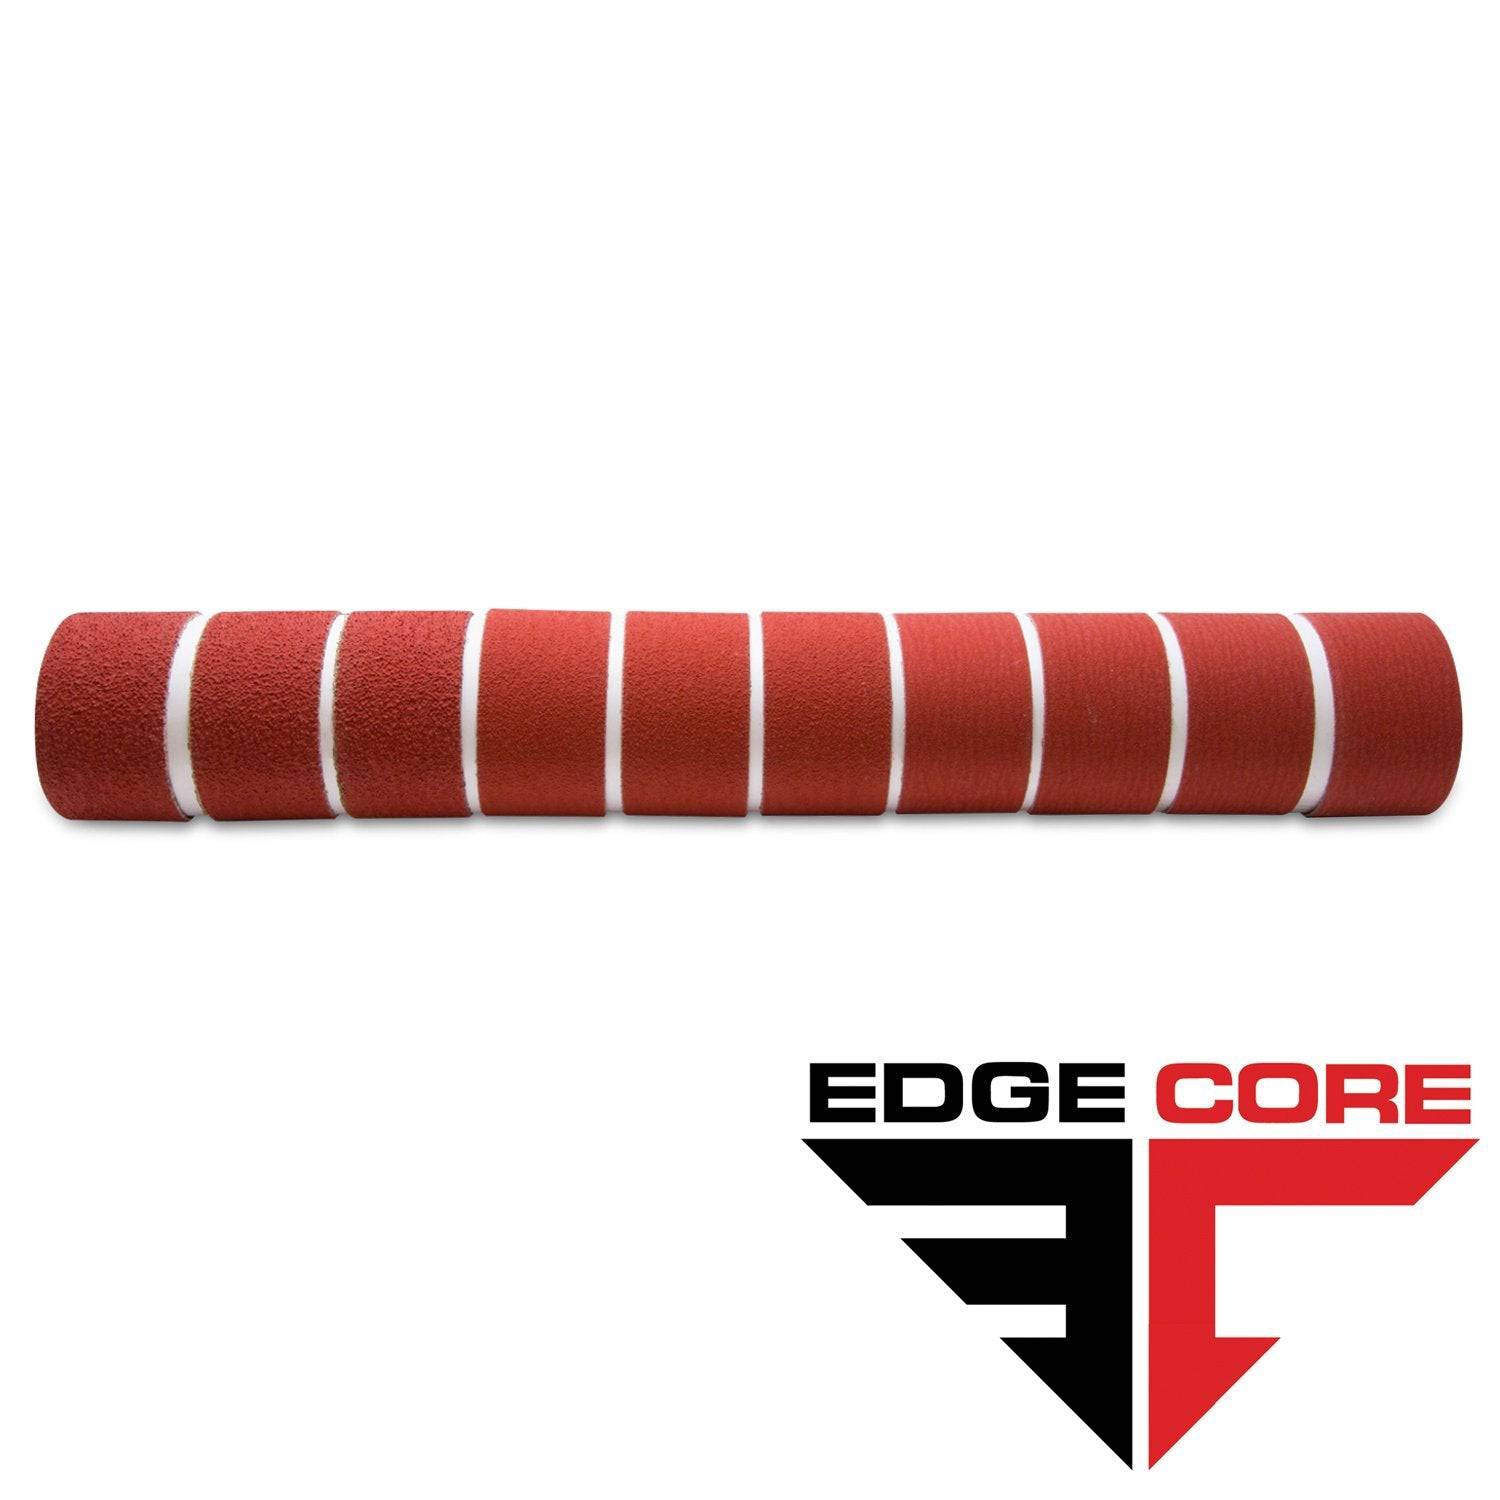
2 X 36 Inch Knife Makers Sanding Belt Assortment
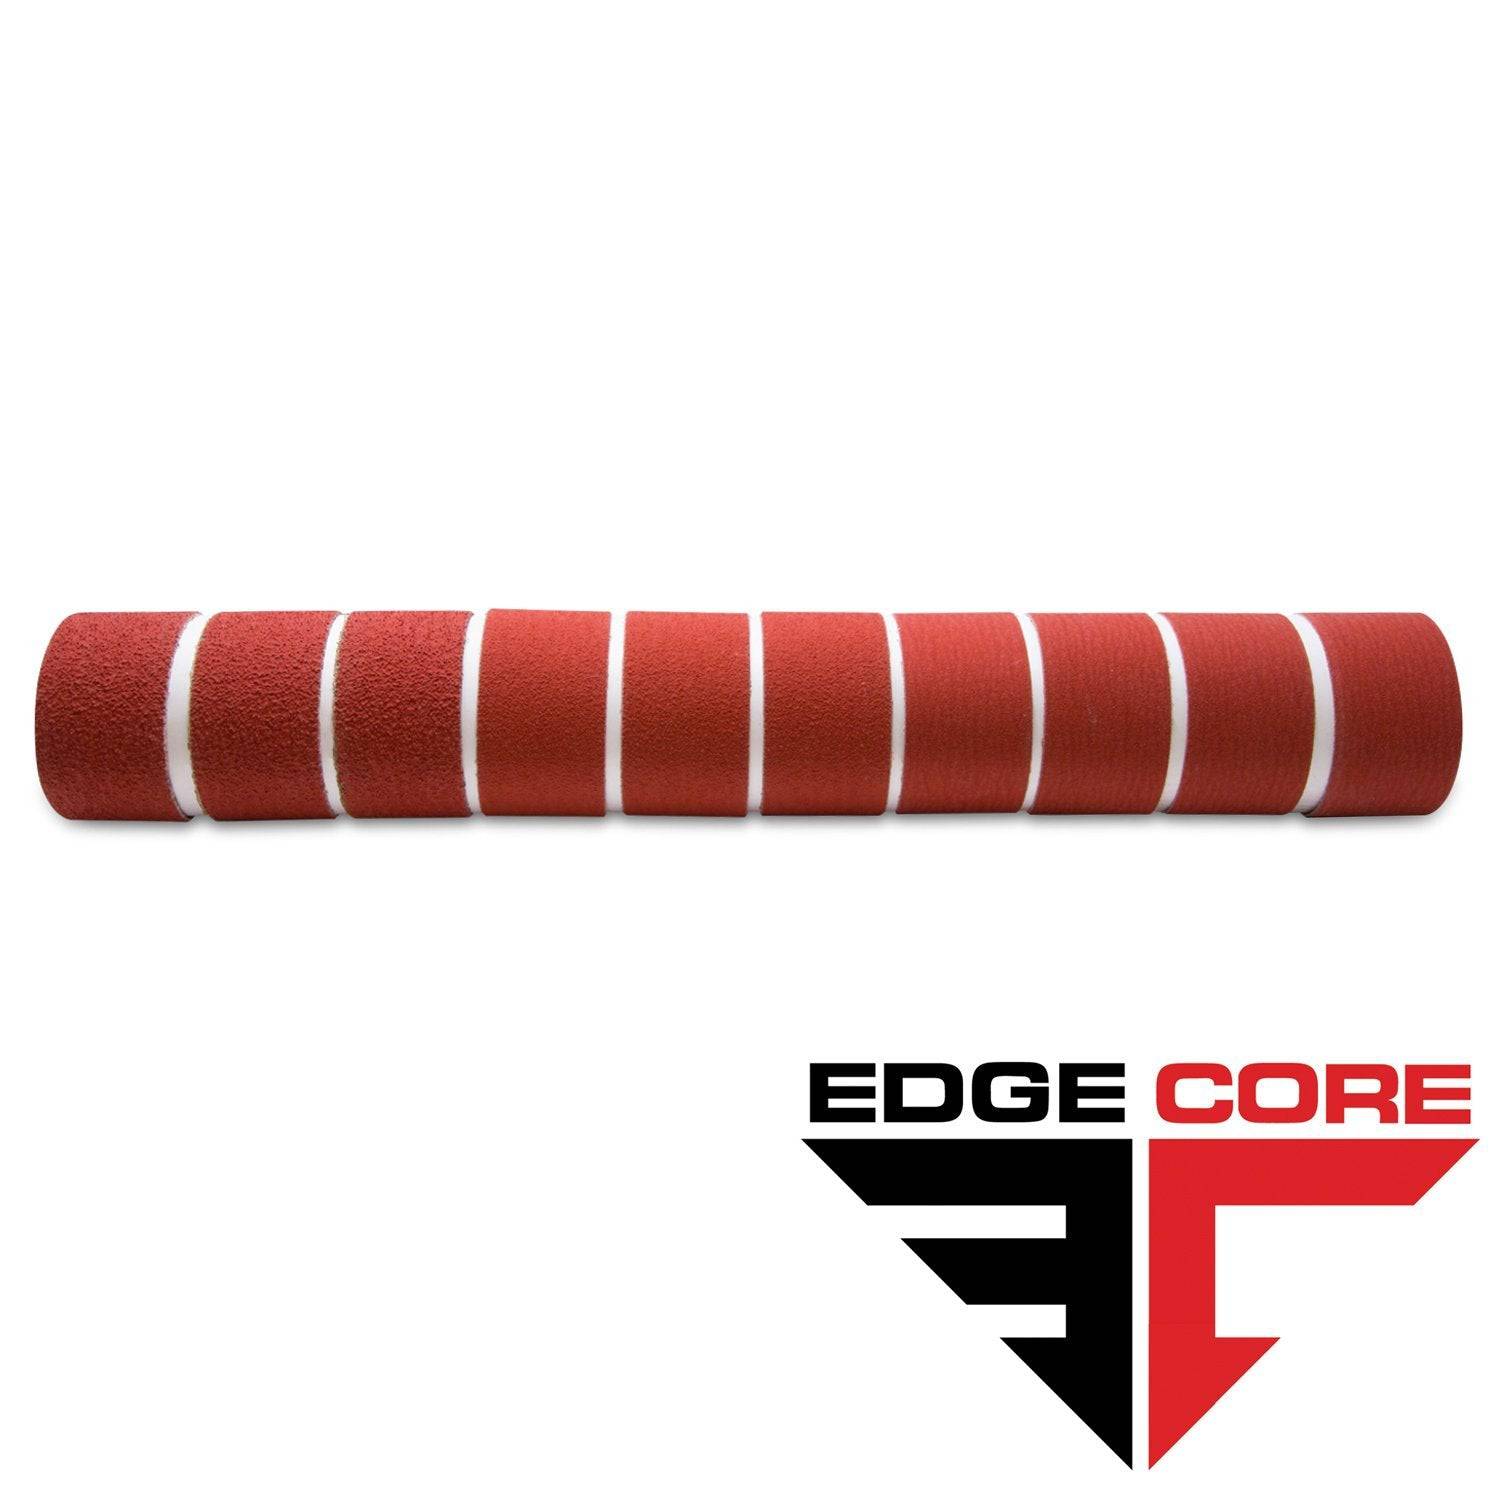
2 X 42 Inch Knife Makers Sanding Belts Assortment
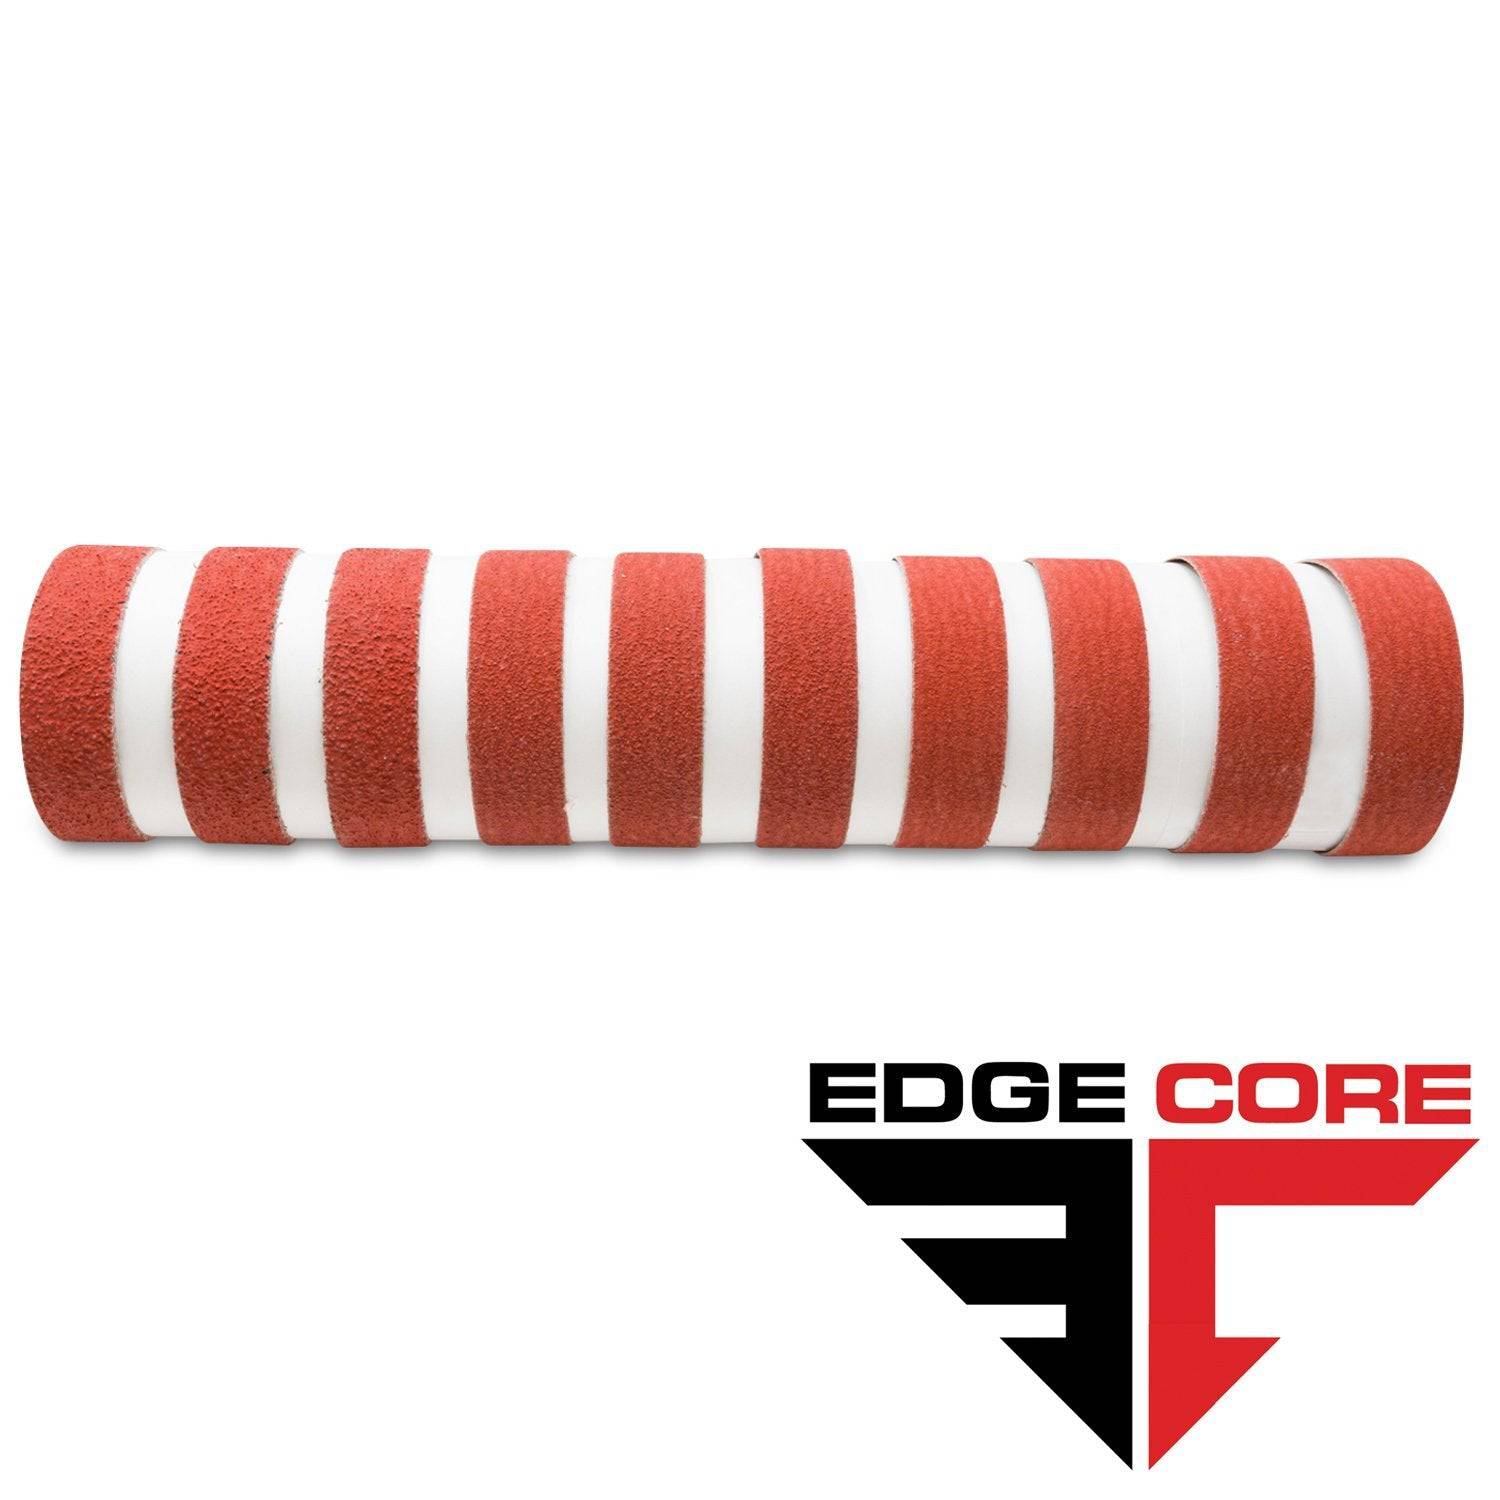
1 X 30 Inch Knife Makers Sanding Belts Assortment
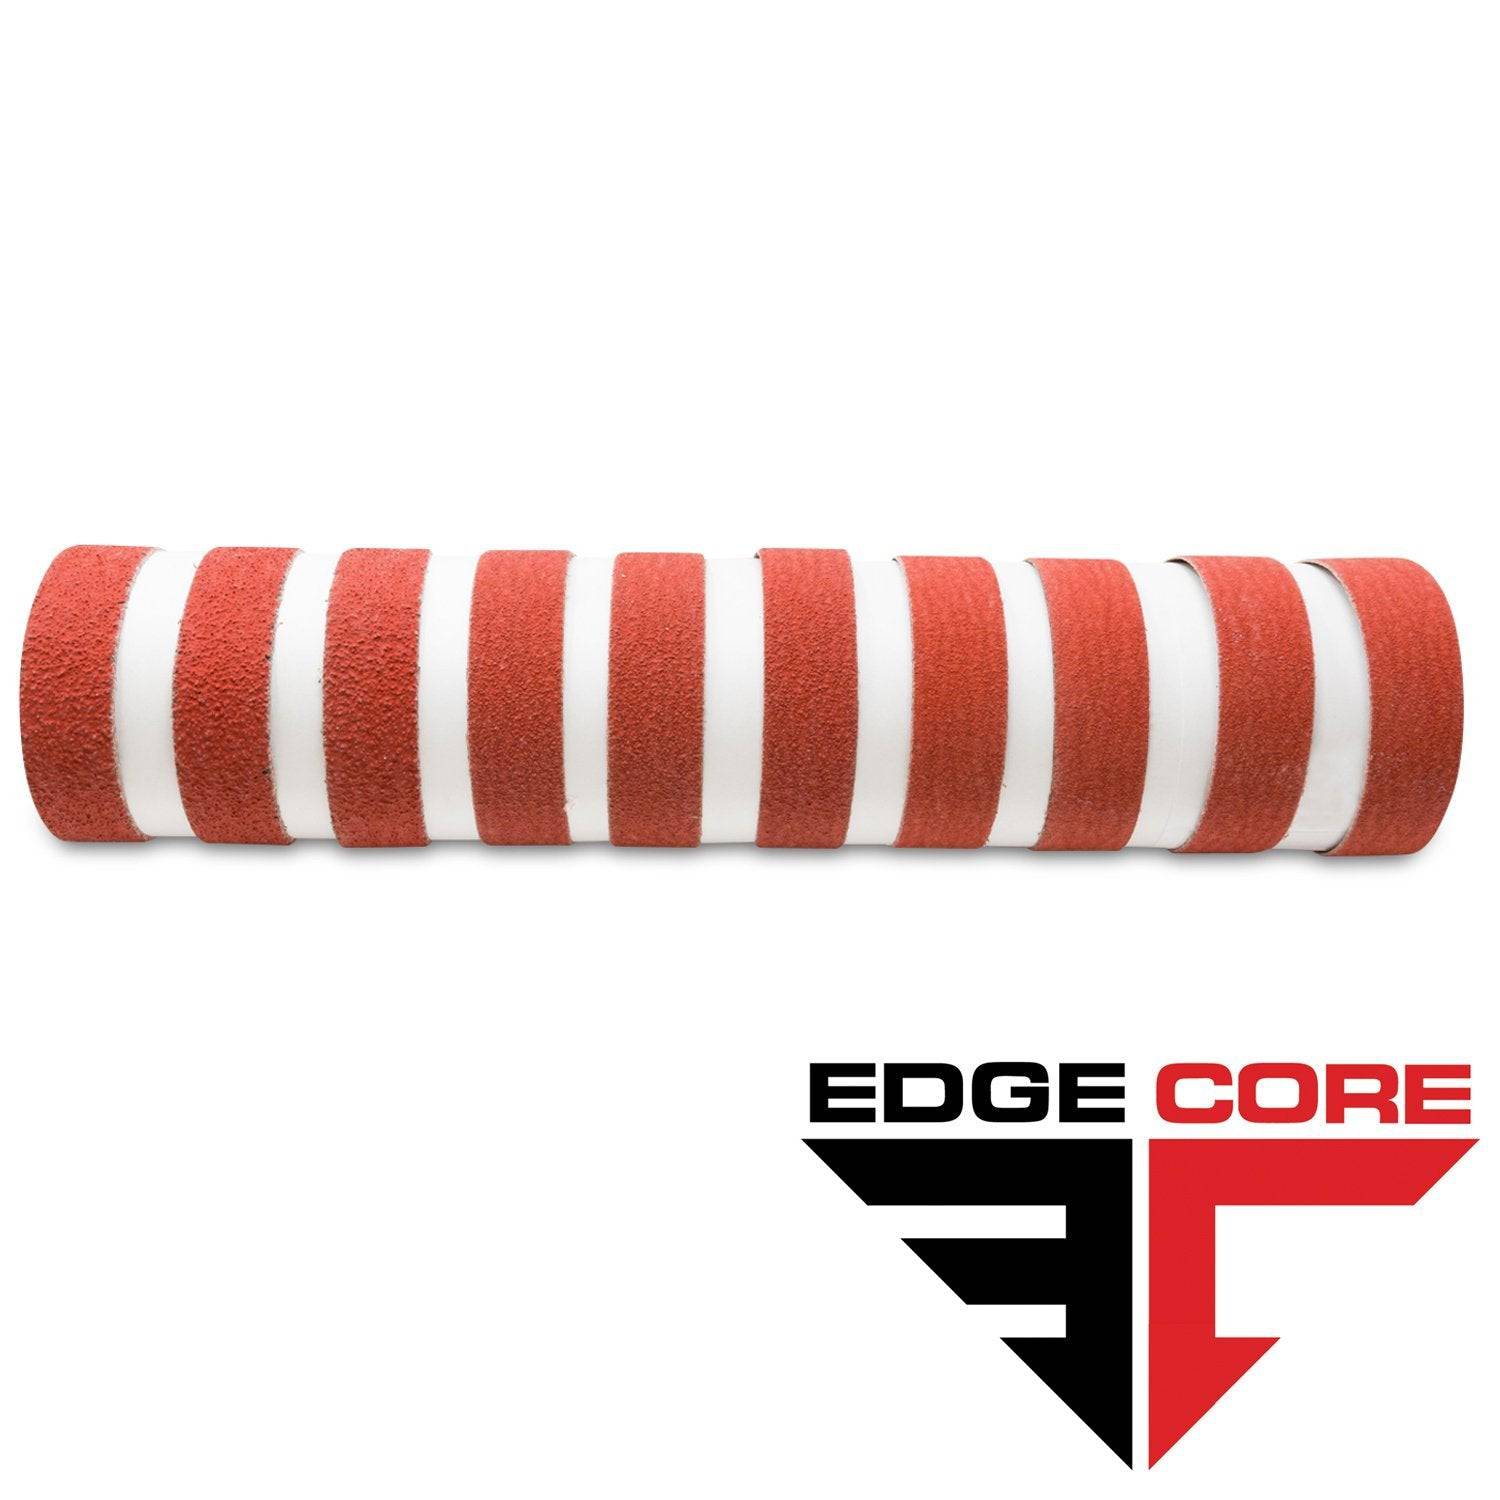
1 x 42 Inch Knife Makers Sanding Belt Assortment
Shop By Product Category


Why Choose Red Label?


