Your Cart is Empty
Free Shipping over $150 (Excludes Oversized Products)
Free Shipping over $150 (Excludes Oversized Products)
Sanding Belts
Sanding Discs

Knife Restoration: How To Restore Old Knives
by David Kranker 8 min read

Quick Summary
Restoring old knives can revive their functionality and preserve their history, turning forgotten tools into prized possessions. Start by assessing the blade and handle, and identifying issues like rust, pitting, or loose parts to determine your approach. Rust removal is key - use vinegar soaks, steel wool, and sanding techniques to clean the surface without compromising the blade's integrity. Sharpening restores cutting performance, with whetstones, honing rods, and leather strops helping you refine the edge to perfection. Handle restoration or replacement improves usability and appearance. Finally, polish the blade and handle, then maintain your knife by cleaning, oiling, and storing it properly to protect your hard work for years to come.
Old knives carry history and character. That rusty blade sitting in your drawer or garage might have prepared several holiday meals, accompanied you on a hunting trip, or been an important tool in your workshop. Unfortunately, wear and tear over time can dull its edge, corrode the surface, or damage the handle.
While discarding an old knife may seem like the easiest option, restoring it can provide a sense of accomplishment as well as give it new life. With some effort, the right tools, and a bit of patience, you can transform a rusty, neglected knife into a sharp and polished masterpiece. In this blog, the team at Red Label Abrasives will provide you with a step-by-step guide to restoring blades that have seen better days.
Assessing Your Knife: What Are You Working With?
Restoring a knife starts with assessing its current condition. Follow the steps below to help determine the best path forward.
Examine the Blade
Check the blade all over for rust, pitting, chips, or scratches. These signs of wear will help you determine how much work the blade will need. Superficial rust, for example, is relatively easy to remove with the right tools, while deeper rust may weaken the steel and need extra care.
Inspect the Handle
Next, turn your focus to the handle. This part of the knife affects its usability, balance, and appearance. Check for loose rivets, cracks, or warping. If the handle is severely damaged, you’ll need to decide whether to repair it or replace it entirely. Handles made of wood, bone, or leather can often be restored, while synthetic materials may require replacement.
Assess Its Value
Finally, consider the knife’s overall value. Is it made of high-carbon steel, which is known for its durability and performance? Does it have historical or personal significance? Understanding these factors can help you determine whether you want to preserve its character or focus on restoring its functionality. Defining your vision makes the rest of the restoration process smoother and more rewarding.
Rust Removal: Cleaning Up the Blade
Rust not only affects the appearance of the blade but can also weaken the steel if left untreated. The goal is to remove the rust from the knife blade while keeping as much of the original surface intact as possible.
What You’ll Need
Before you begin, gather the following:
- Sanding sheets or belts
- Steel wool
- White vinegar or a chemical rust remover
Step-by-Step Rust Removal
Start by soaking the blade in white vinegar. This simple yet effective step helps soften the rust, making it easier to remove. For knives with light rust, you can skip the full soak and use a vinegar-dampened cloth instead. Once the rust has loosened, carefully scrub the blade with steel wool or a rust eraser. Be sure to apply even pressure and avoid digging into the surface, which could cause scratches.
Next, begin sanding the blade in progression. Start with coarse sandpaper, such as 120-grit, to tackle any remaining rust or stubborn areas. As the surface becomes smoother, transition to finer grits like 400 or 800 to create a polished finish. Always sand along the length of the blade to preserve its design and avoid visible scratches.
Once the rust is fully removed, it’s time to polish the blade. Use a buffing compound and a soft cloth to restore its shine. This final step not only improves the knife’s appearance but also adds a protective layer to the surface, helping to prevent future corrosion.
Best Abrasives for Restoring Old Knives
Different abrasive grains are designed for specific tasks, and selecting the right one makes the restoration process effective without causing unnecessary wear to the blade. Below is an overview of recommended options.
Aluminum Oxide
Aluminum oxide is an excellent choice for tackling surface rust and smoothing out imperfections on the blade. If your restoration project involves light to moderate rust or preparing the surface for further refinement, aluminum oxide is a great starting point.
Silicon Carbide
When it’s time to move on to finer sanding and polishing, you’ll want to use silicon carbide. Known for its sharp and hard grains, it delivers a smooth finish that prepares the blade for polishing or sealing. This abrasive is especially useful during the final stages of rust removal and when creating a polished surface that looks professional and clean.
Ceramic Abrasives
Ceramic abrasives have a toughness and resilience that makes them perfect for removing deep rust, tackling heavy corrosion, or even reshaping a blade’s edge. If the knife requires significant material removal or edge profiling, ceramic abrasives provide the power and durability needed to get the job done efficiently.
As you work through the restoration, start with aluminum oxide for general cleaning and rust removal. Transition to silicon carbide for fine sanding and finishing, and use ceramic abrasives for more intensive tasks. Choosing the right abrasive for each stage supports better results, leaving your knife looking and performing its best.
Sharpening: Bring Back the Cutting Edge
Once the blade is clean, sharpening begins!
Determine the Correct Blade Angle
Before you begin sharpening, you’ll want to know the correct angle for your knife. Kitchen knives, used for precision cutting, typically have a 15–20 degree angle. This allows for clean, precise slices. Outdoor or hunting knives, on the other hand, require a 25–30 degree angle to withstand tougher tasks and maintain durability.
Collect Sharpening Tools
A successful sharpening requires the right tools. Whetstones are the go-to choice for most tasks - you’ll want to start with a coarse grit, such as 400, to remove nicks or reshape a dull blade. Move to finer grits, like 1,000–6,000, for refining and polishing. Belt sanders are useful for extensive reshaping or working with larger knives, while honing rods and leather strops provide the finishing touch to align the blade for maximum sharpness.
Sharpening Steps Explained
Start by setting the correct angle. Use a sharpening guide to ensure consistency, or work freehand if you’re confident in maintaining the right angle.
Begin with a coarse grit to reshape the edge or remove any nicks and damage. Use steady, even strokes along the length of the blade, keeping the angle consistent. Once the edge is reformed, switch to finer grits to refine and polish the blade, working your way toward a smoother, sharper finish. Finally, use a honing rod or leather strop to align the edge perfectly.
Pro Tip: Test the sharpness of your blade by slicing through a sheet of paper or shaving a few hairs from your arm. A well-sharpened knife will cut effortlessly without resistance.
Restoring or Replacing the Handle
If the original handle is still intact but looks worn or weathered, restoration can bring it back to its former glory.
- Start by sanding the surface with fine-grit sandpaper to remove imperfections like scratches, discoloration, or signs of wear.
- Once smooth, condition the material using linseed oil, wood conditioner, or a similar product to rejuvenate its natural look and feel.
- Finally, seal the handle with a clear protective coat to guard it against moisture and ensure its longevity.
This process works well for handles made of wood, bone, or other natural materials.
Replacing a Handle
If the handle is damaged beyond repair, replacing it may be the best option.
- Start by removing the old handle. Carefully drill out rivets or use a blade to cut away any epoxy holding it in place.
- Once the handle is removed, choose your replacement material. Popular options include wood for a classic look, micarta for durability, or resin for a modern appearance.
- After selecting your material, shape it to match the tang of the knife. Sand the new handle material for a snug fit, then secure it in place with epoxy. Add rivets for extra stability, ensuring they are evenly spaced and flush with the handle.
- Once attached, sand the handle smooth to eliminate rough edges and refine its shape. Finally, apply a protective finish to improve the material’s appearance and durability.
Pro Tip: If you’re working with wood, consider staining it for a custom touch. A stained handle can add warmth and personality to your knife, making it truly one of a kind.
Polishing and Finishing Touches
For a mirror-like finish, use a buffing wheel with a fine polishing compound. Work evenly across the blade, keeping the wheel moving to avoid overheating the metal. This method creates a reflective surface that looks brand new and improves the blade’s performance by reducing surface friction.
If you prefer to keep some of the knife’s vintage charm, consider leaving a portion of the patina intact. The patina gives the blade a character that showcases its age and history while still keeping it clean and functional. Polishing selectively in this manner allows you to balance restoration with preservation.
Polish the Handle
If the handle is made of wood, a coat of wax polish will bring out its natural grain and add a protective layer against moisture and wear. For synthetic handles, use a buffing cloth or wheel to restore their smooth finish and remove any dullness or surface scratches. These finishing touches are where your effort truly shines, leaving you with a knife that’s ready to impress, whether it’s on display or in use.
Maintenance Tips: Keep Your Knife in Top Shape
Once your knife is restored, proper care is essential to maintain its sharpness, shine, and functionality.
Clean After Use
After every use, wash the knife with mild soap and warm water. Avoid harsh scrubbing pads or abrasive cleaners that could damage the blade or handle. Once cleaned, dry the knife thoroughly to prevent moisture from settling on the blade, which can lead to rust. Letting your knives sit out for a few minutes after drying can ensure that no moisture gets trapped in storage. Even a high-quality knife is vulnerable to corrosion if it’s left damp.
Oil the Blade
To further protect the blade, apply a thin coat of mineral oil or a dedicated knife oil. This creates a barrier against moisture and helps maintain the blade’s smooth surface. High-carbon steel blades, in particular, benefit from regular oiling, as they are more prone to rust than stainless steel options. Use a clean cloth or your fingertips to evenly distribute the oil across the blade.
Store Properly
Proper storage is just as important as cleaning and oiling. Keep your knife in a sheath, knife roll, or case to protect the blade from exposure to moisture and accidental damage. Magnetic strips are another great option, as they keep knives accessible while ensuring the edge isn’t dulled by contact with other tools. Avoid tossing knives into drawers, where they can scrape against other utensils and lose their sharpness.
Taking care of the knife after restoration is the finishing touch that preserves all the effort you’ve invested into bringing it back to life.
Restore Your Old Knives With Red Label Abrasives
Restoring old knives is about honoring their history and turning them into something more personal. With high-quality tools and abrasives, even the most challenging restoration projects become manageable and rewarding.
For the best results, choose abrasives designed specifically for knife work that provide precision and reliability. Red Label Abrasives produces industrial-grade sanding belts, sanding discs, and sanding sheets engineered for shaping, smoothing, and repairing surfaces. Whether tackling minor imperfections or restoring severely damaged blades, our products make the job easier and deliver professional-grade results. For more information or to place an order, call 844-824-1956 or fill out our contact form today. ABOUT THE AUTHOR
David Kranker is a writer and creative maker who has been covering the abrasive and knife-making industries on the Red Label Abrasives Blog since 2020. David spends his time continually researching sanding and bladesmithing to provide readers with the latest and greatest information. In his free time, David utilizes abrasives for many different home and auto projects at his home in Delton, MI.
Belt Packs Made For Knife Makers
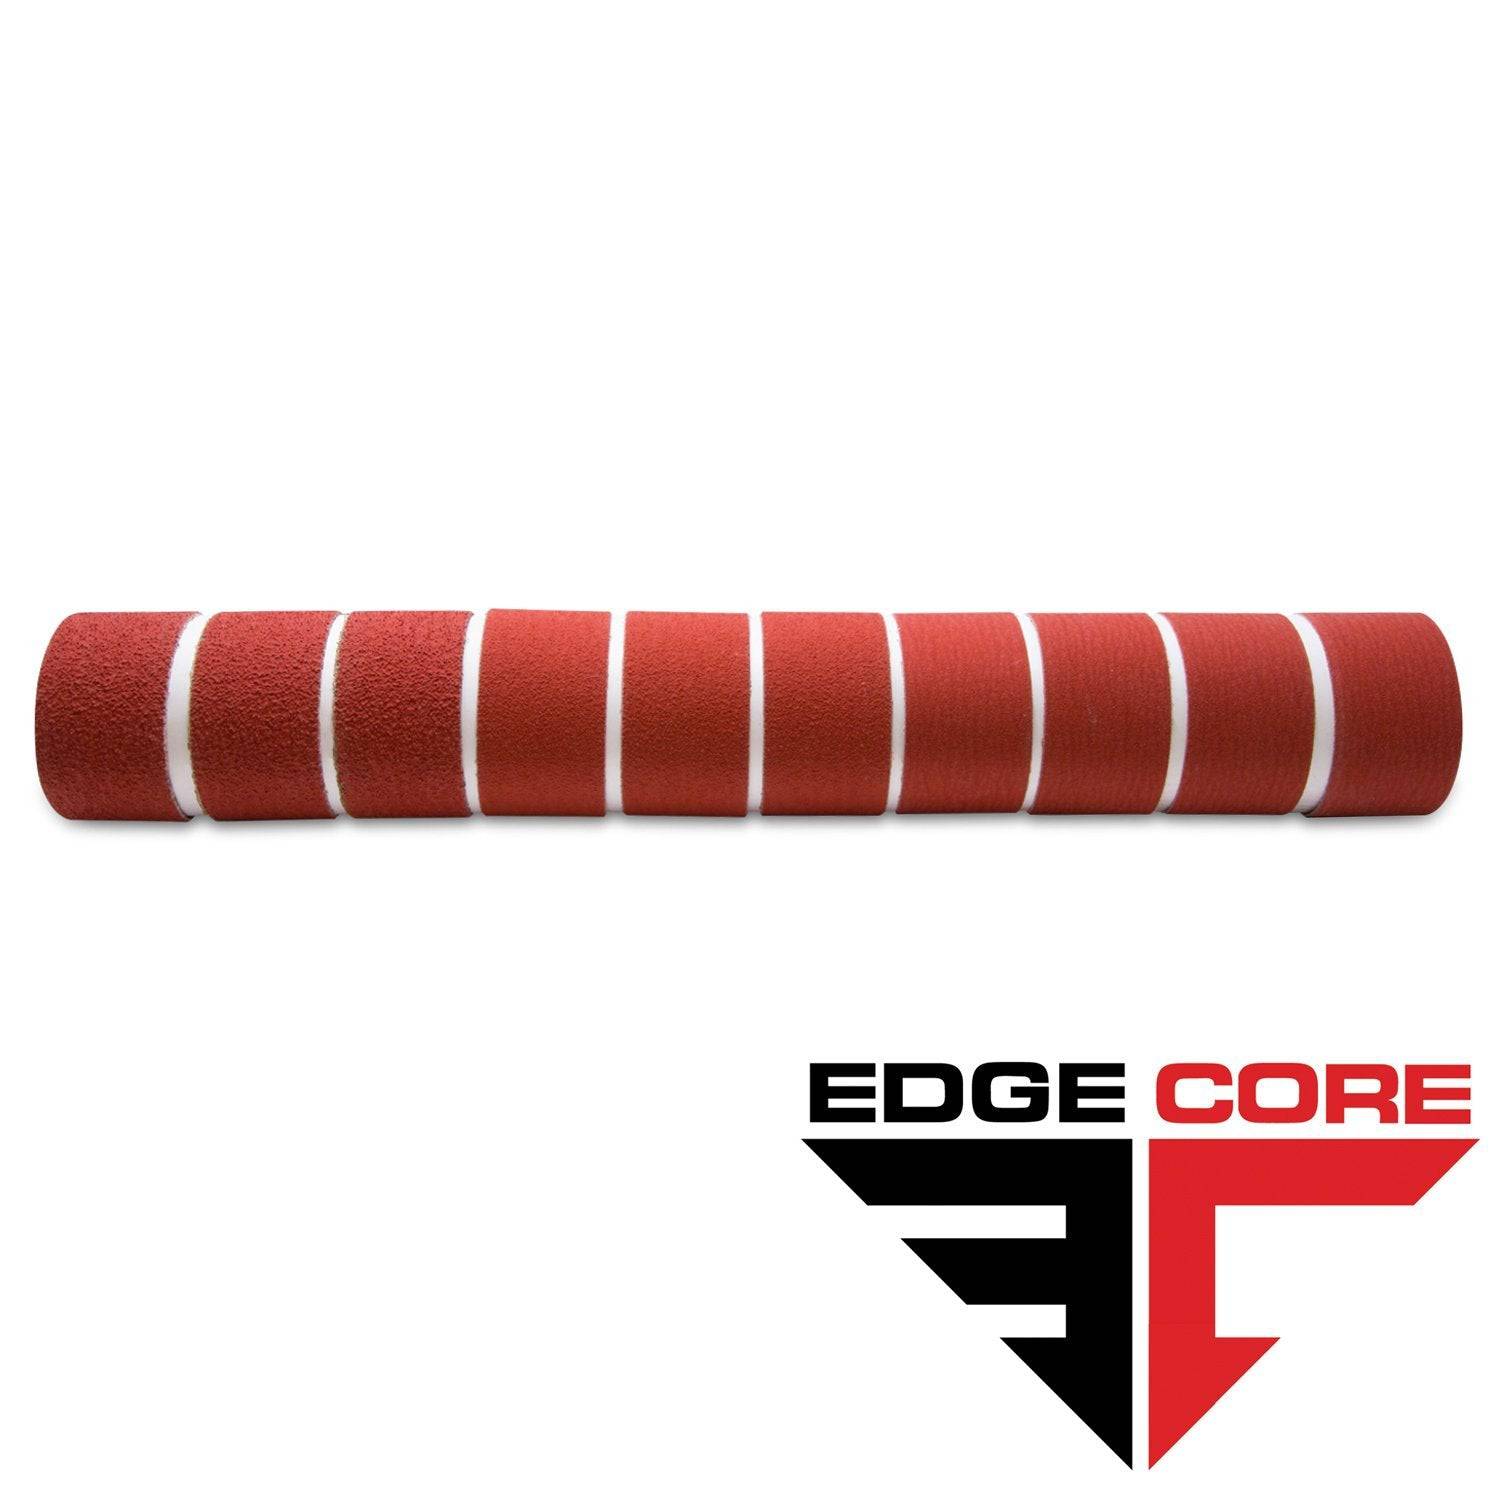
2 X 72 Inch Knife Makers Sanding Belts Assortment
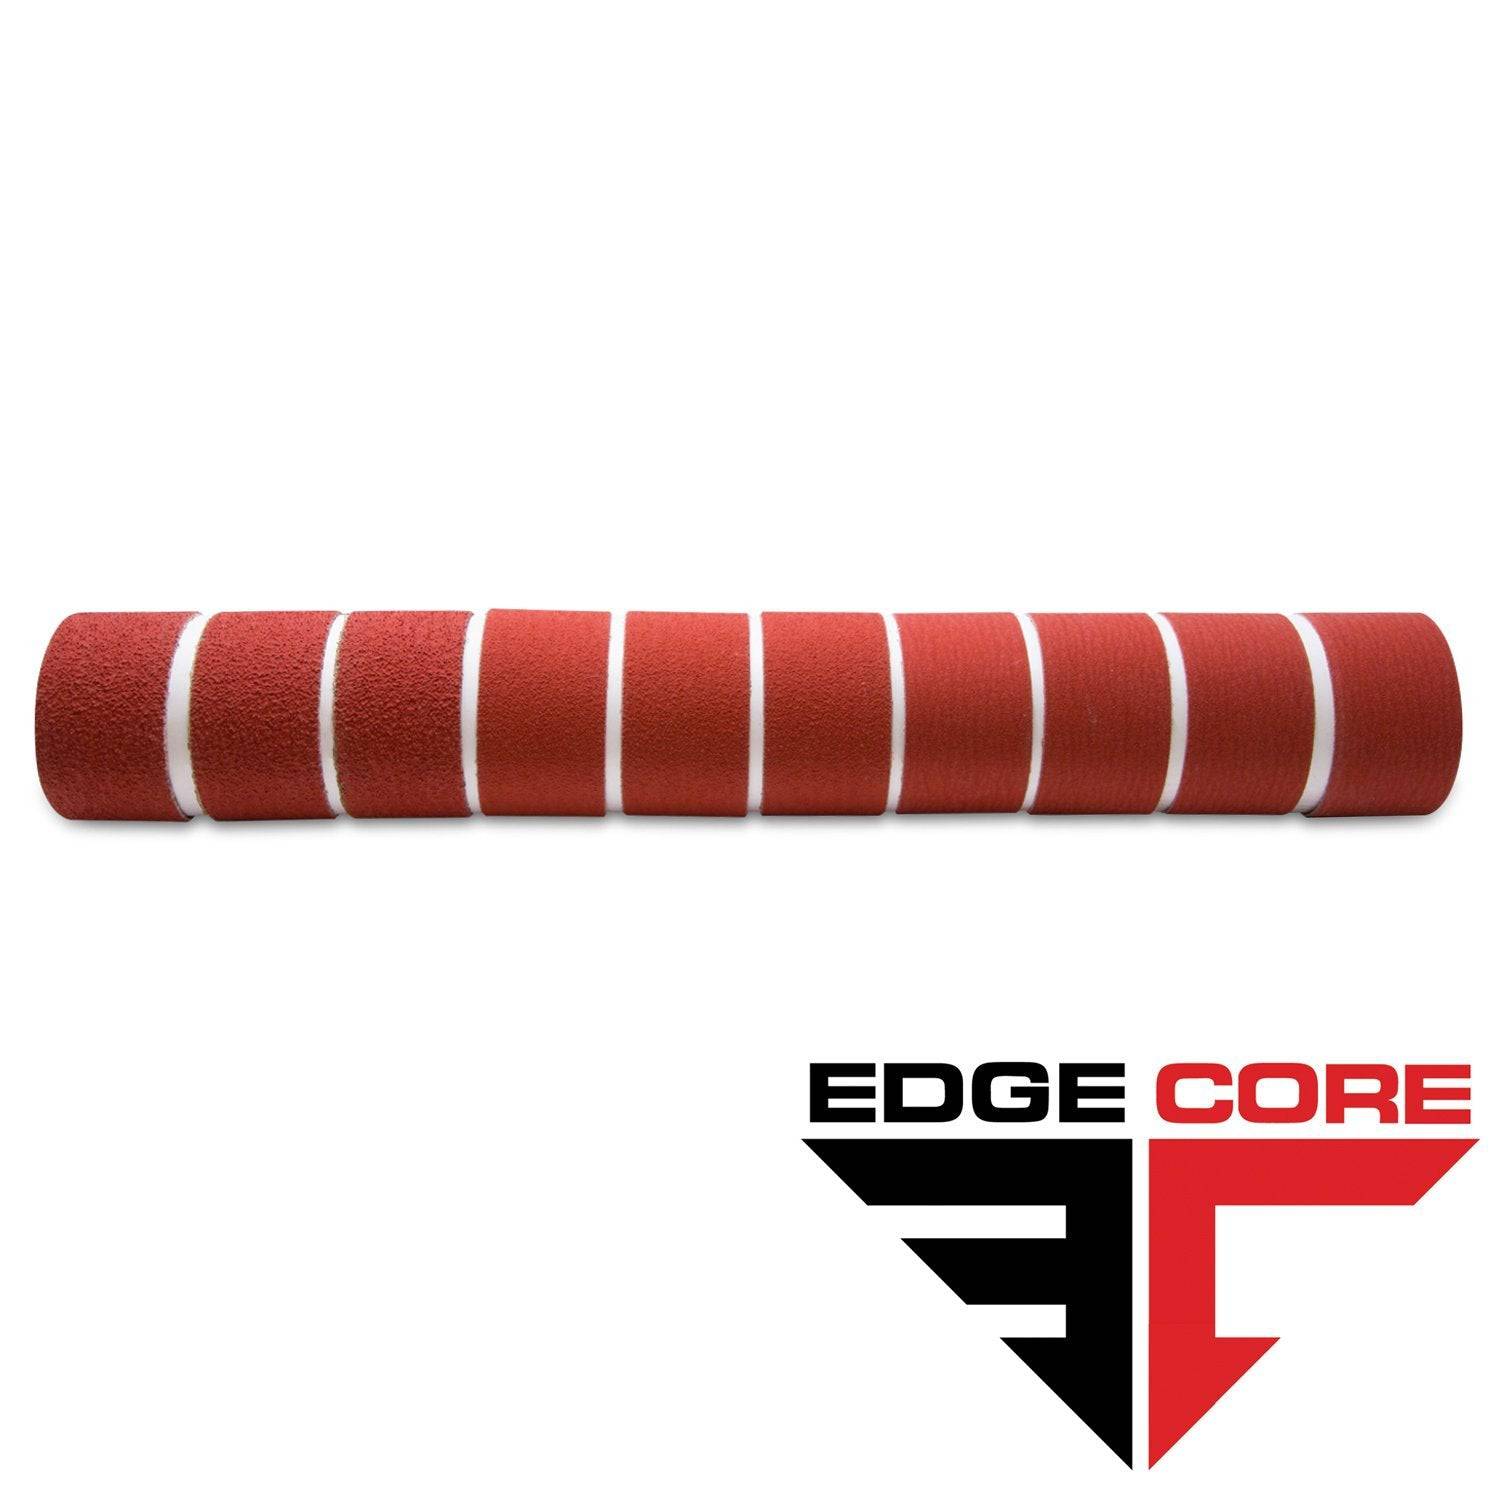
2 X 60 Inch Knife Makers Sanding Belts Assortment
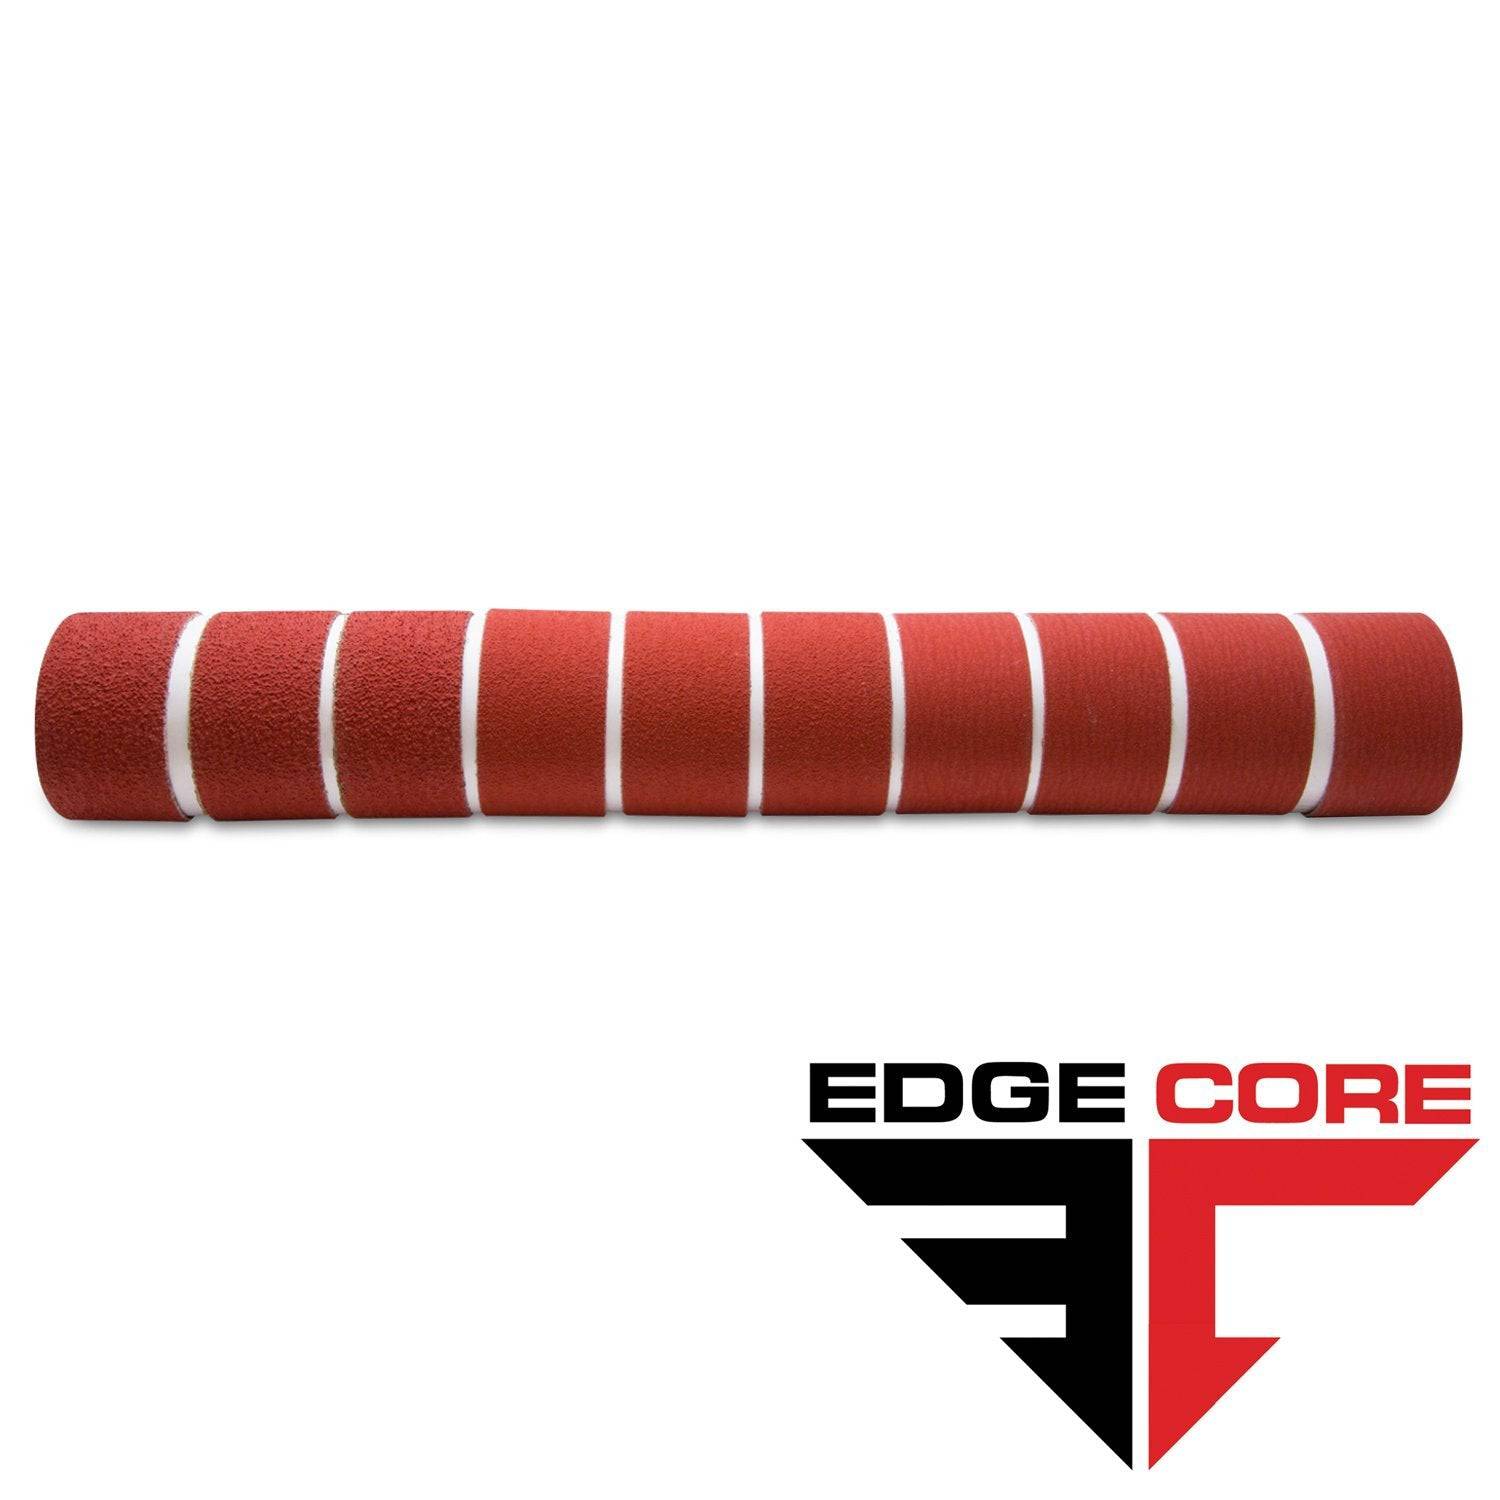
2 X 48 Inch Knife Makers Sanding Belts Assortment
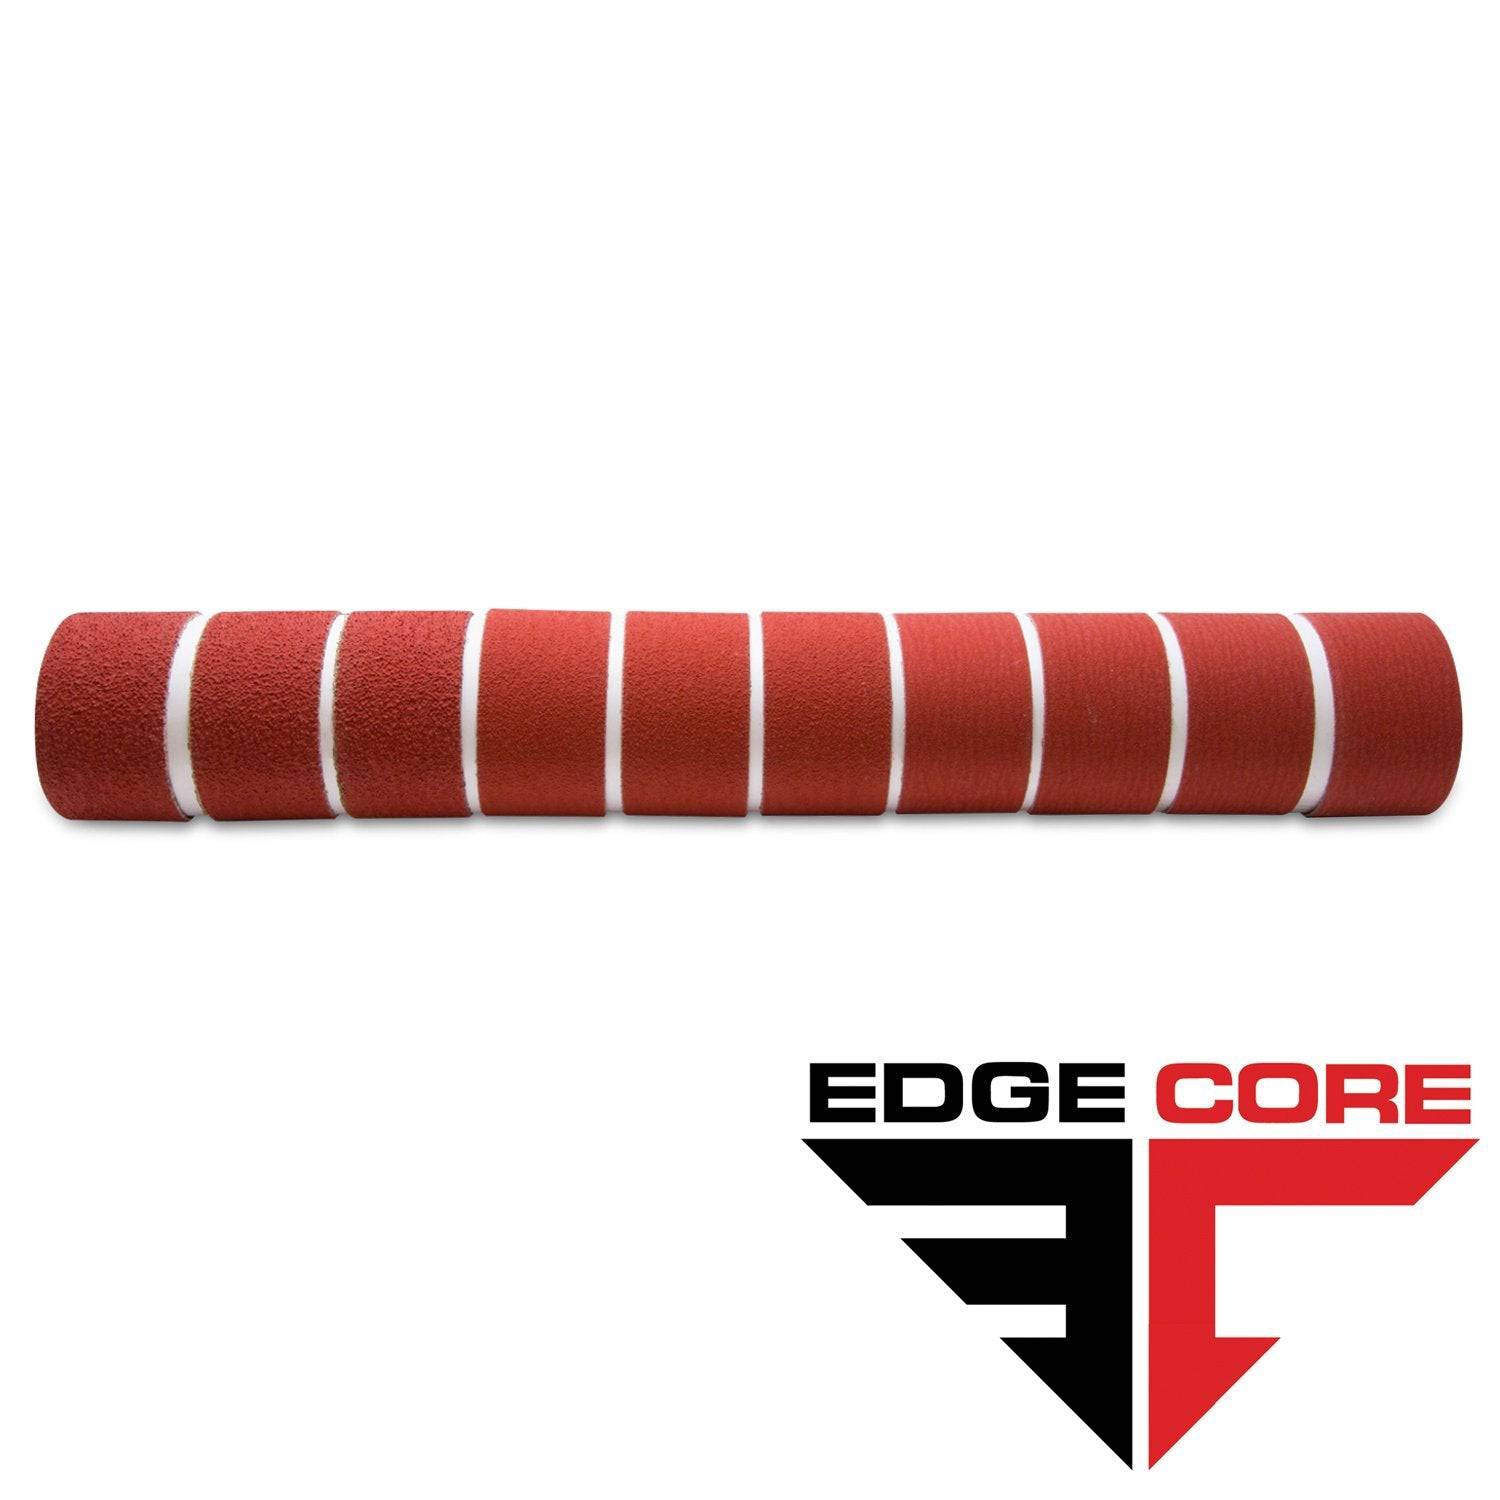
2 X 36 Inch Knife Makers Sanding Belt Assortment
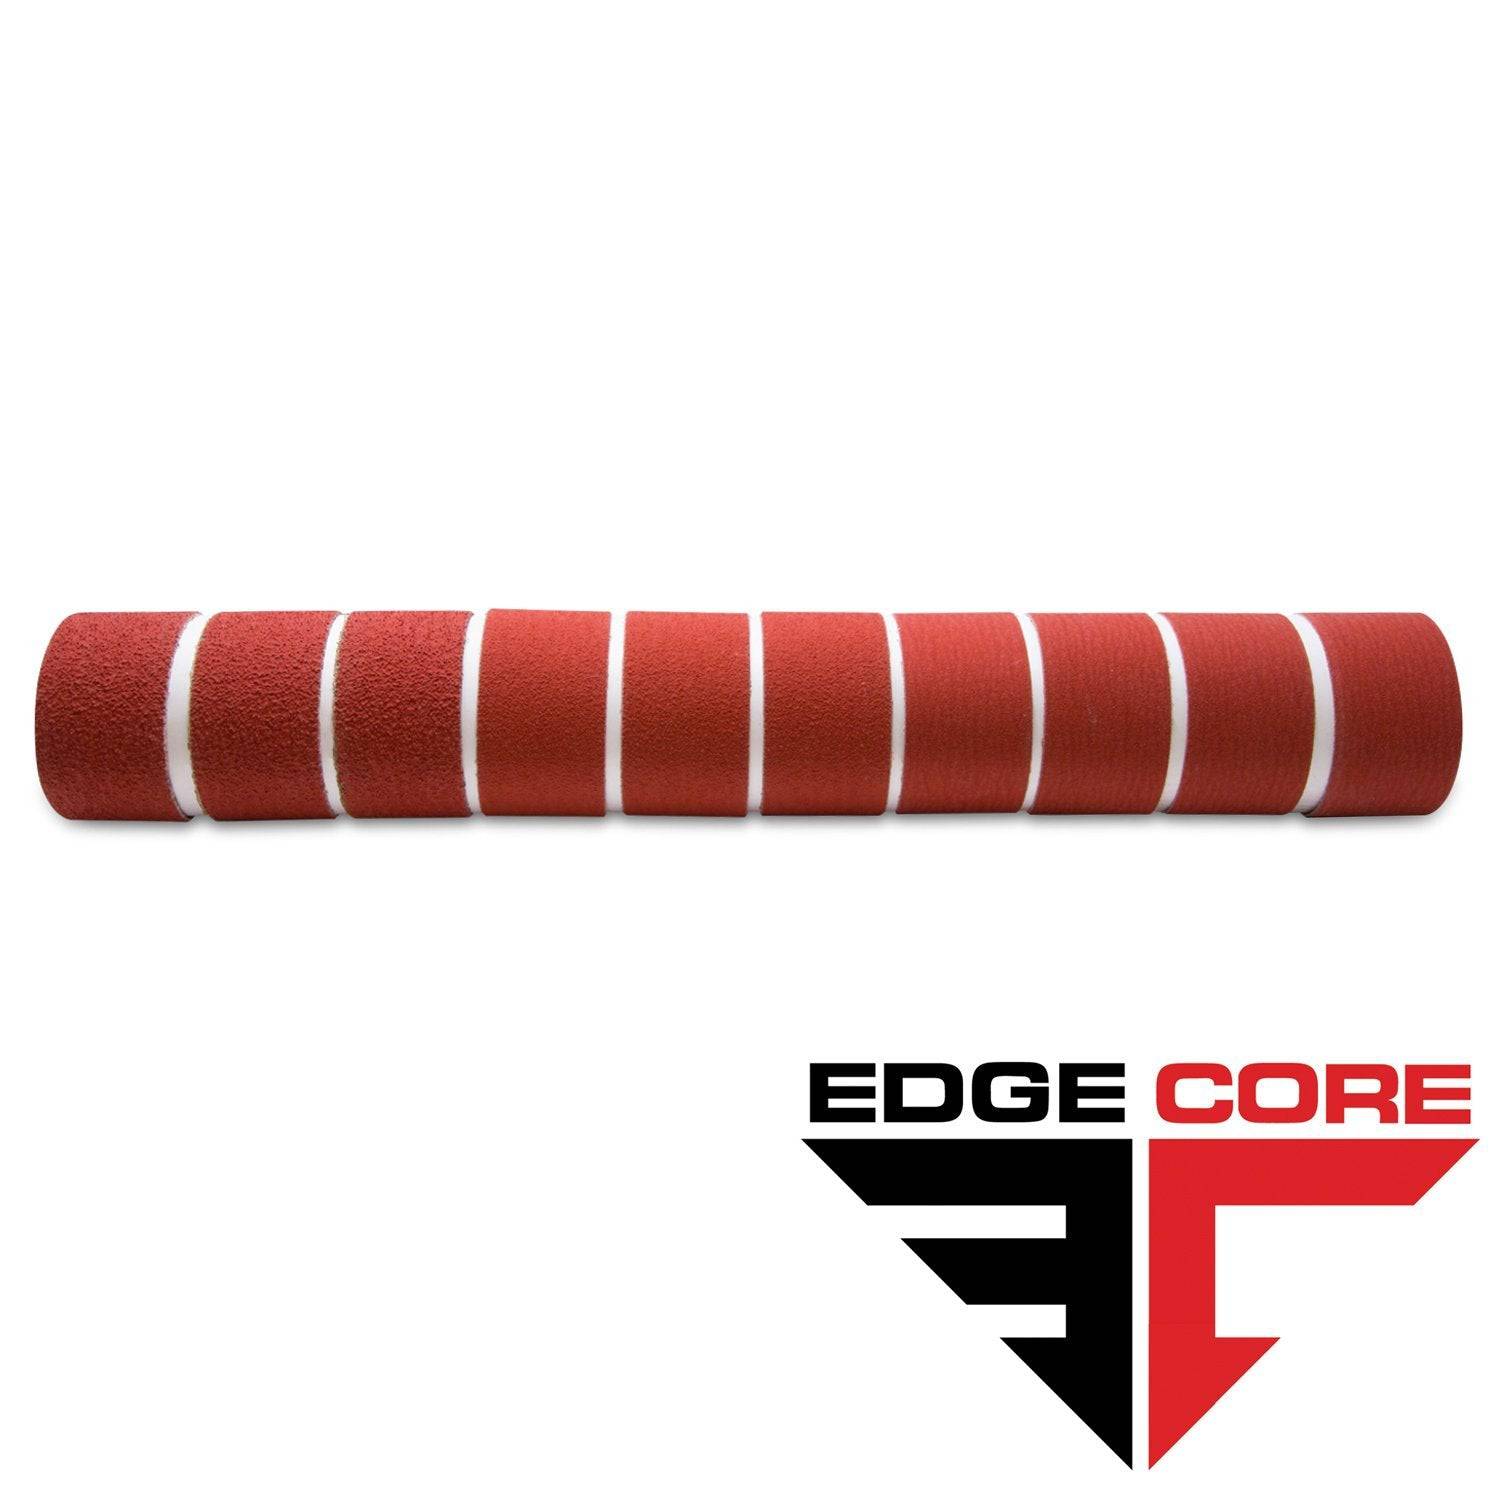
2 X 42 Inch Knife Makers Sanding Belts Assortment
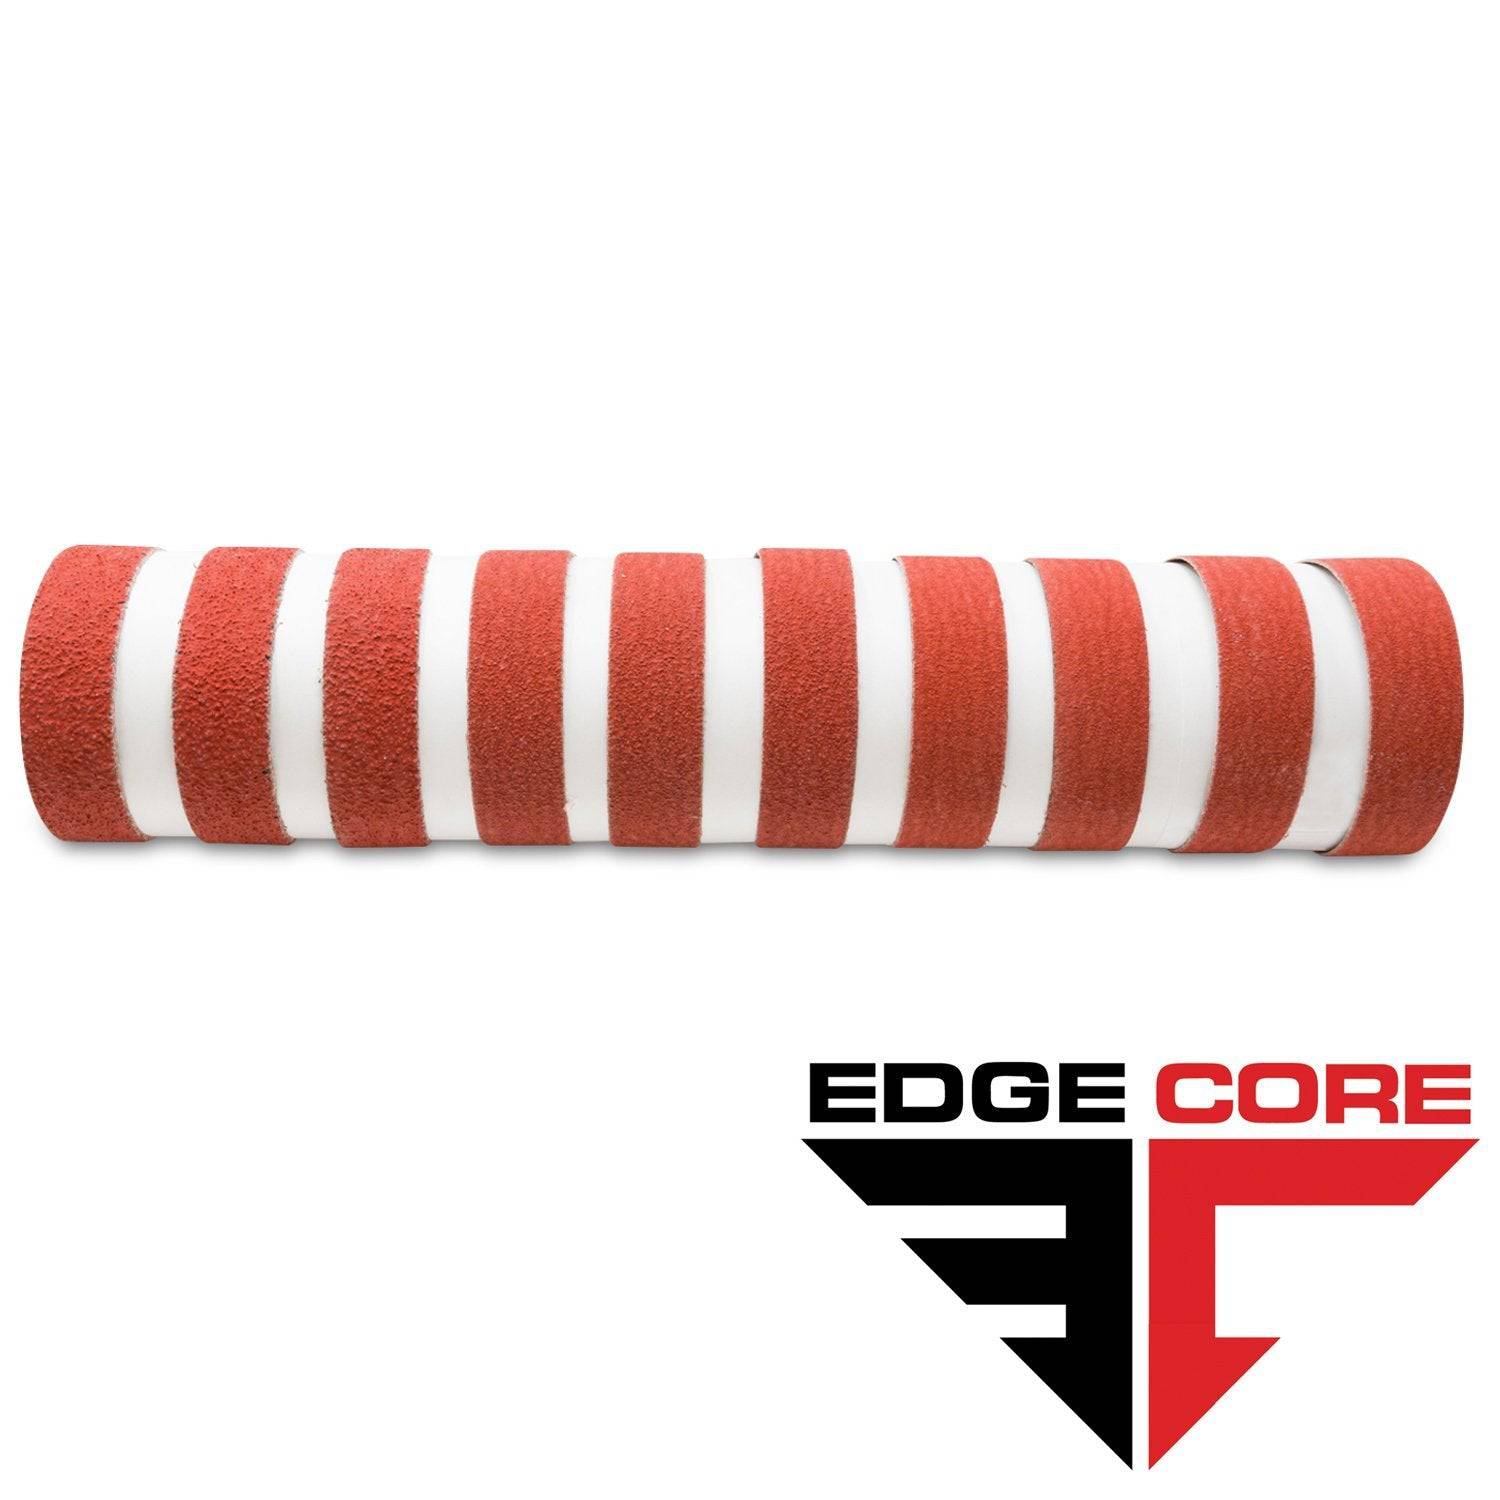
1 X 30 Inch Knife Makers Sanding Belts Assortment
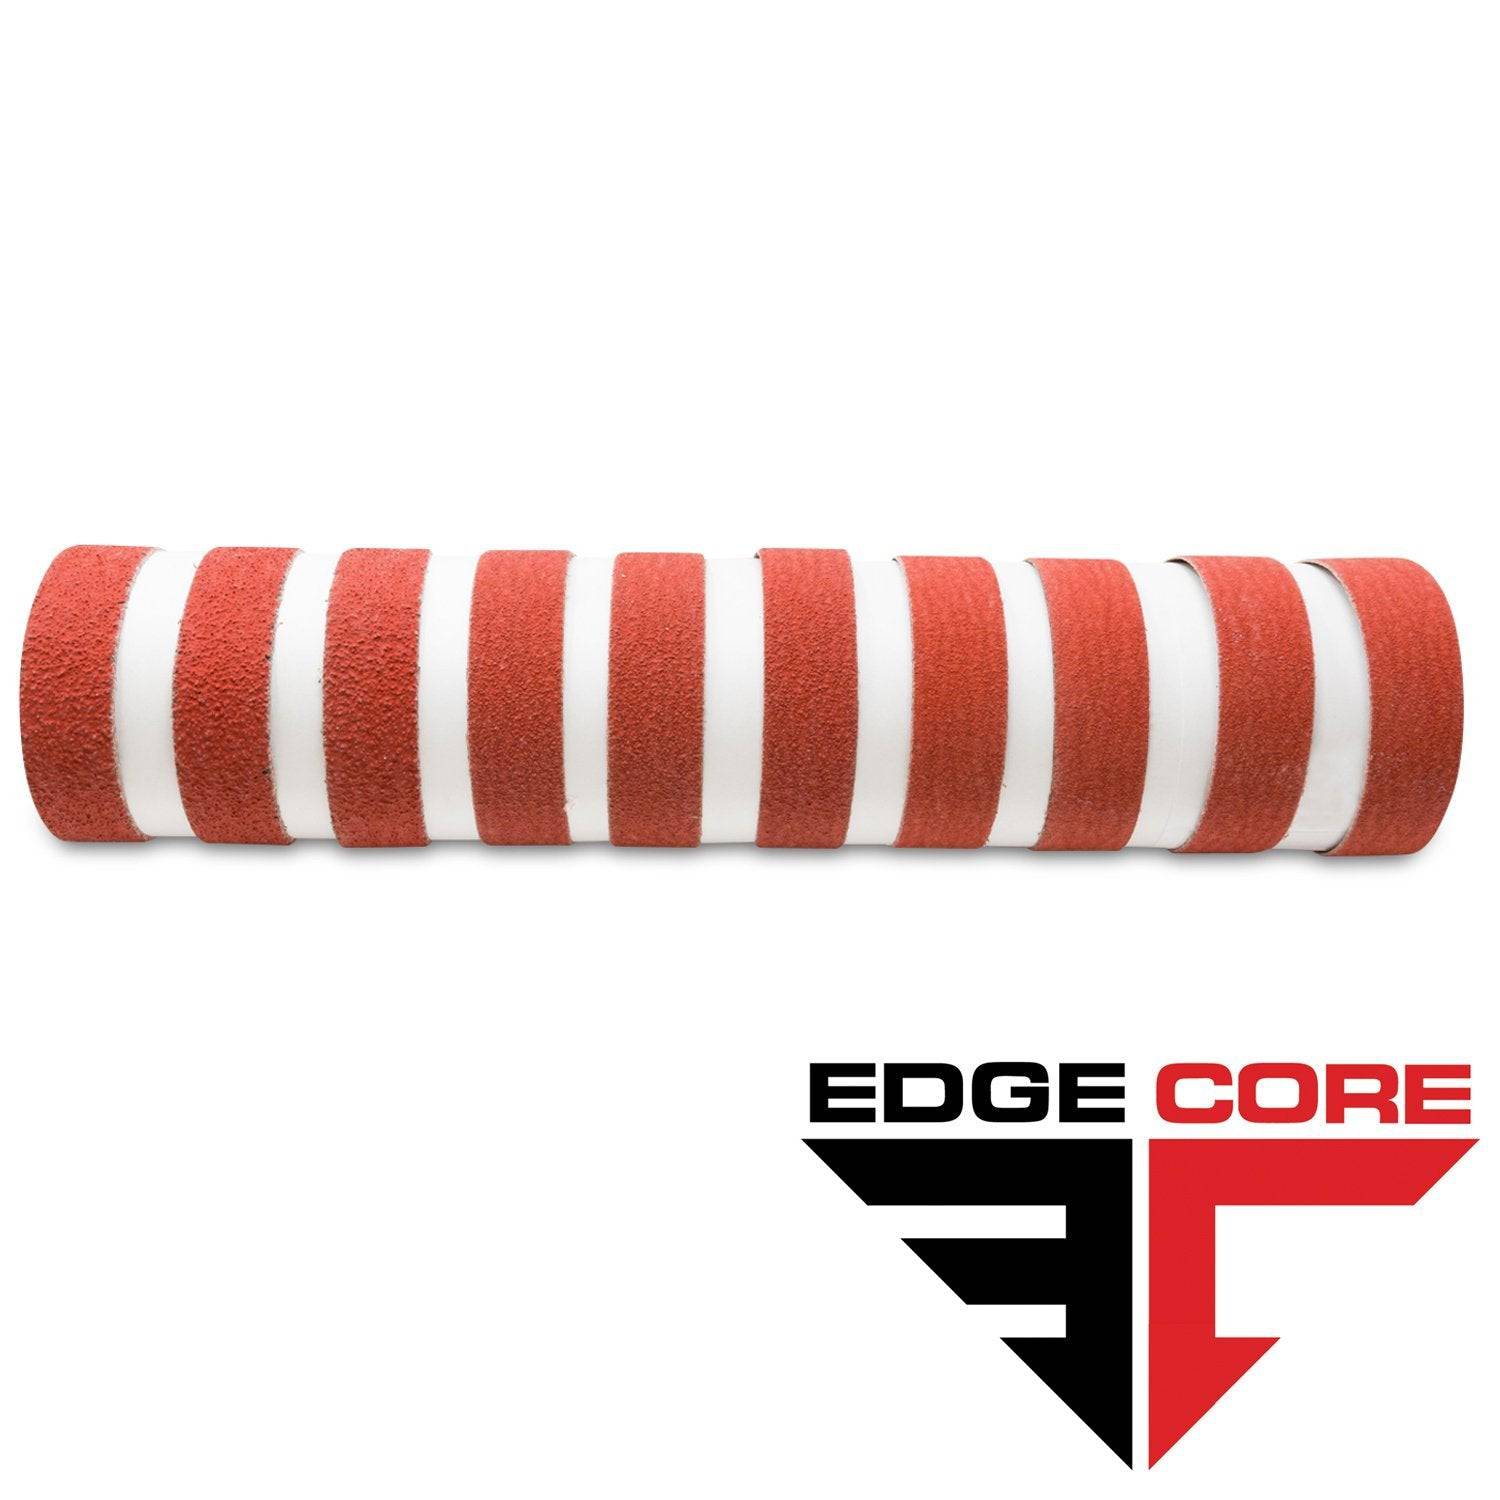
1 x 42 Inch Knife Makers Sanding Belt Assortment
Shop By Product Category


Why Choose Red Label?


